5
\$\begingroup\$

I occasionally have this issue where the camera software produces better microcontrast than I can via RawTherapee. I am unsure whether this is an issue with the software or with my ability to use it. All files presented here and their associated .pp3 files are available in this archive.

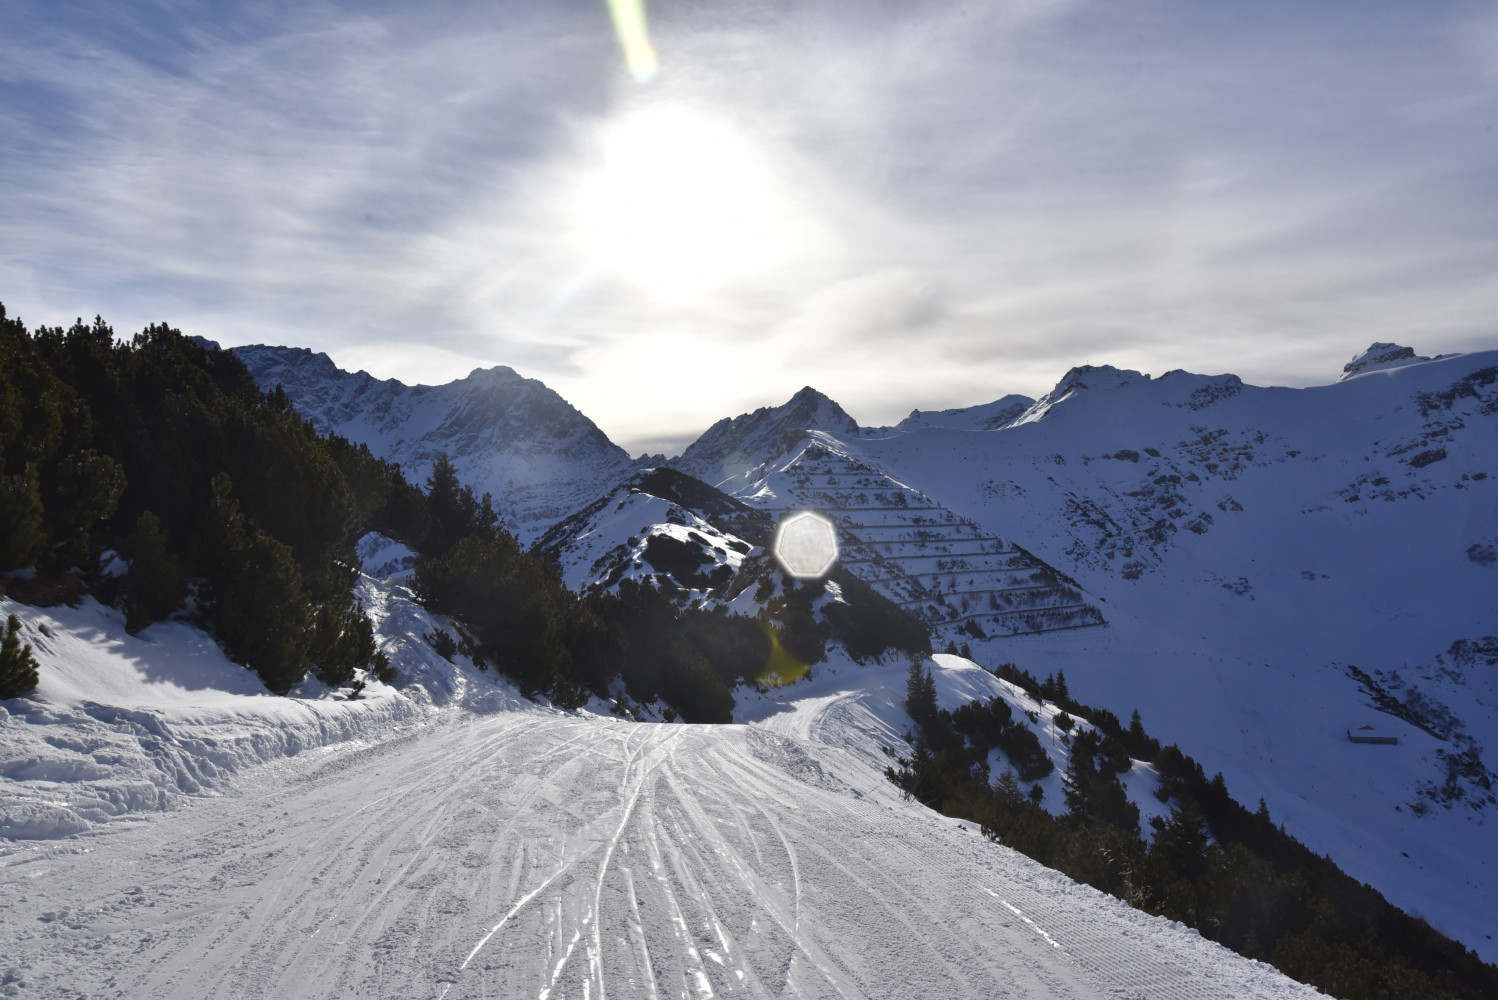
The best I can obtain from the .NEF is:

enter image description here

As you can see the background looks rather flat and dull, even a bit “foggy”.

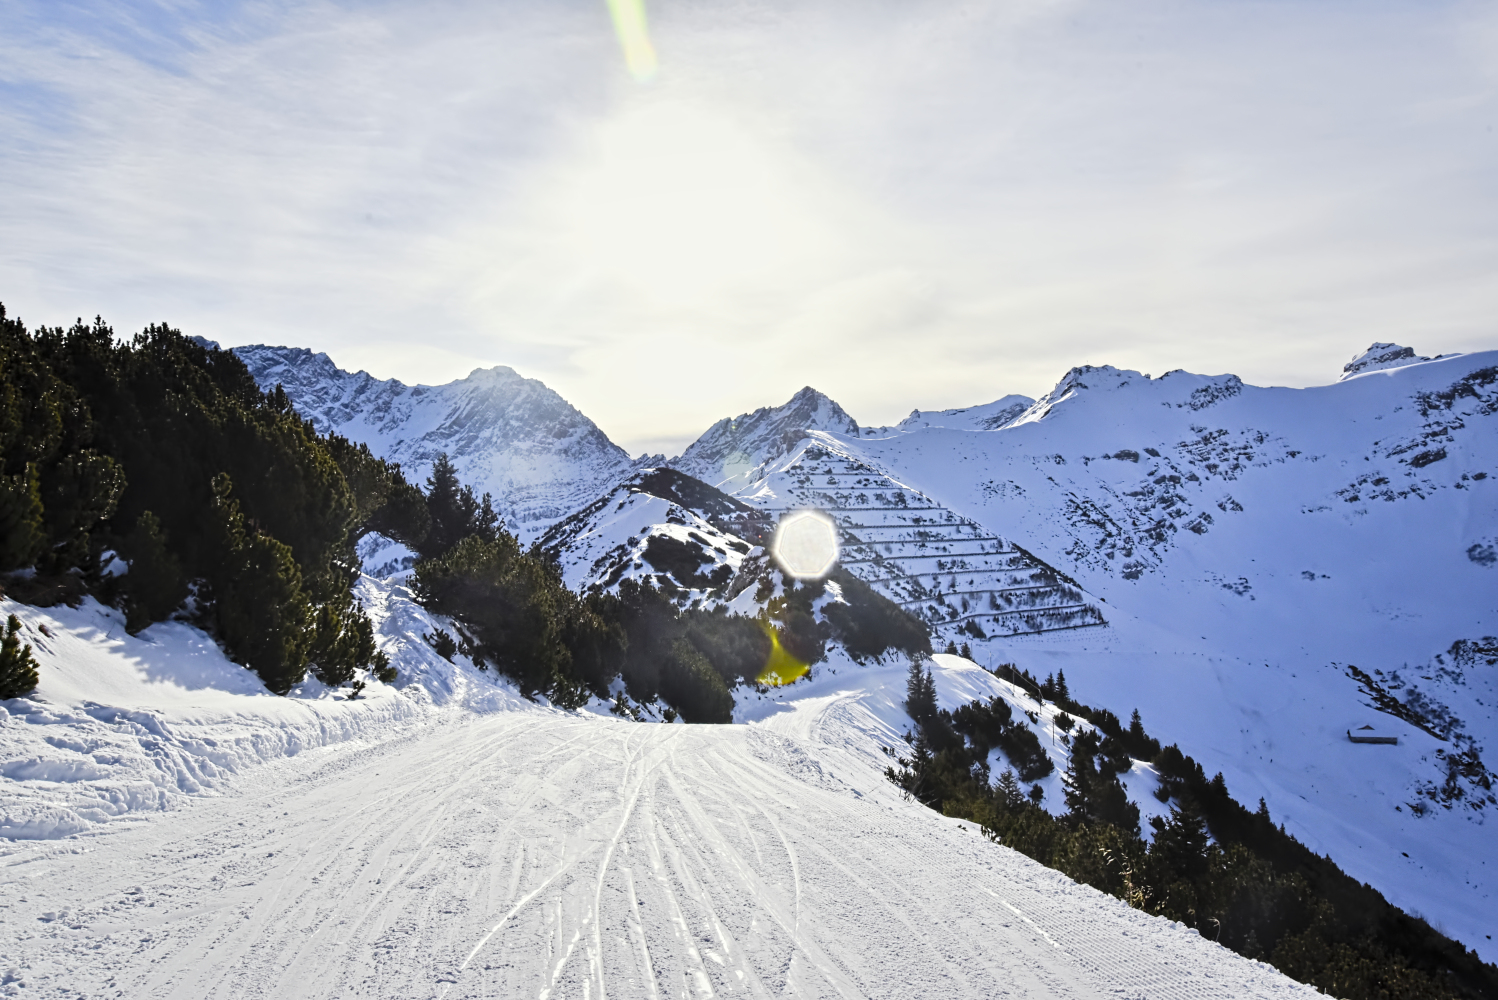
This is already what the camera generates:

enter image description here

Doesn't look like much, but that's mainly due to the lightness.

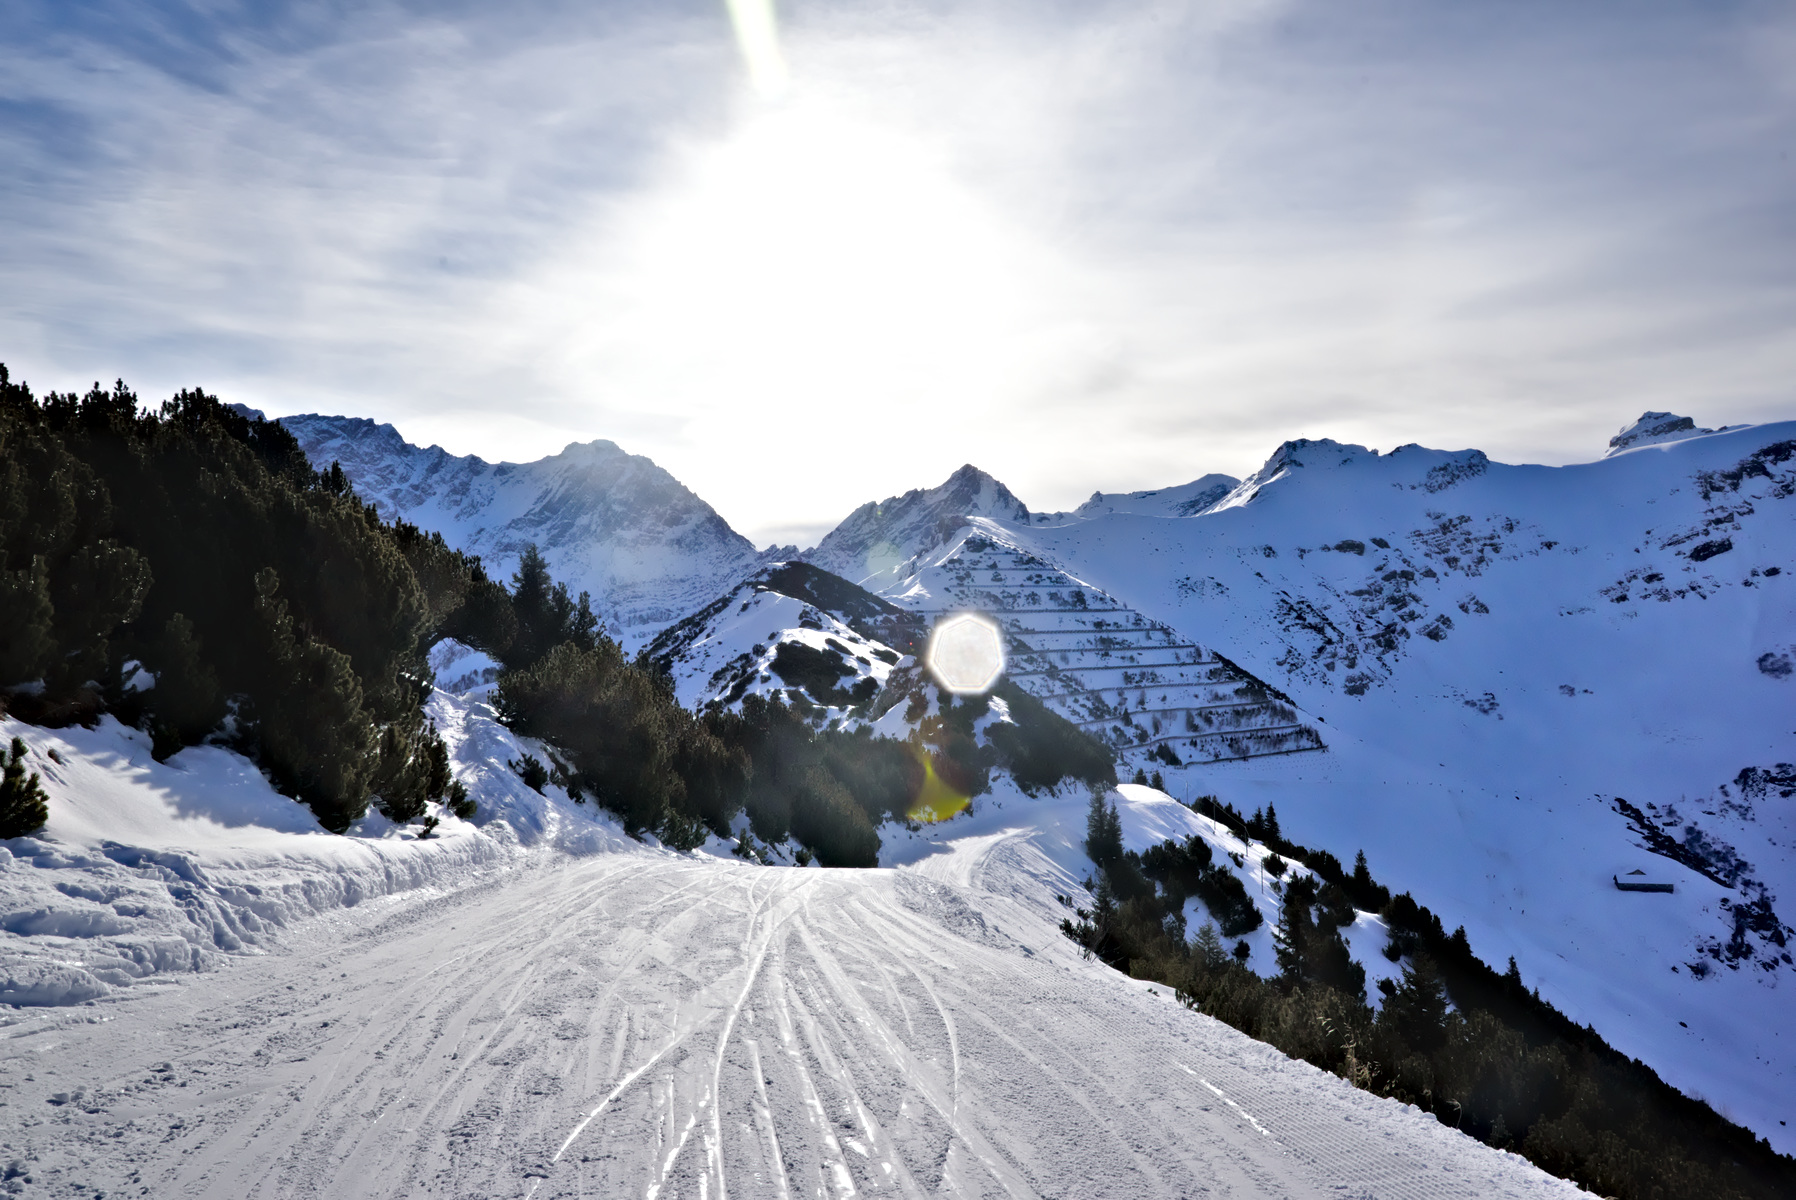
Based on the camera .JPG but not the .NEF, I can get:

enter image description here

Which has much more contrast on the cliffs on the mountainsides in the background.

What I tried to do in RawTherapee is to tweak the “Tone Mapping” and the “Contrast by Detail Levels” dials, and they both helped, but not nearly as much as when starting off with the JPG file (all .pp3 files available in the aforementioned archive).

Can you help me get results similarly good to the last picture while starting from the NEF (this would allow me to better preserve the dynamic range and reduce clipping).

\$\endgroup\$
2
  • 1
    \$\begingroup\$ Not really an answer but the pixls.us site 1) has some RT experts (including the author), and 2) has a "PlayRaw" topic where members can post RAW files (must be CC-BY-SA or better) to let other members have a go at them (with RT or other FOSS tools). The definite place to be if you are into open-source photography software. \$\endgroup\$
    – xenoid
    Commented Dec 30, 2018 at 23:16
  • 1
    \$\begingroup\$ Haven't you tried the "Local contrast" option in the RT's "details" tab and shifting the amount to the right? \$\endgroup\$ Commented Jan 1, 2019 at 12:12

1 Answer 1

2
\$\begingroup\$

What I tried to do was to:

  • Improve contrast but pull highlights and push shadows
  • Get exposure a bit up for a more vibrant look
  • Not introduce artifacts

To me, the out-of-camera JPEG looks really, really bad.


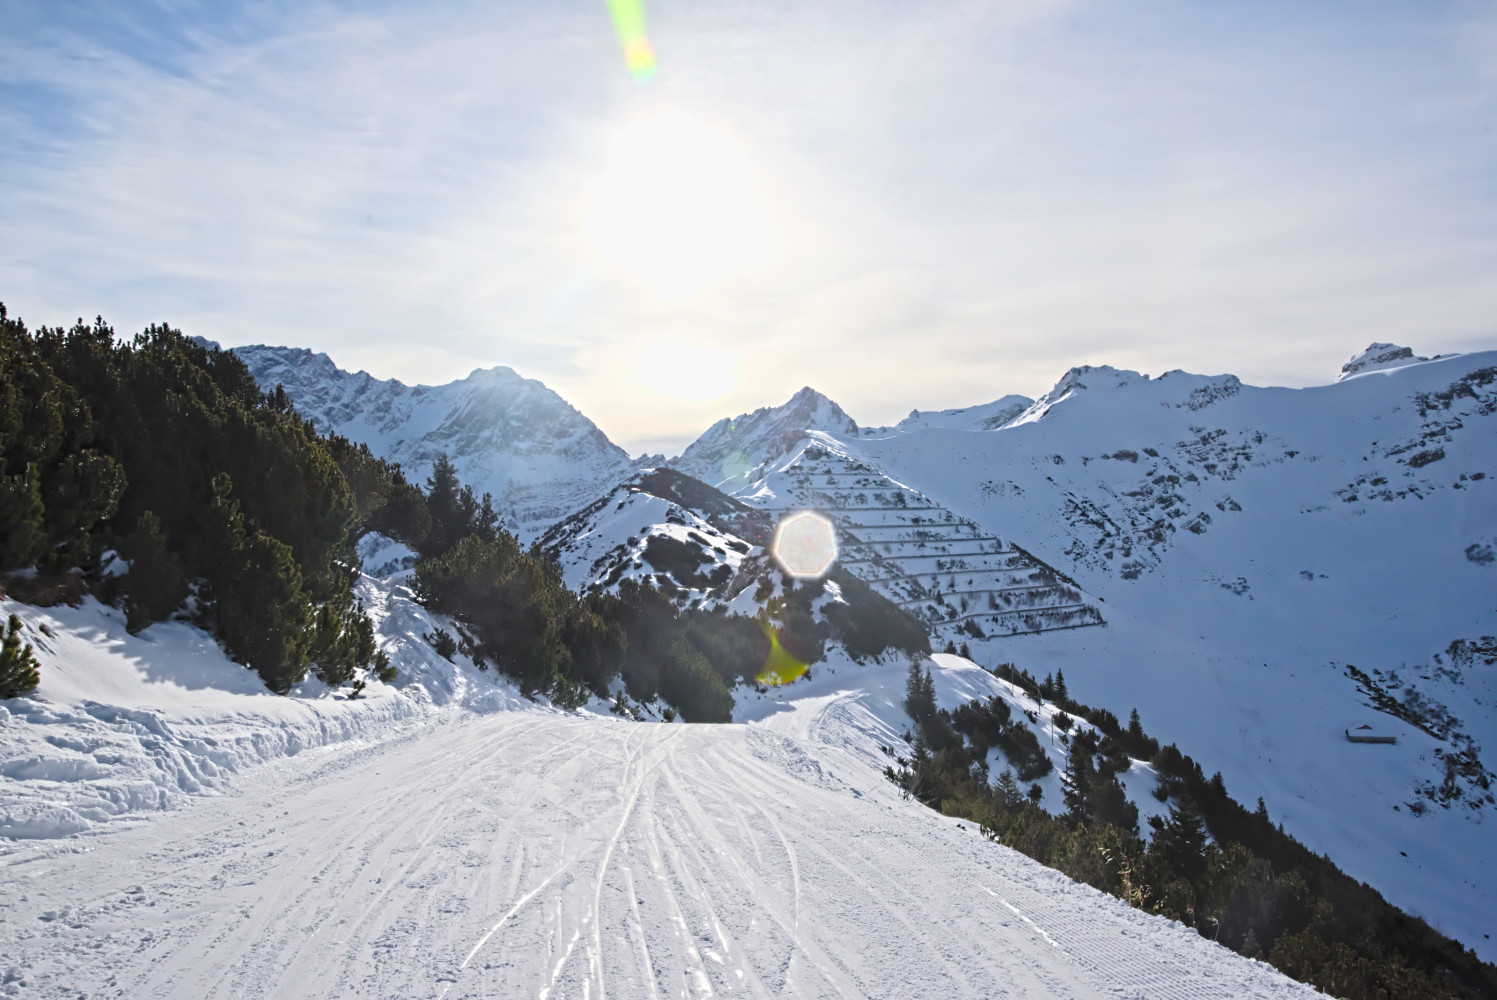
So I got this with the current dev-version (5.5-268-gbc3ce7bc0):

My try

Basically, it boils down to:

  • Exposure: EV compensation: +0.8, Highlight reconstruction (Luminance recovery)
  • A self-made, film-like Tone curve (1: 42.07 to 60.0, 2: 68.6 to 81.05)
  • Shadows/Highlights: Lab, Highlights: 70/76, Shadows: 60/34, Radius: 33
  • Local Contrast: 80, 0.37, 1.33, 1
  • Default impulse noise reduction
  • Noise reduction: Gamma: 1.48, Lum: 43.49, Recovery: 32.88, Chroma: Manual, 20.55, Median filter: weighted Lab, 3x3
  • Haze removal: 8
  • Color management: Adobe DCP for D750 (landscape), all options enabled; to RTv4_sRGB perceptual
  • Demosaicing: AMaZE+VNG64 demmosaicing, 1 color suppression step, hot pixel + dead pixel filter

If you want to further push the shadowy slides, you have some options:

  • Lab adjustments: Lightness (also pushes the trees)
  • Increase Shadows/Highlights - Shadows
  • Add a point in the lower third of the tone curve (not too much, though!)
  • Maybe with HSV equalizer

If you want to decrease the "fogginess" on the mountain peaks:

  • More haze-removal (will darken the shadowy slopes)
  • Use contrast by detail levels
  • Use soft light
\$\endgroup\$

Your Answer

By clicking “Post Your Answer”, you agree to our terms of service and acknowledge you have read our privacy policy.

Not the answer you're looking for? Browse other questions tagged or ask your own question.