33
\$\begingroup\$

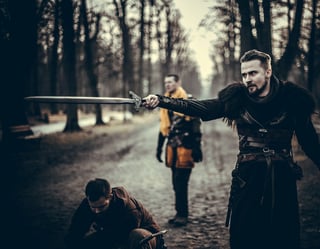
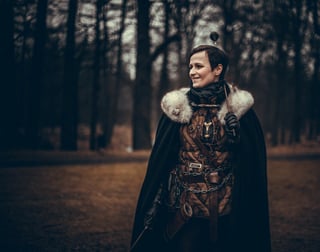
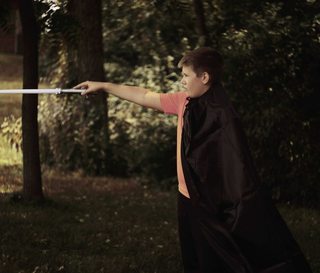
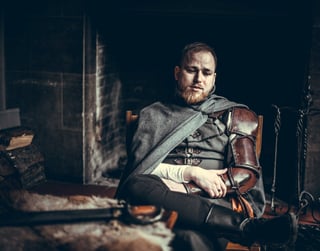
How do recreate pictures like the ones below?

They all appear to be lit a certain way. The colors are all very similar, with an overall dark, brooding aspect to them. The backgrounds are heavily blurred.

I am an amateur photographer just starting out, and I own a Nikon D3300 with the 18-55mm kit lens.

guy sitting in chair guy pointing sword woman

Editor's note: I've attempted to reverse-search these images to credit the source, but can find no trace other than self-referential.

\$\endgroup\$
6
  • 31
    \$\begingroup\$ What does "Like these" mean? The colors? The dark corners? The background blur? The costumes? Please read Important information for asking "What's this effect?" questions and edit this post accordingly. Make sure to use a descriptive title, too. Thank you! \$\endgroup\$
    – mattdm
    Commented Apr 3, 2018 at 13:32
  • 3
    \$\begingroup\$ Please specify what do you mean by "like these". There are number of effects there \$\endgroup\$ Commented Apr 3, 2018 at 17:04
  • 2
    \$\begingroup\$ As the OP may well be asleep right now, & as the Q/A has attracted so much interest, I was going to give it until tomorrow for the OP to edit; or if not then will make an attempt myself. \$\endgroup\$
    – Tetsujin
    Commented Apr 3, 2018 at 17:51
  • 1
    \$\begingroup\$ @Glad You probably should give credit or a link to the source of these images. \$\endgroup\$
    – Michael C
    Commented Apr 4, 2018 at 23:42
  • 2
    \$\begingroup\$ I've attempted to add detail to the question, hopefully without making it look like it was written after the answer. \$\endgroup\$
    – Tetsujin
    Commented Apr 5, 2018 at 10:00

5 Answers 5

129
\$\begingroup\$

I can see three very clear aspects that all three photos share, so let's concentrate on those.
Two can be done in camera, the third is a software process.

I didn't have time to costume a collection of actors or find a nice medieval-style location... but I have a toy bear & my living room, with a bookcase in the corner.
I didn't set up any lighting for this, for two reasons [& only one of them is because I couldn't be bothered ;-)

Each of these could also fill a book, so I've skirted many aspects very briefly.

1. Lighting.

The lighting is 'hard' - that is, there is a clear source for the main light, shadows are quite noticeable, & also the overall lighting levels are quite low, with highlights.

Here's the happy little chap, facing my large window with thin muslin curtains. This is big, wide light & as you can see he's quite evenly-lit. If you look carefully you can see the reflection of me & the window in his nose.

click any image for a larger size

enter image description here

So, let's turn him round so he's only lit from one side & at the same time reduce the overall exposure - very moody...
You can also see the bookcase - we'll be coming to that later
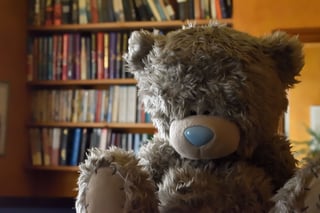
enter image description here

That doesn't yet really look like your examples - but it has a hint. This brings us to

2. Colour palette

Your images have had their colouration tweaked. Browns are in, blues are out.
The costumes & locations were also chosen to emphasise this.
They also have quite heavy distinction between the dark areas & light areas.
For this we're going to need Photoshop, or Gimp, or the image editor of your choice.

Let's change our colour palette & harden up those lights & darks... It's not perfect but we're moving in the right direction. [I've done all it too much so you can more easily see it] I've also added a vignette - that's a darker "circle" around the edges of the image which your 2nd & 3rd images show.
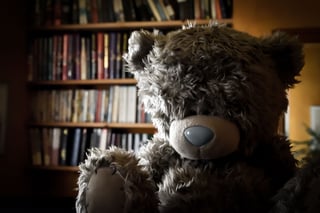
enter image description here

3. Depth of field.

This is the difficult one to do with the 18-55 kit lens.
See how so far our bookcase in the background is really too clear. We don't want all that detail distracting us from the final image. Even in your first example where the sword in front & fireplace at the back are relatively close, they're already out of focus - which makes us concentrate on the main subject better. The other 2 images have a lot more distance to play with, so the effect is even greater.

Depth of field is basically 'what range of distances is in focus', so to reduce that to get our background out of focus we need to do one [or more] of 3 things. We need a wide aperture, a good distance between our subject & the background &/or a longer lens.
To your problem - the 18-55 doesn't have a wide enough aperture to do this, nor is it long enough to overcome it any other way... so this is going to be a stumbling block. However, let me show how you can achieve it, or try...

Our original picture above was done using an intentionally small aperture, to show the bookcase reasonably in focus. To get our shot to match your examples we need to do the opposite, as wide as we can go, i.e. the smallest number available to us. We also need to set the lens as long as it will go; at 55mm, the aperture on the 18-55 will only open to 5.6, so we get this...
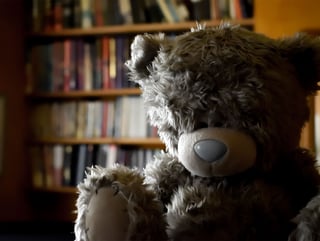
enter image description here

Distance to bear approx 2ft, to bookcase about 15ft. It's got more blur than our first attempt, but not as much as your examples. Unless you can do this in software using some kind of blur tool, that's the best you're going to achieve with the kit lens. It's not bad, but it's not quite the look you were going for.

Just as a final example, I swapped to a very wide aperture lens, a 50mm 1.4 which can reduce the bookcase to this...
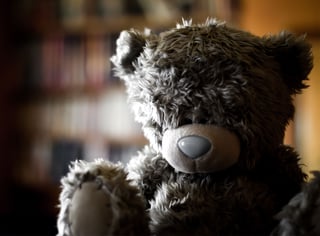
enter image description here

I still haven't perfectly reproduced your example images, but I hope I've given you somewhere to start. Many of the specifics I've skipped over quite quickly, but there are tutorials on the net for all aspects of this, each in greater & greater detail.


For this quick run-through of the 3 main features as I see them, I've ignored that pics 2 & 3 very likely have additional fill light from the front & that the lens used has a very distinctive bokeh pattern - maybe someone else can tell how that is done, perhaps an anamorphic lens? It does seem to have a lot of 'vertical aspect' to it, but it's not something I could attempt to correctly identify.
Late Edit:
This bokeh pattern now has its own QA - Besides mirror lenses, what can cause ring-shaped bokeh?


As mentioned in comments...
You can achieve a shallower depth of field using a camera with a larger sensor; though that's outside the scope of the question as asked, which is how to do it on an APS-C.

Additionally, the photos do show the 'crushed blacks' filmic look, which I'm not really a fan of, but here's a link to a tutorial on how it's achieved - Creative Market-How To Achieve That Crushed Black Film Look in Photoshop and Lightroom & here's a quick example of how it would look on the previous image.
Very Late Edit:
It appears there's some confusion over whether this should be termed 'crushed' blacks or 'lifted' blacks. This article attempts to clear this up [& after reading it I have to agree it's very probably right] Photofocus - The term “Crushed Blacks” has got people confused!
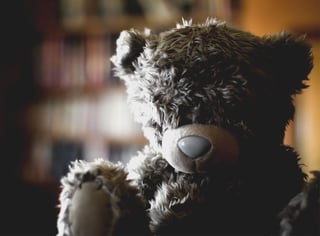
enter image description here

More from comments:
if we number the pics 1 through 6, then 1 - 4 were done on a kit 18-55, 2 & 3 are the same shot before & after tweaking in Photoshop. 5 & 6 are the same shot, done on a 50mm 1.4.
Each new shot has a quick re-do of the same processing the previous shot had explained - so the effect is cumulative, even if the shots are different.

\$\endgroup\$
12
  • 21
    \$\begingroup\$ This is amazing. \$\endgroup\$
    – lucasvw
    Commented Apr 3, 2018 at 14:14
  • 2
    \$\begingroup\$ A very good answer to a slightly broad question! It could also be noted that the shadows seem to be crushed in the example pictures. \$\endgroup\$ Commented Apr 3, 2018 at 14:15
  • \$\begingroup\$ The two things that are going to increase the OPs depth of field are the aperture of the lens as you mentioned, but also the sensor size. The smaller APS-C sensor will have a greater depth of field than a full frame camera which is going to make a blurry background harder to achieve. \$\endgroup\$
    – JPhi1618
    Commented Apr 3, 2018 at 14:25
  • \$\begingroup\$ @R.M - definitely on the crushed blacks; I just thought it might be a bridge too far on a 'newbie tutorial' I was already using a lot of space on. \$\endgroup\$
    – Tetsujin
    Commented Apr 3, 2018 at 14:28
  • 3
    \$\begingroup\$ I +1ed just for the "I don't have actors and a setting, but I have a toy bear and a bookshelf". That you followed it up with an excellent answer in which you conclusively showed a toy bear and a bookshelf to be enough is icing on the cake. \$\endgroup\$ Commented Apr 5, 2018 at 11:46
4
\$\begingroup\$

A great place to start would be David Hobby's blog Strobist. He is very good at explaining how he creates his photographs – both the methods and, perhaps more importantly, the thinking behind them.

What, I think, you like about those photos is the way they are lit. You can do that with very simple equipment. Mostly it is about learning to see the light and then to imagine it in your head so that you can create it.

Another great resource is the book Light: Science and Magic by Fil Hunter, Paul Fuqua, and Steven Biver – it's been through a number of editions and you can learn the important stuff from any of them. So if money is tight get an old used one (or go to your library).

The camera and lens that you have are more than good enough to get you started down that road. You might find yourself wanting a bit less depth of field than your lens will easily give you, but you can work around that by playing with the relative distances between the camera, subject, and background.

\$\endgroup\$
1
  • 1
    \$\begingroup\$ With a little searching you can find Light: Science and Magic as a free download. \$\endgroup\$
    – Michael C
    Commented Apr 4, 2018 at 23:38
2
\$\begingroup\$

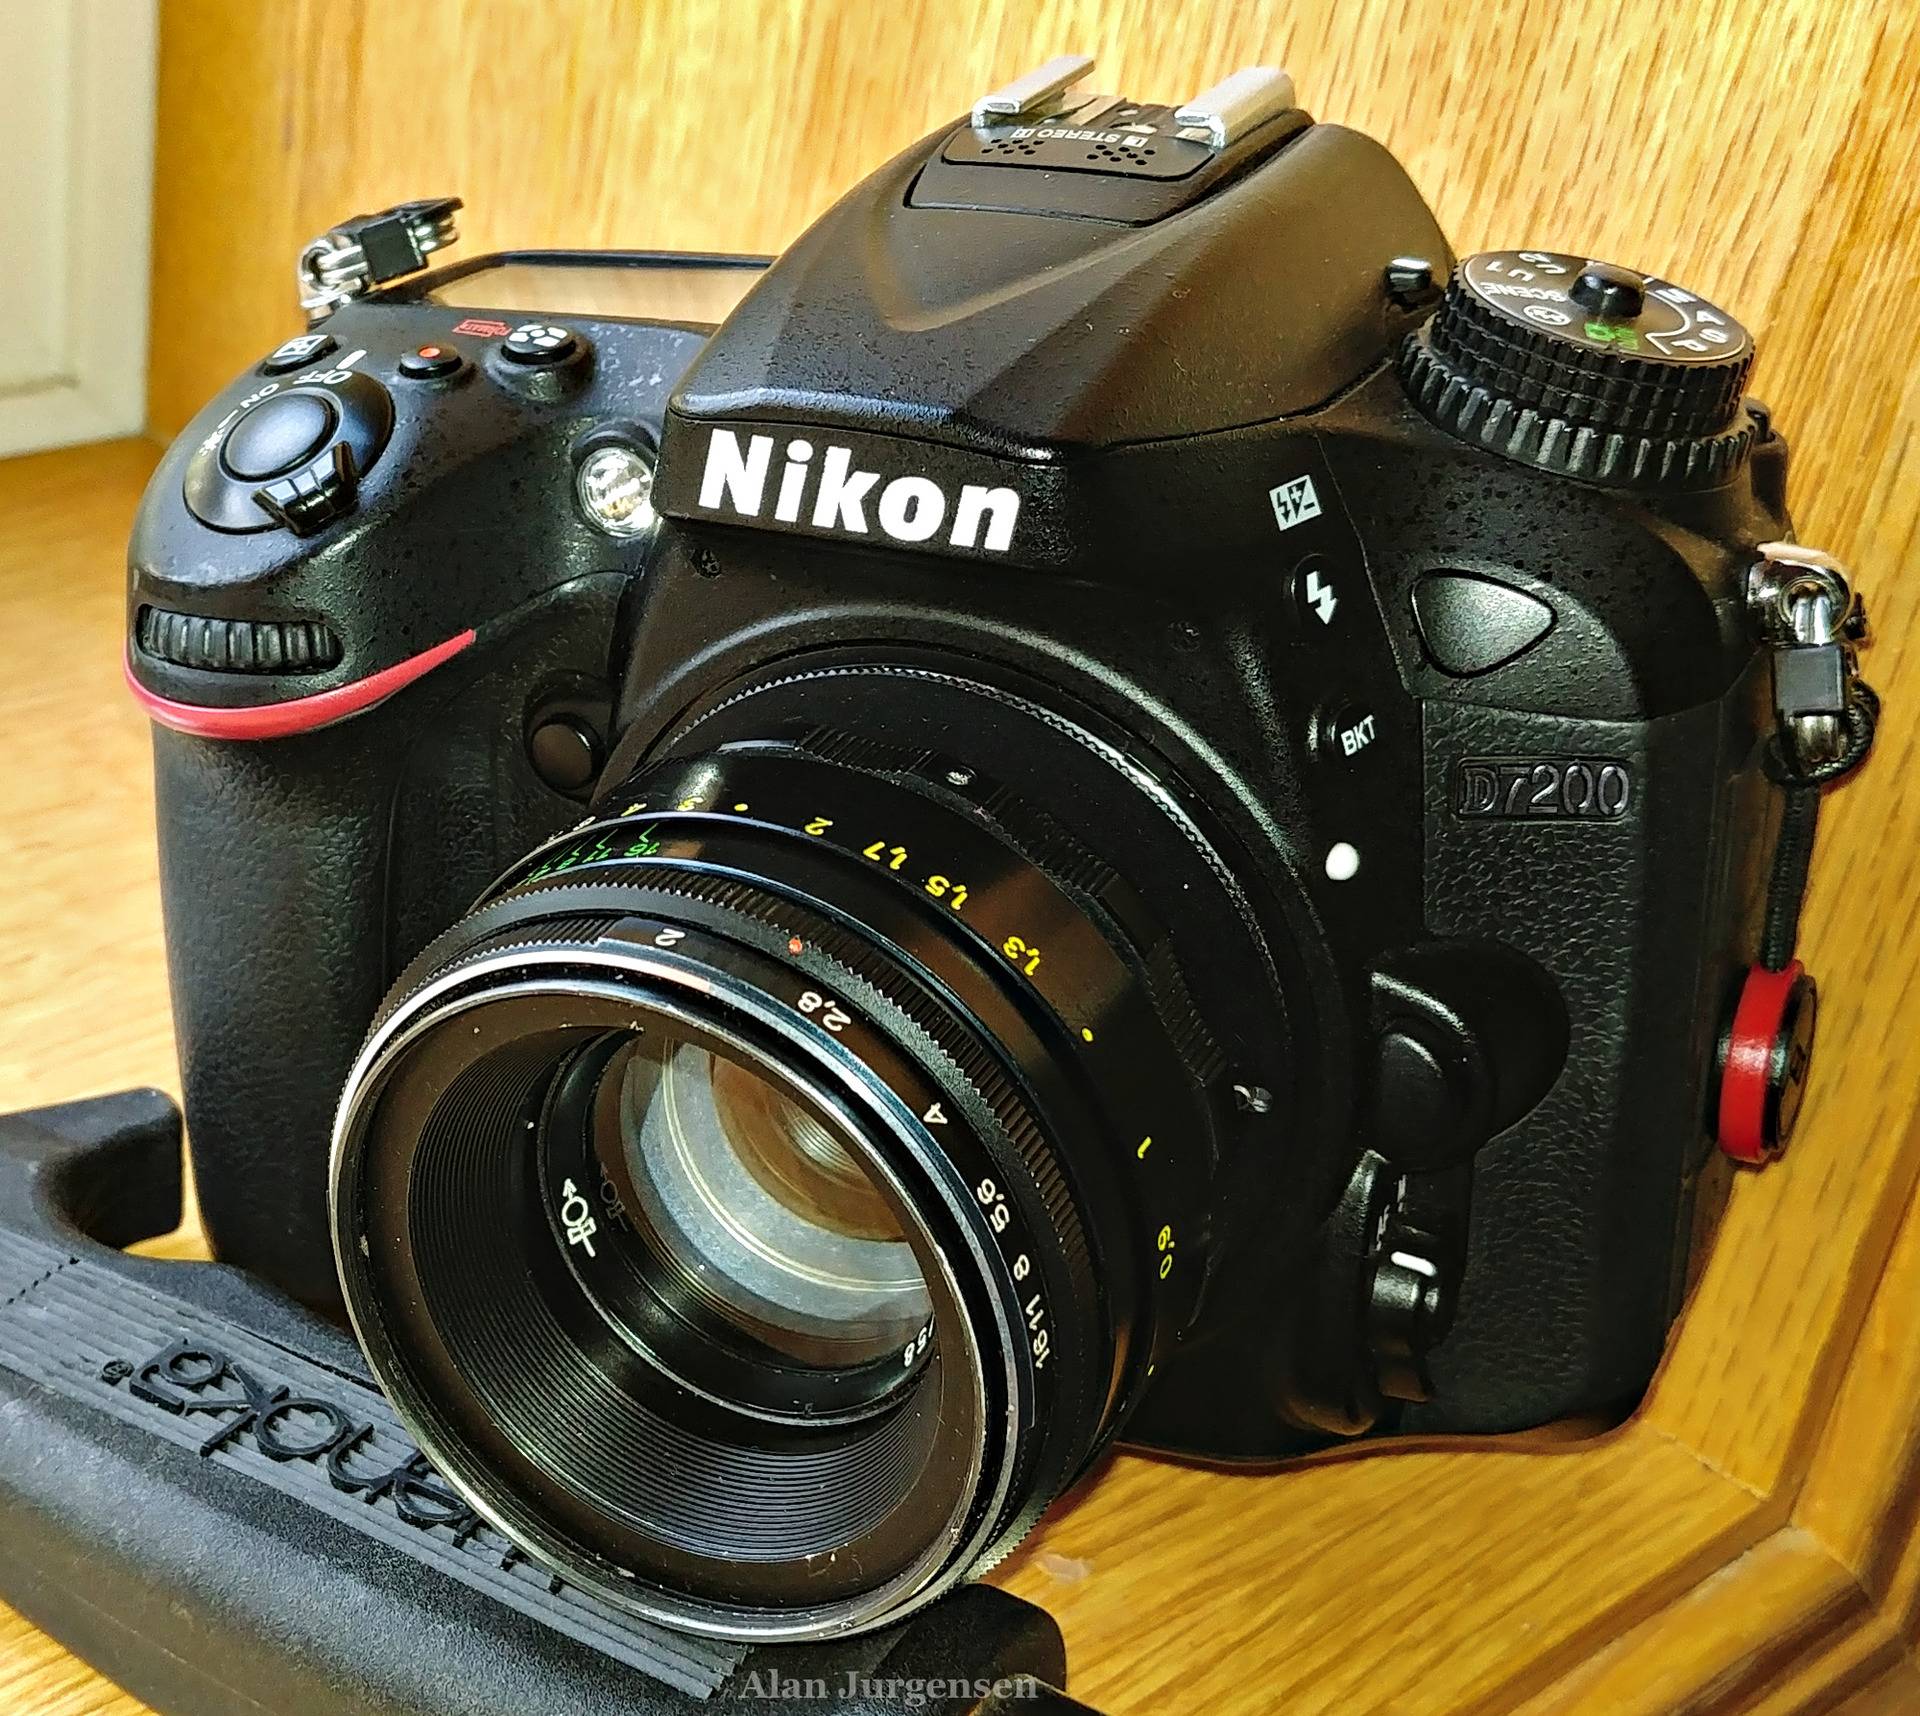
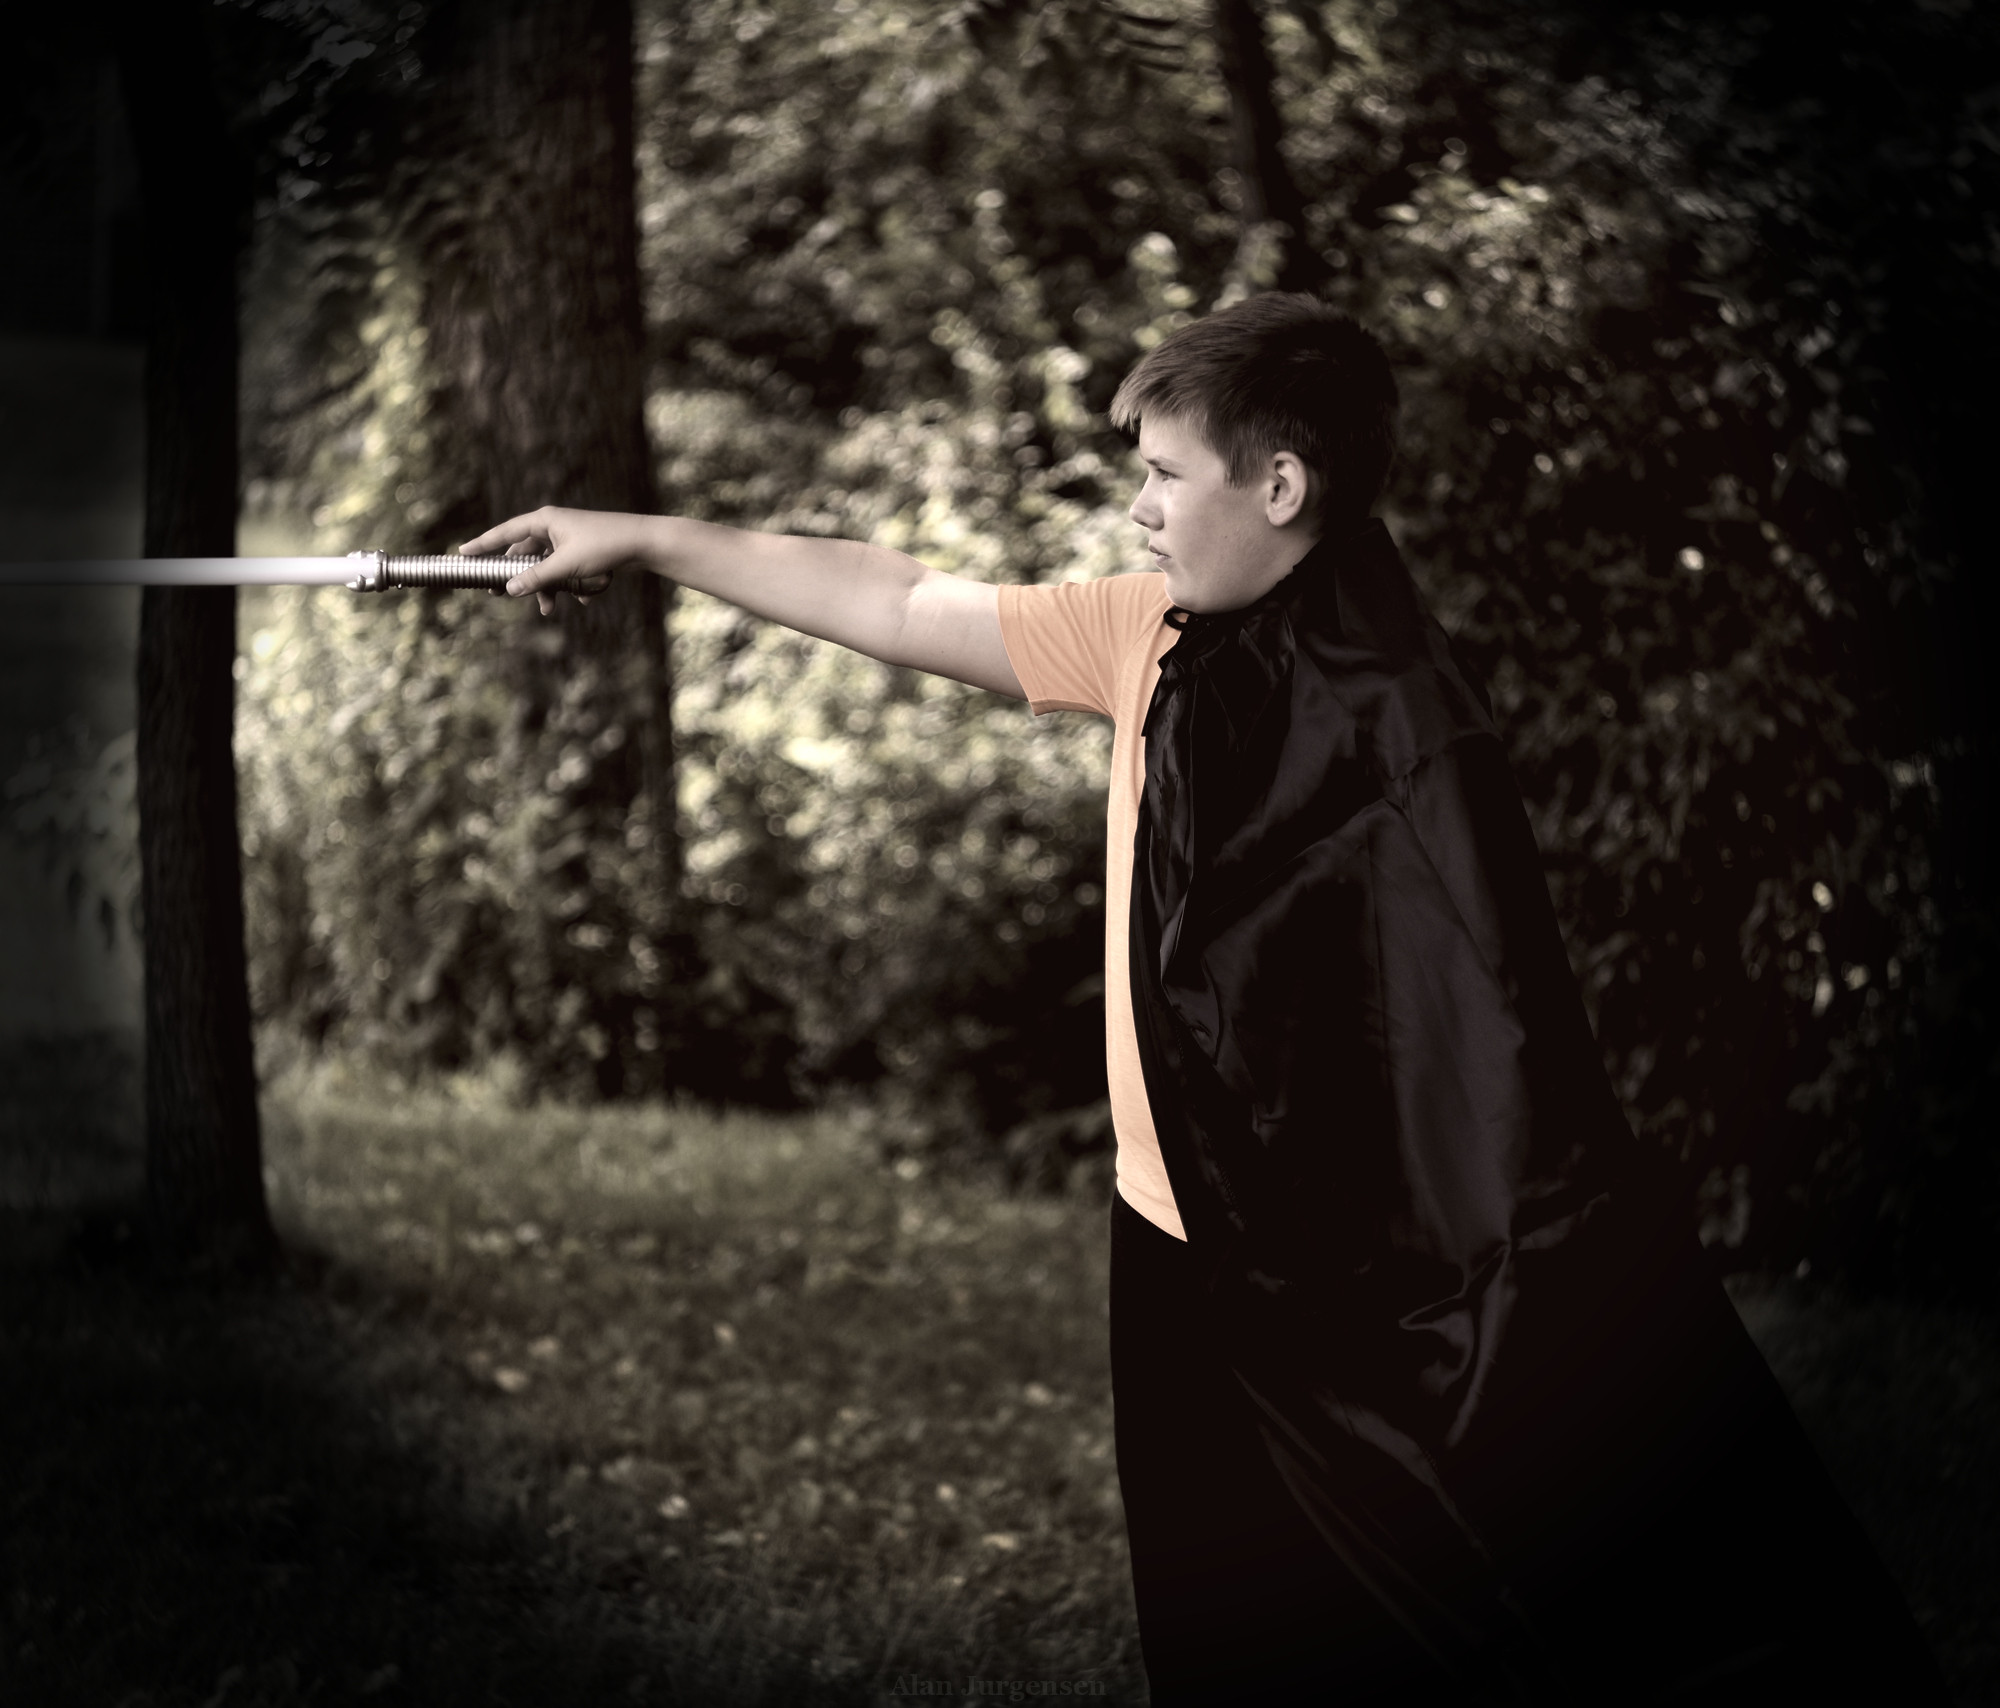
I recognized the swirly bokeh as possibly being a Russian or European lens. So I attached my Helios-44-2 58mm MF f/2 to my Nikon D7200...
enter image description here

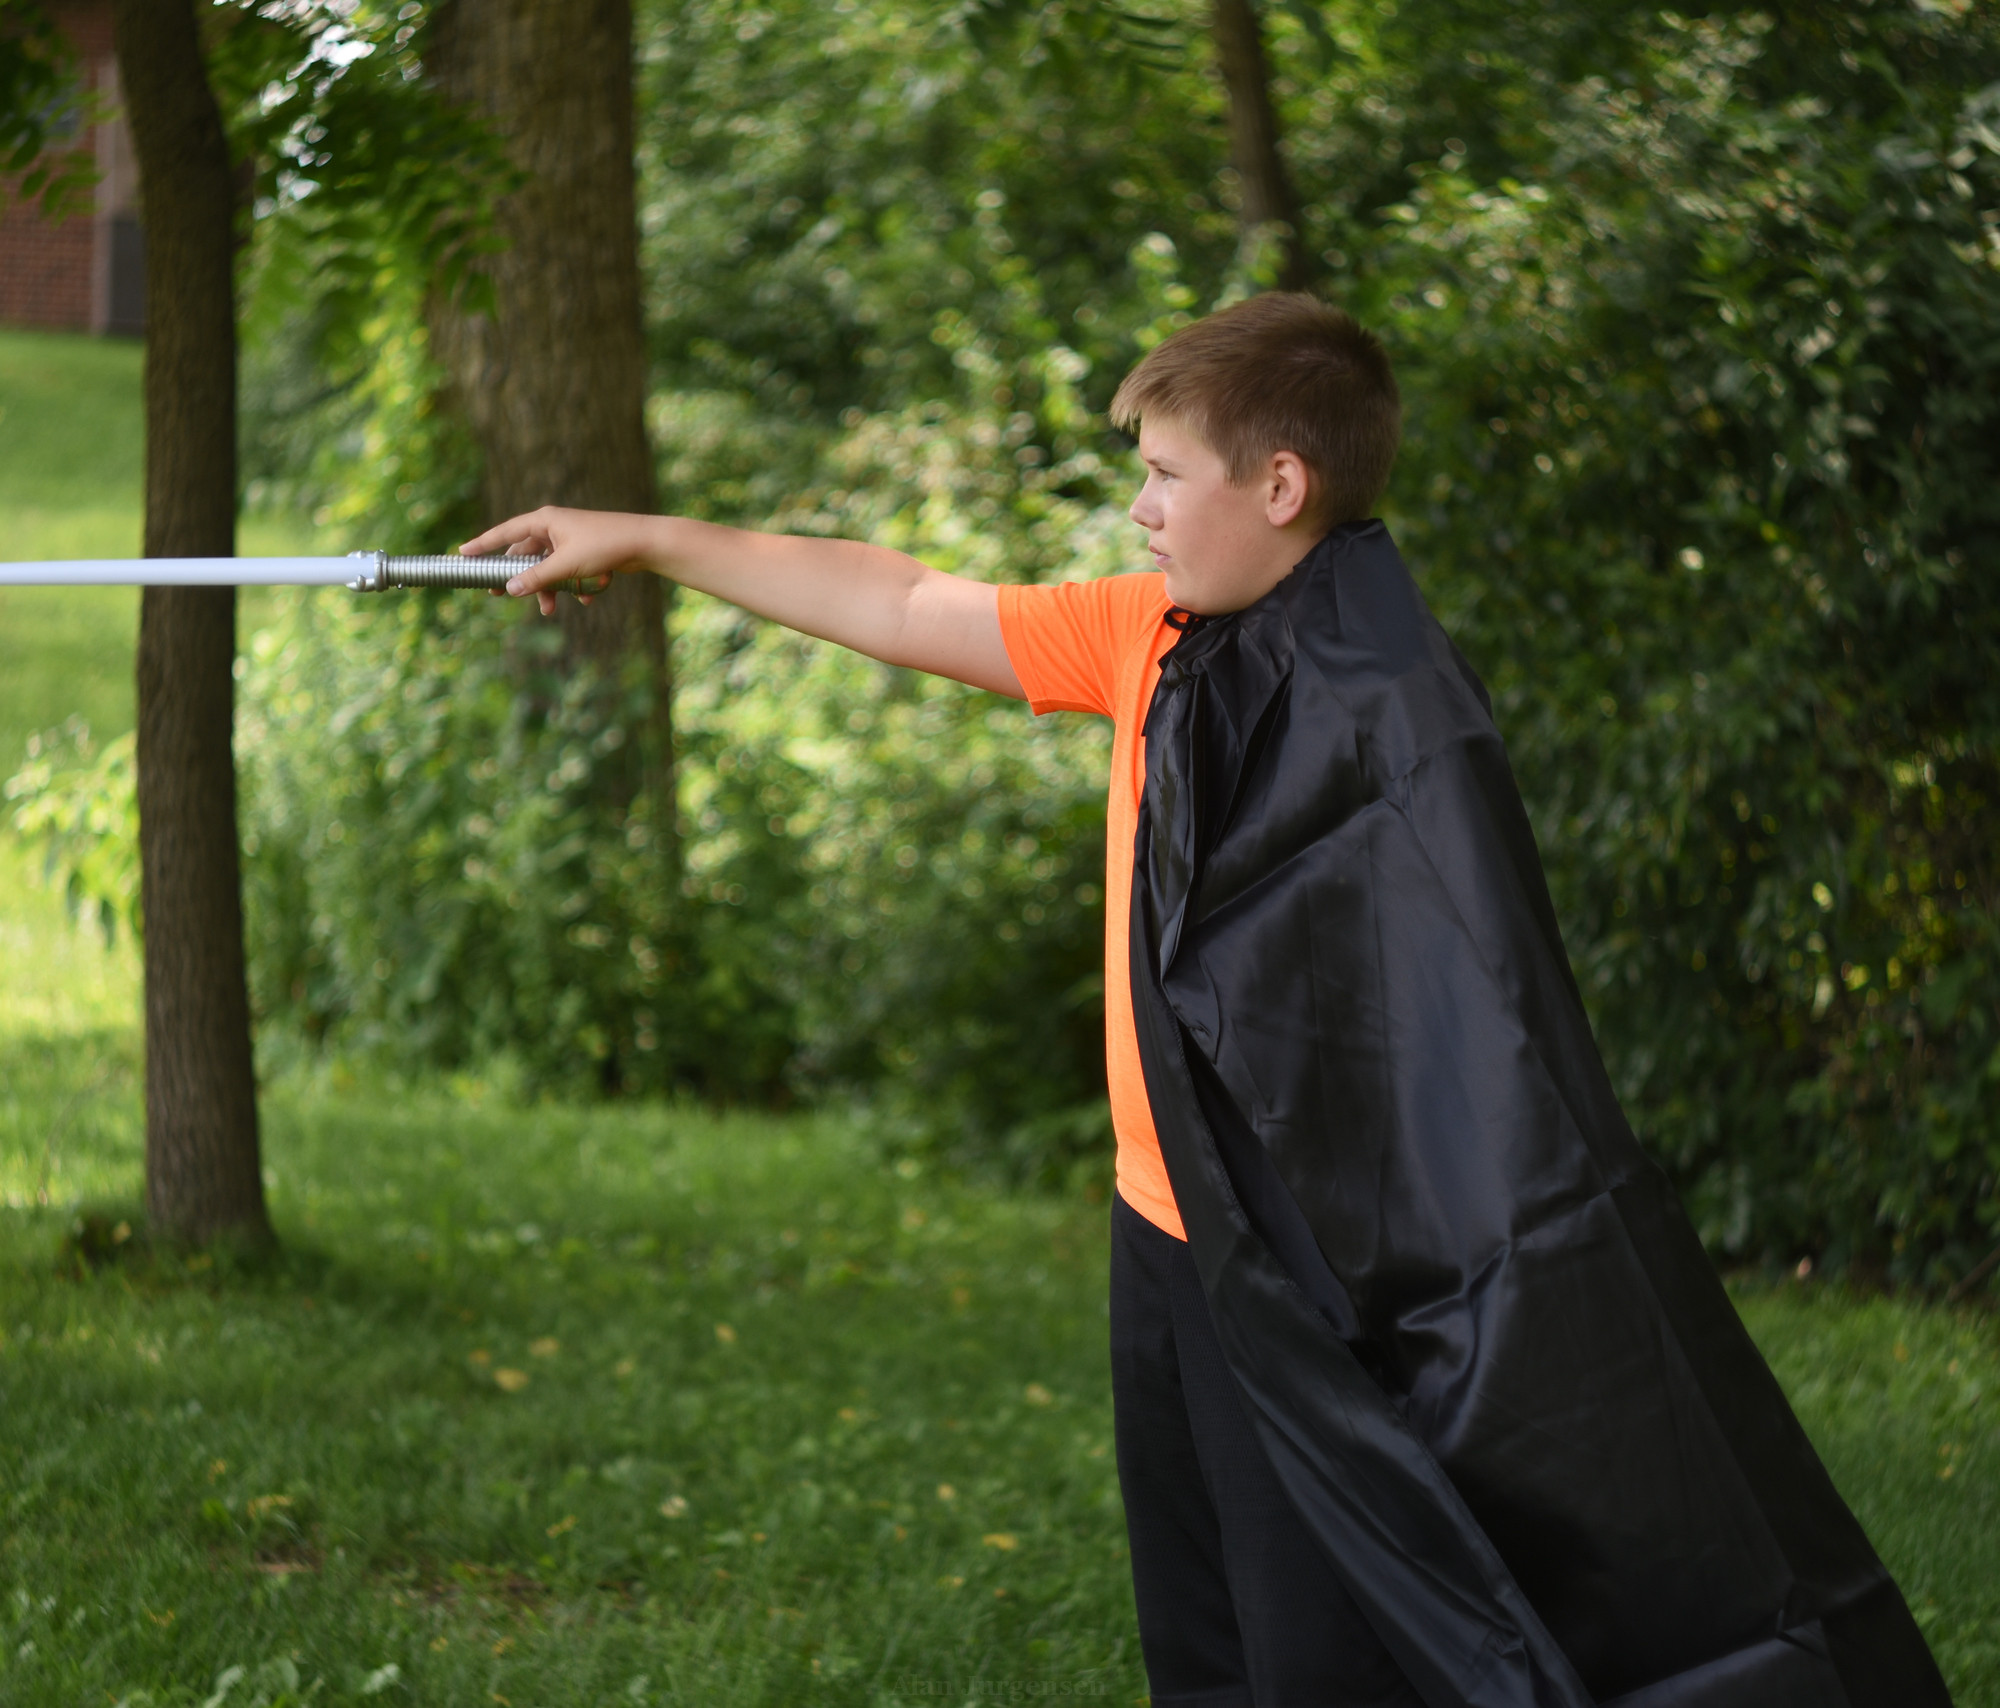
then I bribed my son for 10 minutes of posing and while its clearly not the cool Game of Thrones scenes in the question... lets see if Darktable (free for Win,Mac,Linux) can conjure up that feel.

Original Jpeg from the d7200 (cropped): camera original

Darktable post-processed image: darktable post-processed

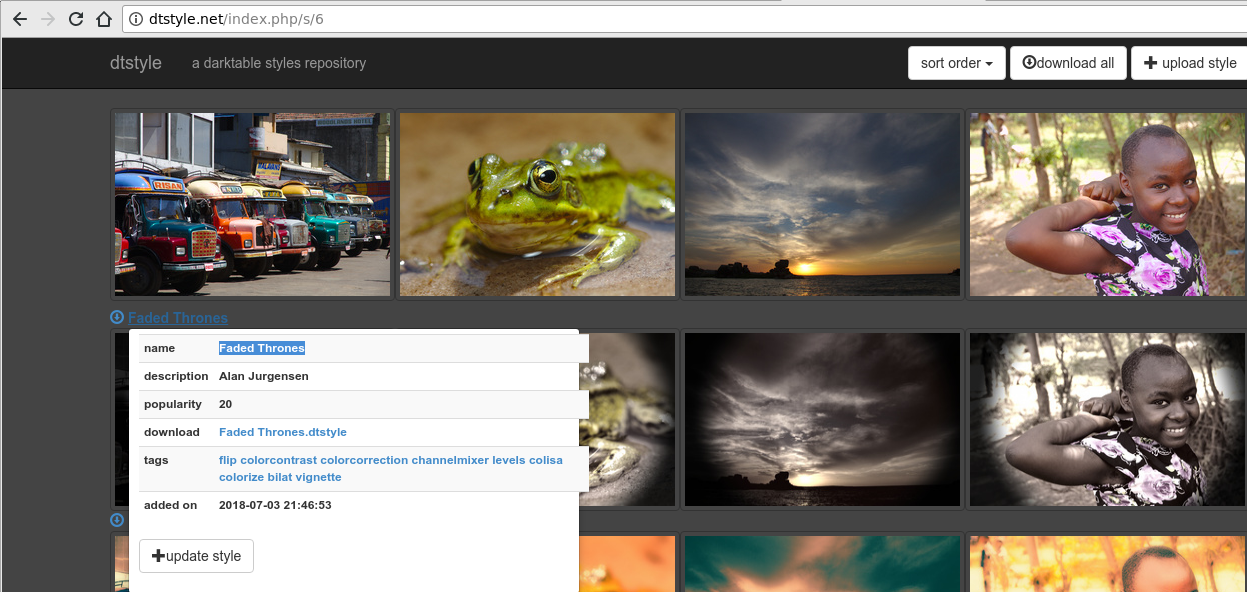
Some of the Darktable modules I used you can see named on the right. Basically bring down the tonal range, add vignetting, etc. Note that I shoot Jpeg not raw, and Darktable lets me do most anything I have needed. darktable modules

Those tweaks I saved into a Darktable "style" named Faded Thrones. You can find it for download at dtstyle.net. Just choose Sort Order descending and you'll see Faded Thrones near the top: Faded Thrones style

I use Darktable exclusively on Linux, sometimes in addtition with Photomatix for HDR shots. Here are some urls:

\$\endgroup\$
1
\$\begingroup\$

CLUTs (Color Look-Up Tables)

The sample images appear to have been created to specifically emulate a cinematic look. I suspect that a CLUT was applied to a color-corrected original. This is a technique used more in cinematography than photography.

The "Lomography Redscale 100" HaldCLUT is a good place to start. After that, decrease shadows and highlights, desaturate, add some vignetting, and crush levels.

Bokeh

Notice the ring-shaped or "bubble" bokeh, which is caused by the type of lens used to record the image (Cooke Triplet). (Different from swirly bokeh, which is caused by a different lens feature.)

The specific type of bokeh may be less important than just having the right amount. Use longer focal lengths with larger apertures. If you have to choose between focal length and aperture, focal length tends to be more important. Get the subject close to the camera and far from the background. Notice how far away the trees are.

Vignetting

Don't over-do it. Notice that details are still visible in most of the corners.

Try to choose a lens that has natural vignetting, which you can enhance in post by decreasing shadows. Turn off any corrections your camera may be automatically applying.

Examples

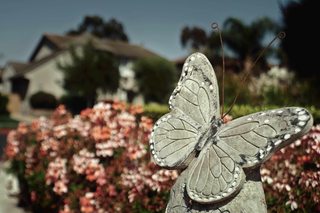
Here I start with a fairly cheerful image (Makinon 28mm F2.8), and try to make it less so:

butterfly-statue

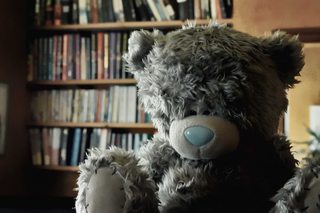
This is what I get with @Tetsujin's bear (18-55mm/F3.5-5.6 @ 55mm/F5.6).

tetsujin-bear

Basically the same thing with @AlanJurgensen's photograph (Helios-44-2 58mm MF f/2), except swapped Red and Green channels and did some layer blending to change the color of the foliage.

AlanJurgensen-photo

\$\endgroup\$
0
\$\begingroup\$

The pics shared by you, are most probably shot in RAW format, and have been through some form of post processing in some image manipulation software like Photoshop or Lightroom.

You can go almost close to these pics by fiddling with the custom colour profiles in your camera.

For these kind of pics, the kit is not the main tool, its the software used, after the pics have been captured, which brings out the effects seen there.

Since you are a beginner, remember that capturing a good image is the most important part of the learning curve. Software and other manipulation is a bit secondary, but, that is only my opinion.

\$\endgroup\$
7
  • \$\begingroup\$ ok, i guess i can play around with the curves, saturation and contrast to get the effect. What about the focus though? how is it that from a longer distance this picture has such a blurred background and the subject remains so sharp? \$\endgroup\$
    – Glad
    Commented Apr 3, 2018 at 8:07
  • \$\begingroup\$ Some of that is attainable with your existing lens, for everything else, you will need a lens with a aperture of 1.8 or better. Its not good to advise lens purchases, since you are a beginner. Most beginners make the mistake of buying too much kit with too less experience. \$\endgroup\$
    – ATG
    Commented Apr 3, 2018 at 8:18
  • 1
    \$\begingroup\$ +1 but I would skip paragraph 2. Instead, set your camera to save raw files and learning about processing those in lightroom or a free alternative such as PhotoScape \$\endgroup\$
    – user16259
    Commented Apr 3, 2018 at 9:06
  • \$\begingroup\$ PS and LR won't help him learn fundamentals. They can make a good pic great. But a good pic is what is required in the first place. \$\endgroup\$
    – ATG
    Commented Apr 3, 2018 at 9:17
  • 3
    \$\begingroup\$ "have been through some form of post processing in some image manipulation software" applicable to 99% of images \$\endgroup\$ Commented Apr 3, 2018 at 17:05

Your Answer

By clicking “Post Your Answer”, you agree to our terms of service and acknowledge you have read our privacy policy.

Not the answer you're looking for? Browse other questions tagged or ask your own question.