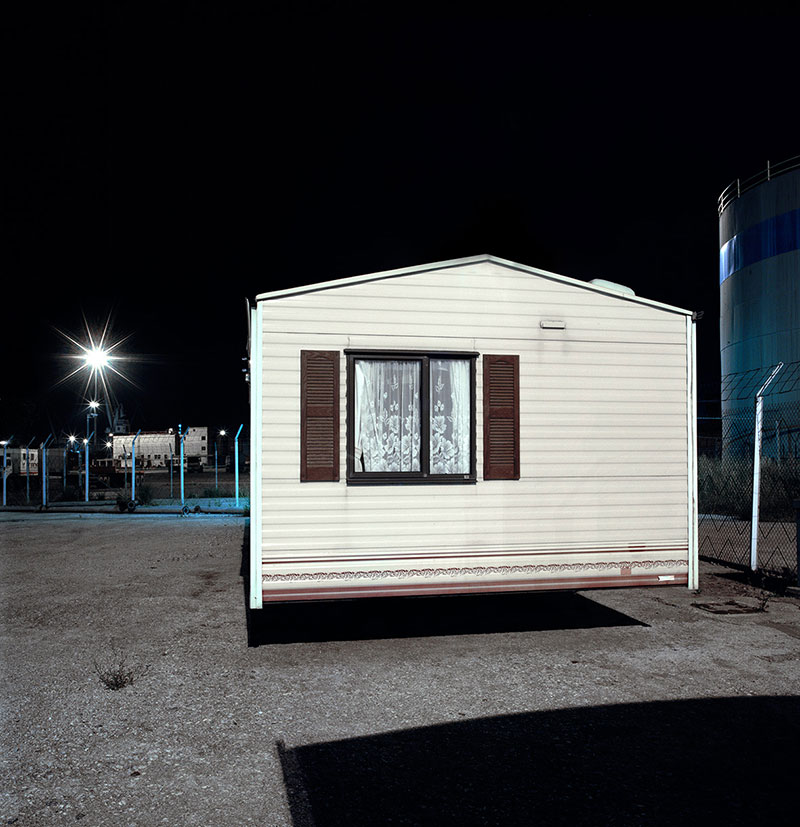
All you can do is experiment, really. Nighttime photography has its own peculiar set of problems, especially where film is concerned, and you really can't rely on anything that looks like an easy recipe.
Reciprocity failure is a thing, and it's variable with conditions (temperature, mostly) and film age as well as with extended exposure time. I don't know if it's still the case, but film used to come with an information sheet in the box that would give you "factory adjustments" for reciprocity failure, assuming fresh film and a temperature of about 20 Celsius, but you would need to bracket your exposures to make sure of getting a good one. (If the info sheet isn't included anymore, you should be able to find the info online.) A half-stop down (0.7 times what you think you need), and a half-stop (1.4X) and a full stop (double) up, in addition to the calculated exposure, will cover most of the variation. Once your exposures get really long (into the hours), then your bracket needs to be bigger. (The usual way of handling that was to use multiple cameras and close the shutters an hour or a half-hour apart. Expensive, yes, but you can't do a four-hour bracketed exposure with one camera in one night.)
To rein in the contrast, you'll need to pull your film. That is, if you're shooting a 160-speed film, you would rate it at, say, ISO 80 (a one-stop pull) or ISO 64 (1-1/3 stops), then specify pull processing if you sent the film to a lab. In other words, you're overexposing to get the shadows and under-developing to keep the highlights from blowing out. That will leave you with a "flat" picture, something like an unprocessed HDR image, that will probably need some attention to print properly, something that's a whole lot easier to do in black and white than it is to do in colour (the printing process has reciprocity failure too, and in colour that means colour shifts, so dodging and burning means adjusting filter packs). If you are getting the negs scanned, the whole process is much simpler in Photoshop (or a similar program).
As for sharp, don't hope for too much there if you have bright lights in your scene. You will get halation (light scattering through the film) around bright highlights when you expose, and development is to some extent "contagious" (areas of film around highly-exposed patches will darken because of all of the activity next to them), so there is a limit to how sharp bright elements next to dark elements can be. You can have the finest lenses and the best technique, but you can't get around the physics of the film itself. (In brighter conditions, the darks are much less dominant so you don't notice the effect nearly as much.) Downrating the film will make halation worse, but whatever you lose there you gain back in reduced development, so it all balances out in the end.
I know... not much of an answer if you were looking for an answer. But it's not a question that has an easy answer, I'm afraid. Heavy bracketing, getting to know the film you've chosen well enough to determine how close the data sheet is to the truth and how much you'd need to pull your film (and when to do that) and reducing your expectations in some areas have always been part of the game.


