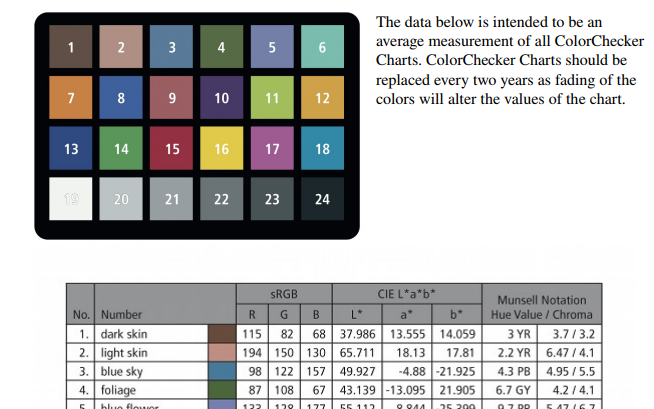
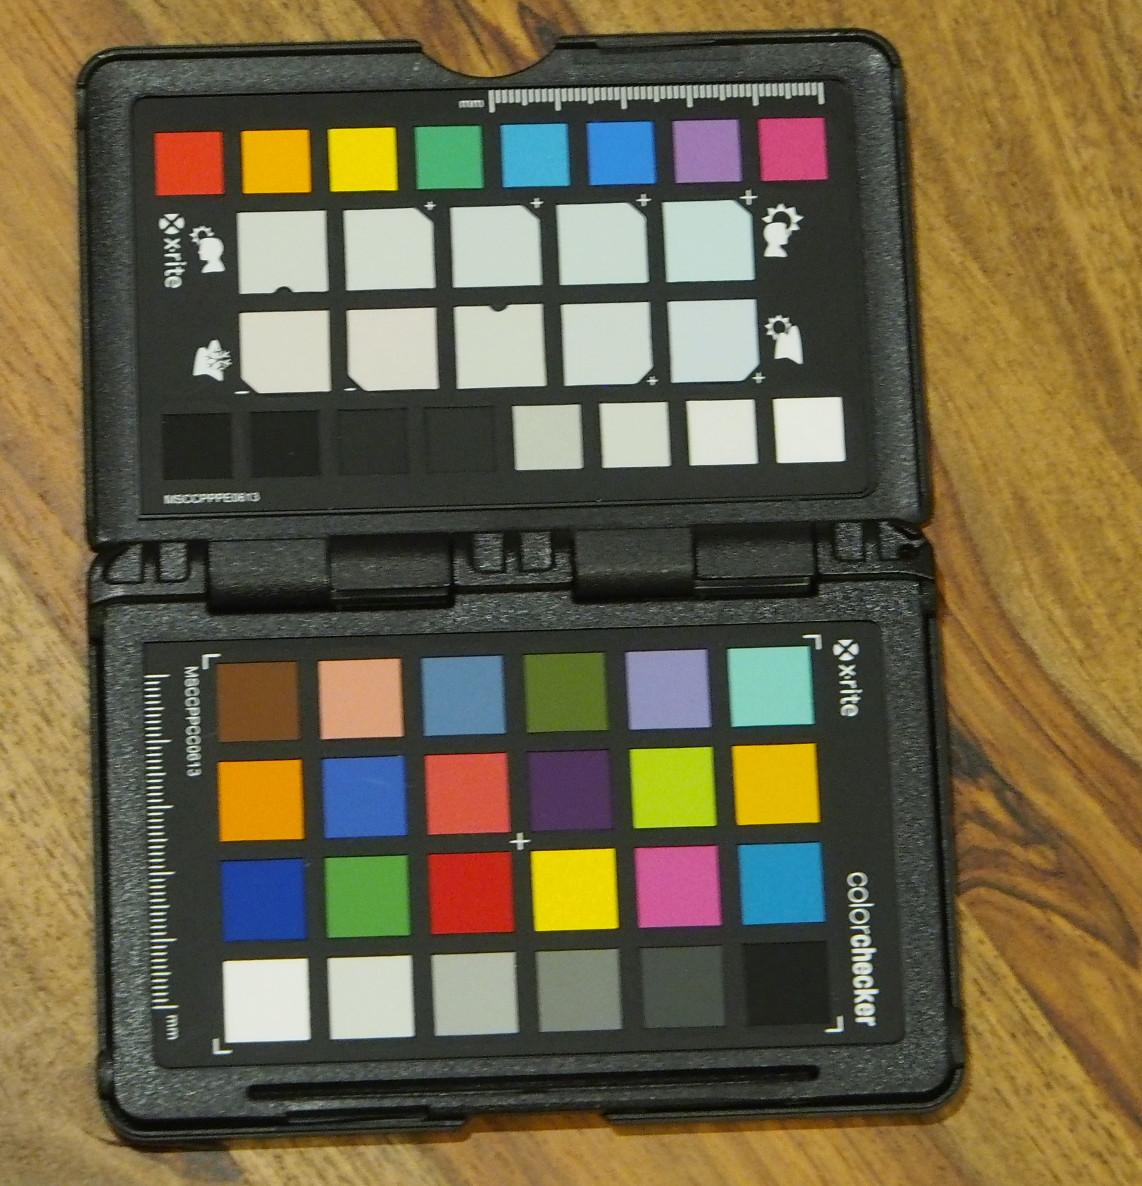
Unfortunately, by shooting the images in jpeg your camera has applied non-linear processes to the image. It does this to produce more pleasing images but at the cost of distorting colors and tone. This process is called an "ouput referred" transform. This link discusses this process and why it is done:
http://www.color.org/icc_white_paper_20_digital_photography_color_management_basics.pdf
In order to get colors to closely match a colorchecker you need to do what is called "scene referred" processing. While rare in normal photography, it's used extensively in reproduction work where you are trying to create the best copy of an existing artwork or photograph. This is always done using RAW mode with special converters designed for scene referred processing. It's imperfect because the color filter arrays have a somewhat different spectral response than human vision but it's a lot better than using the standard "output referred" processing and can make quite good copies. One way to see how much distortion occurs in standard output referred photography is to take a picture of a picture then white balance and print it. The differences are stark.
OTOH, if you process an regular photo image using scene referred techniques and print it you will normally find the print unappealing. So that's why it's a technique only used in scientific applications or reproduction work.
Getting back to your issue having only jpegs to work with one approach that will require some work is to apply inverse curves in Photoshop that reverse the "S" curve typically applied when the jpeg is created. Determining that is non-trivial but one approach is to print a series of patches from RGB (0,0,0) to (255,255,255) in small increments. Then print this using a good inkjet and paper that provides ICC profiles for that paper. Do this using Relative Colorimetric Intent (see Photoshop's help). Then take a jpeg picture of that together with a colorchecker using your camera using the same settings used in your other pictures. You should then be able to use the info panel to adjust with a curves layer the values so that each patch comes out close to the RGB levels you used to create the print. Once you have that curves layer you can save it and apply it to the other photos to reverse the jpeg tone changes.
Afterwards you may still need to adjust saturation as it's common to increase saturation somewhat in output referred photos. But first fix the tone curves.
Sorry, but this is a tedious process but I'm not aware of any simpler approach. Further, do not expect a print of your image to look very good. They normally appear more washed out that what you are used to which is why photographers don't use scene referred processing outside of specialized fields.
There is a considerable amount of detailed information on color and how it is handled by printers and cameras at www.color.org should you go down this path and need more info.

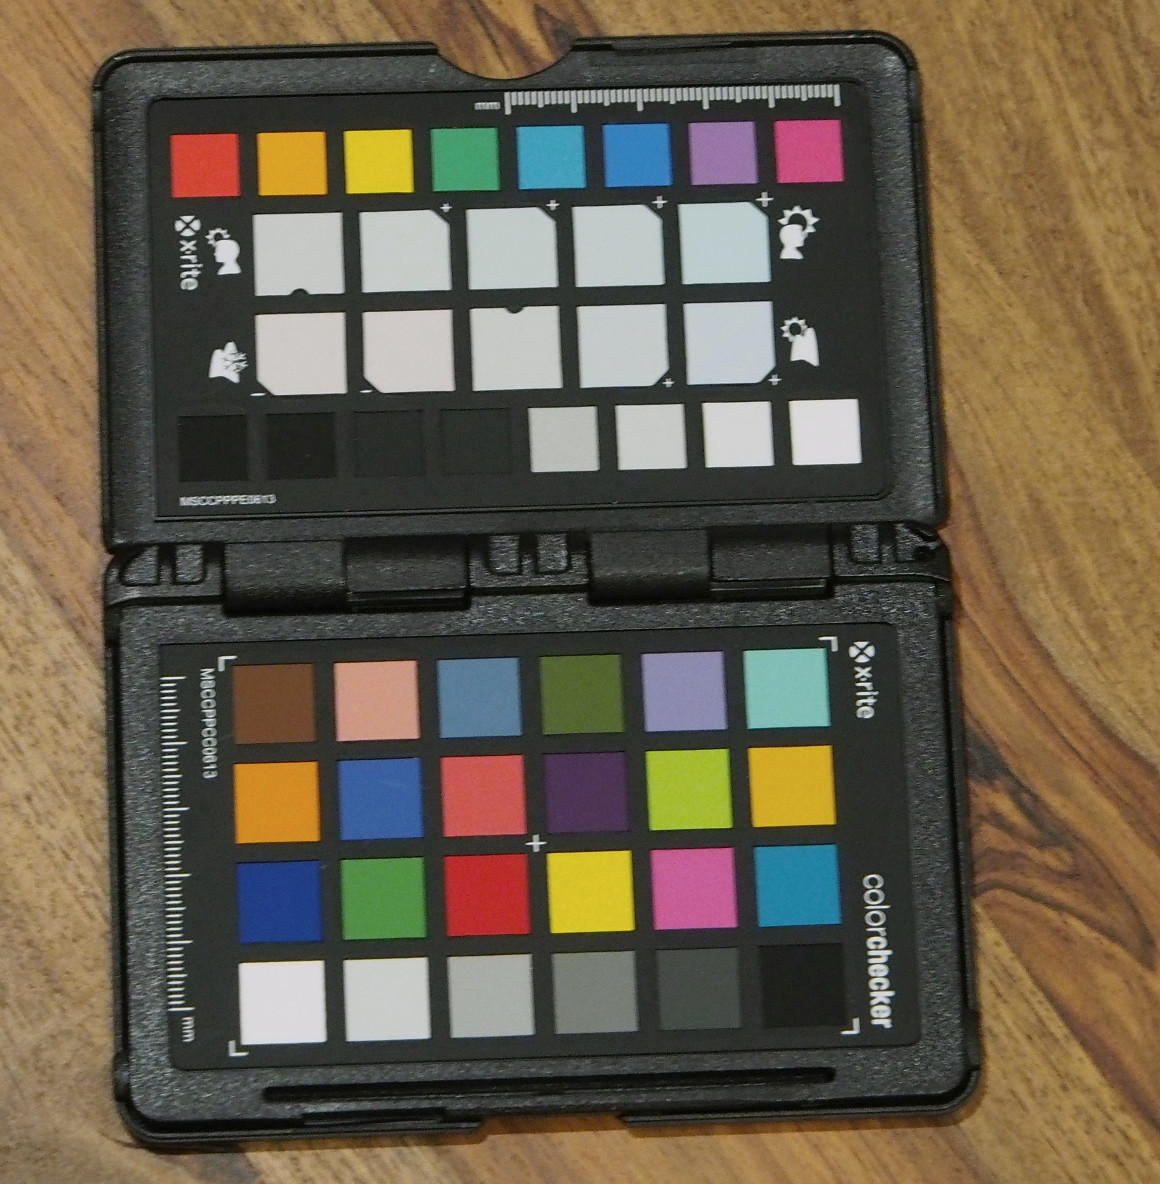
 and the following is the result after applying a linear transformation (3x3 matrix) to each pixel color. The 3x3 matrix is the least squares solution of the linear system which equates the sampled median color to the nominal colors found a x-rite site.


