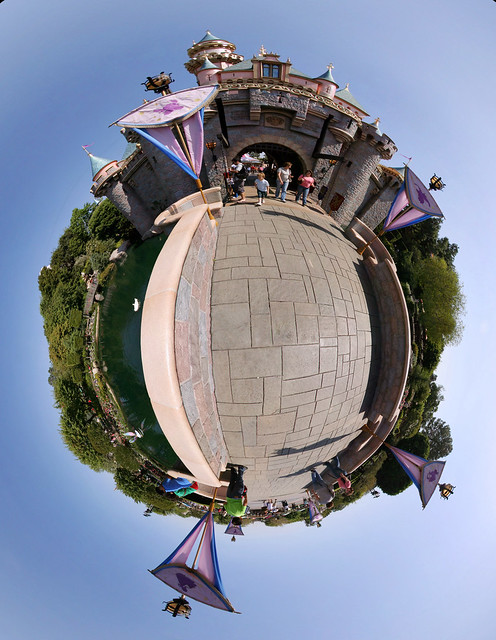
There are actually two common types of "little planet" images: polar and stereographic. The example image here is polar, the Flickr group images are both, and the one asked about in the linked "duplicate" post, How to do 360 polar pano in photography? is a stereographic "little sky". They have different requirements and techniques, but both typically begin with a stitched panorama that is then remapped to a different projection.
Polar Little Planets
A polar little planet is the easiest kind to make because you can do it with any image if you don't mind a visible seam. In the example planet by Radig, on the right side, at 3:00, you can see the seam of where the left and right edges of his pano met, and at the center, where the "floor" (nadir) isn't covered, so he started with a non-360 cylindrical panorama. If you want to eliminate the side seam, start with a 360º cylindrical pano (regular pano) or mirror image your photo, and combine the two side-by-side so the left edge can wrap around and join seamlessly with the right. To eliminate both the side and center seam, though, you have to use an equirectangular (360ºx180º full spherical pano).
You then perform three steps (either separately in Photoshop, or all at once with the Polar Coords filter in the Gimp):
Rotate the image so it's upside-down.
Resize it to a square.
Apply Cartesian->Polar remapping. (Filter -> Distort -> Polar coordinates).
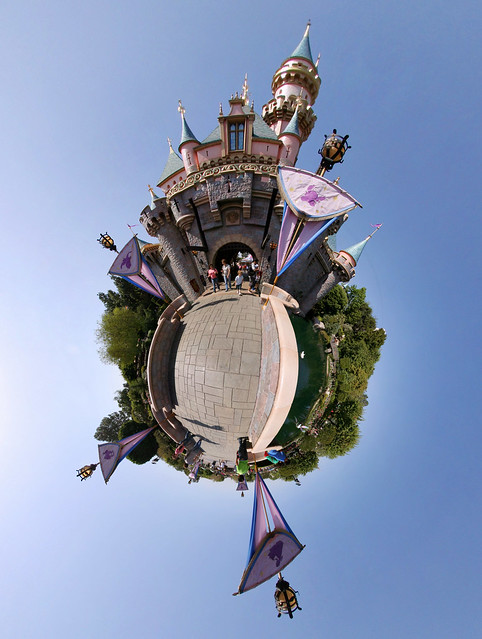
This type of panorama will have a very circular world, without a lot of details outside that circle. If done with an equirectangular panorama, it looks like this:

Stereographic Little Planet
Stereographic remapping is conformal; angles are preserved, so the shape of things above the horizon are more recognizable than with a polar remapping.
So, these little planets don't look so squashed to the circle. But this type of mapping is much better with an equirectangular 360x180 pano as the starting point. You can try faking it with a 360° pano reshaped to a 2:1 rectangle, but this often doesn't look good. Or you can fill in the missing "floor" area with black/white and get a donut result. But this will work best if you have the full sphere to work with. A stereographic remapping can be created in Hugin, with the Mathmap plugin in the Gimp, or with the Photoshop Flexify plugin.
In Hugin (2013):
Load the equirectangular, setting the lens type to equirectangular.
In the Projection tab, choose stereographic.
In the Move/Drag tab, set the pitch to -90. Click apply.
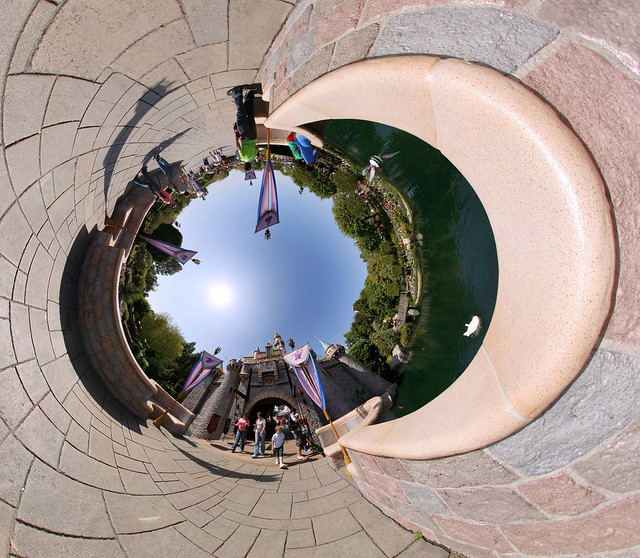
It will look more like this:

"Little planets" are done by starting the stereographic mapping at the "south pole" of the sphere (pitch=-90). You can make "little skies" (or tunnels) by starting the mapping at the "north pole" (pitch=90):

Obviously, you can also create side tunnels starting your mapping at the equator (pitch=0), but the effect is rarely as eye-catching as the planet/tunnel configurations.
Creating the starting 360ºx180º equirectangular pano, however, is a very involved process often requiring specialized equipment. Most typically, they're made by using a fisheye lens for maximum scene coverage and minimum stitching. The camera is rotated in yaw to cover the horizontal field of view, and then rotated in pitch to cover the zenith (straight up) and nadir (straight down) shots. To avoid parallax error in small spaces, tripods with special panoheads are often used to rotate the camera/lens combination in portrait orientation around the lens's no-parallax point in both axes. Careful use of a plumbline can sometimes work, but handheld equirectangulars are generally only successful for outdoor shots without close-by objects.
The member images are then stitched together in an application that can handle both the fisheye distortion and full spherical coverage. While Microsoft ICE and other stitchers can be used for this, it doesn't offer as much control over the stitch as the PanoramaTools GUIs, like Hugin and PTGui do.
An additional step some photographers do is "nadir patching"—finding some way of erasing the tripod and pano head from the straight-down shots. This can involve taking an additional nadir image with the tripod removed/shifted from the scene and then patching it in with viewpoint correction (PTGui), or converting the panorama to cube faces, and using Photoshop's patch/clone/content-aware fill features to erase the tripod.
To learn more about shooting and stitching 360x180 panos, Eric Rougier's From Paris website's technical articles, and John Houghton's tutorials on PTGui are both fantastic resources.
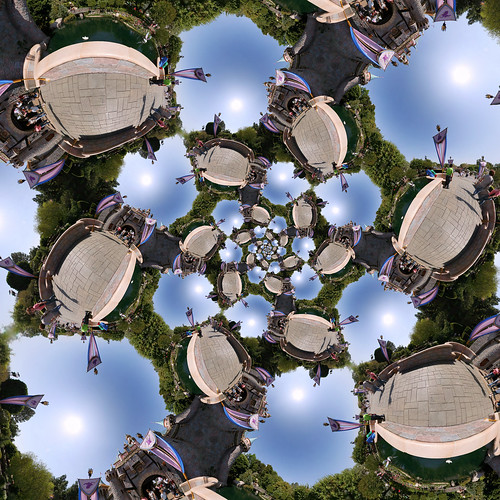
And little planets are just the beginning of how you can remap 360x180s.

Peirce Quincuncial mapping with Drostify option; done in the Gimp with the Mathmap quincuncial script.
 By Guido Radig (Own work) [CC BY 3.0 (http://creativecommons.org/licenses/by/3.0)], via Wikimedia Commons


