1
\$\begingroup\$

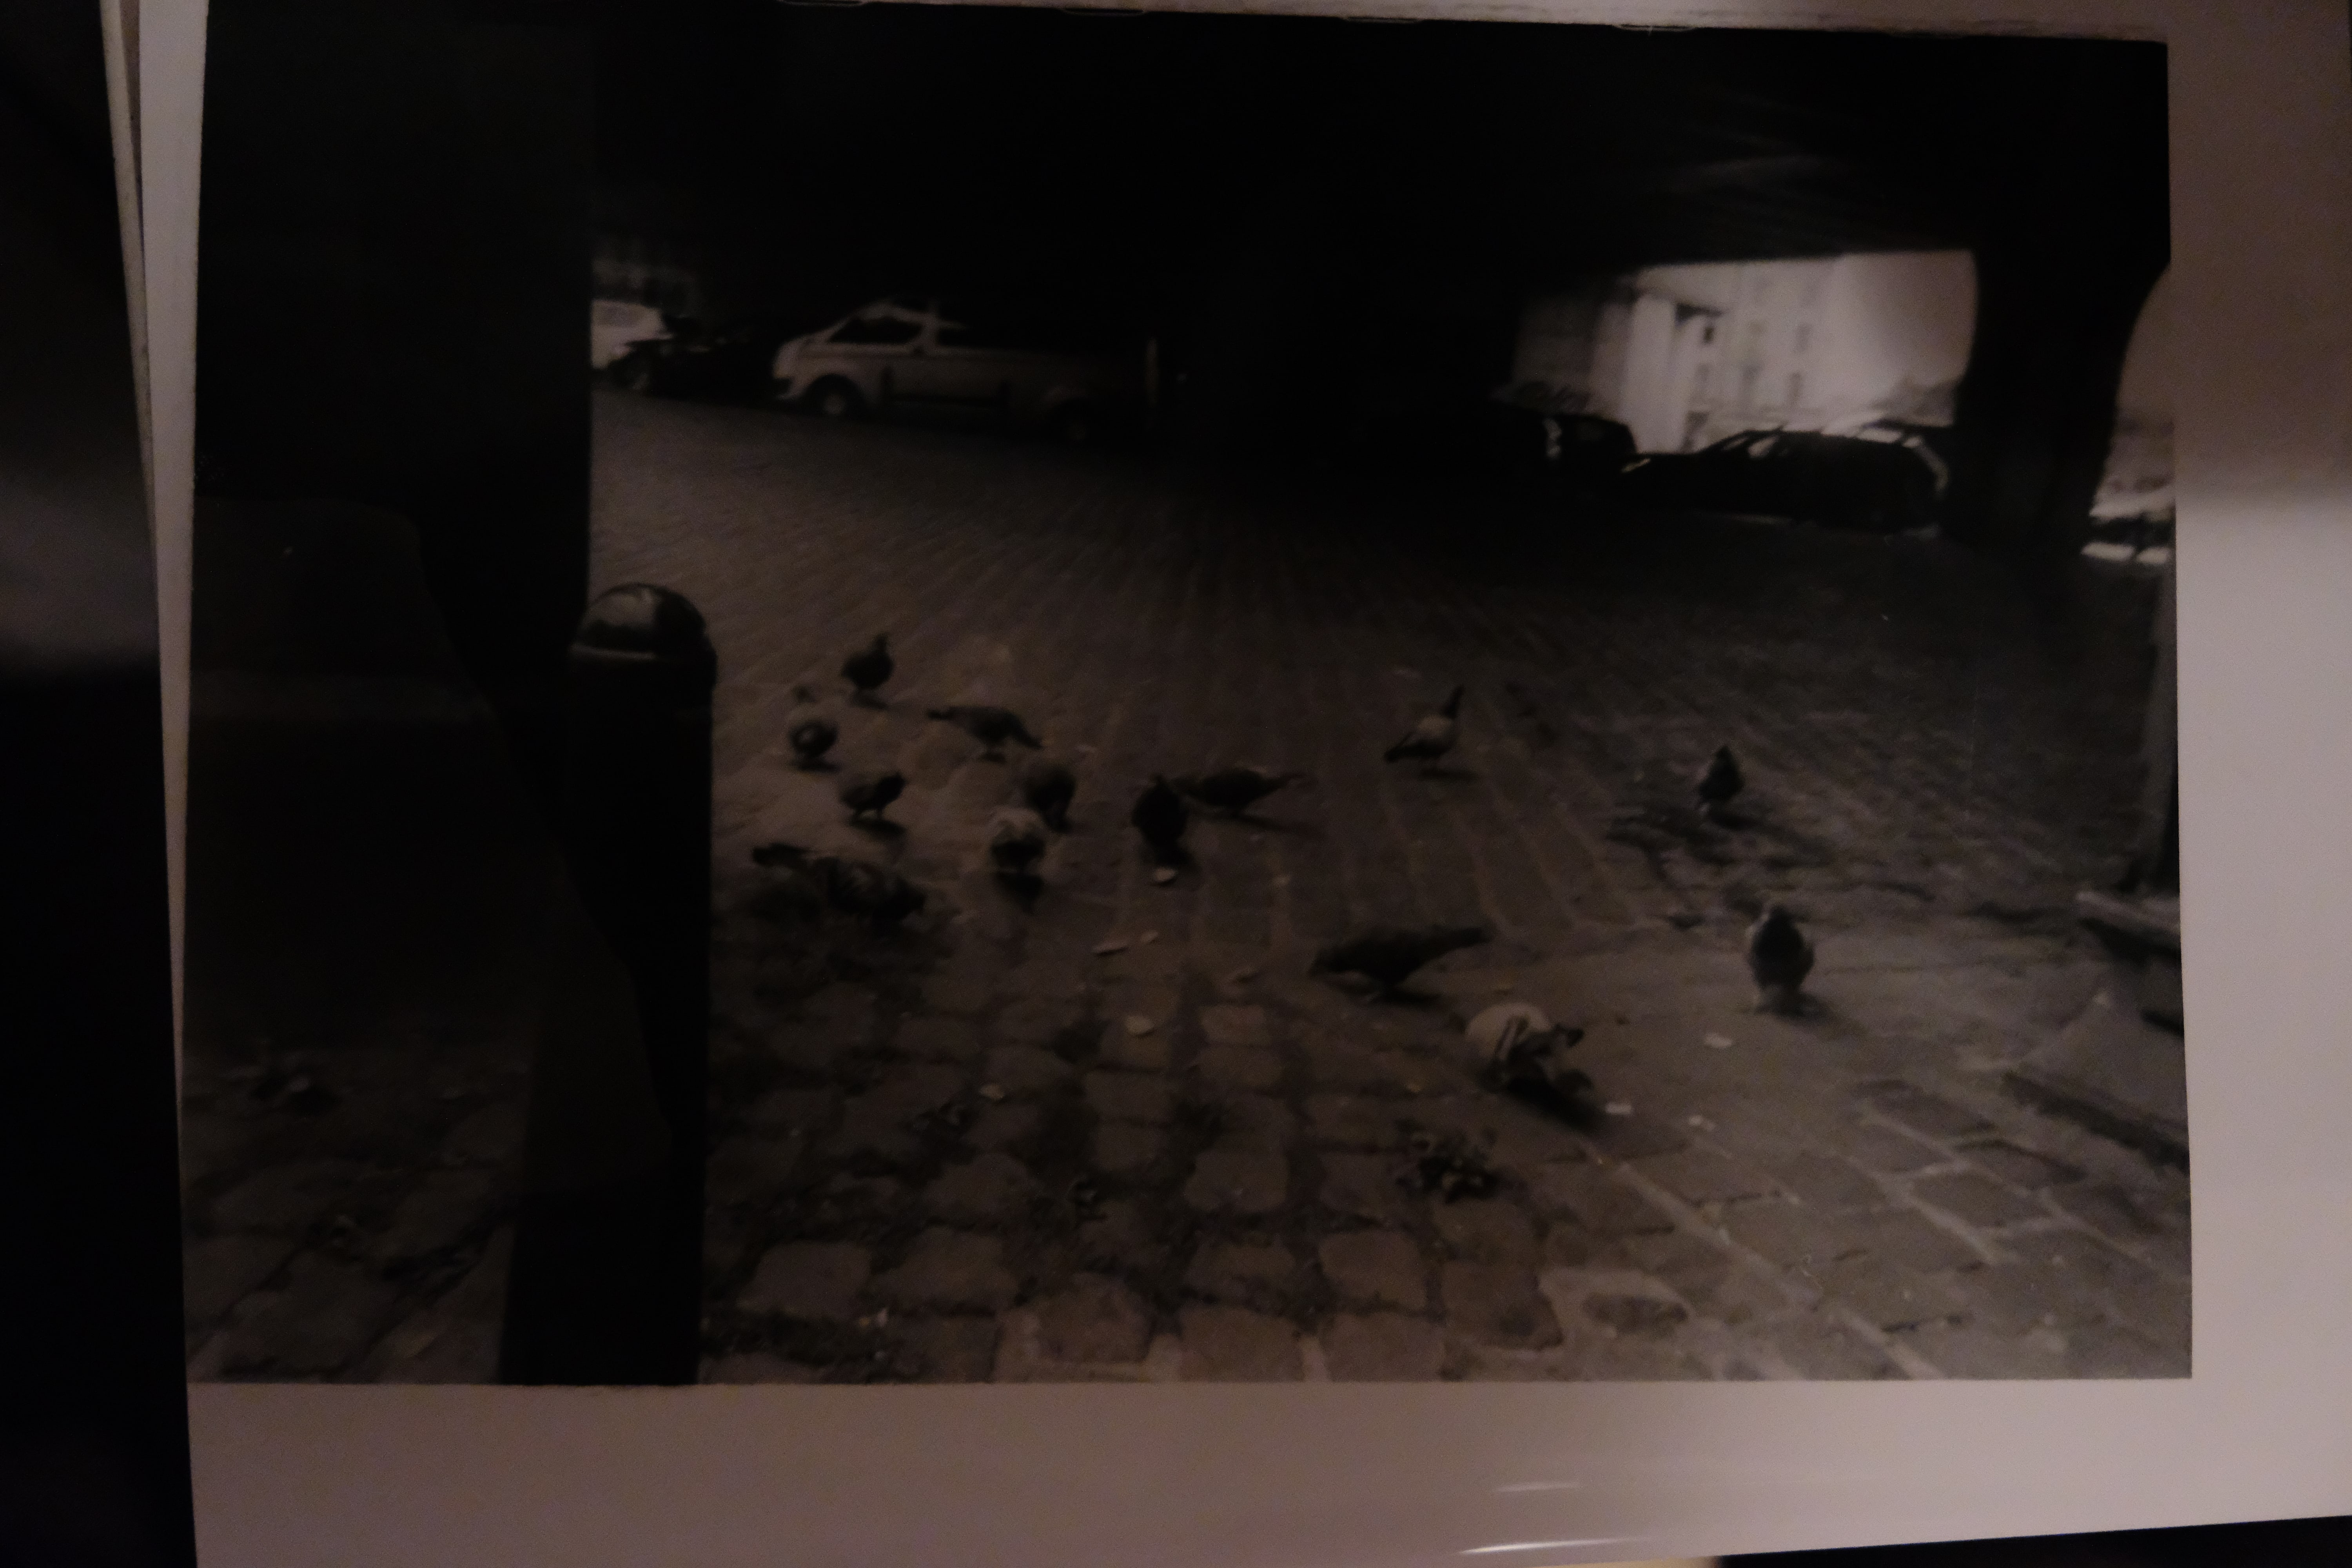
I'm pretty new to film photography. My first prints were very greyish. Then i reduced the developing from 1 minute, normally , to just 8 seconds... Then i get a more or less descent print out of it. But in only 8 seconds i have no real blacks and still bit grey. I also can't dodge and burn , because of the very limited time i get to develop my photo.

Furthermore i completely darkened my room . Even put the safelight off. What could be the reason i have to develop so short? If i do a proper exposure of 60 seconds in the enlarger with the light , i get black photos..

more settings: Aperture lens F 11 to f22. Ilford multigrade black and white i 've put the filter on the enlarger. the magenta filter to 60.

I used Ilford Multigrade developer.

enter image description here

\$\endgroup\$
6
  • \$\begingroup\$ What enlarger are you using? How's your exposure and development of your negative? Are they thin or optimally dense? \$\endgroup\$
    – OnBreak.
    Commented Oct 4, 2018 at 3:06
  • \$\begingroup\$ I use the Durst M605 enlarger. The development of the film was done in a Labo. So i don't know about that. What do you mean by are they thin or optimally dense? \$\endgroup\$
    – userlieven
    Commented Oct 4, 2018 at 3:23
  • \$\begingroup\$ When developing black-and-white prints you need to leave the print in the developer for the required amount of time( at least 90 seconds to two minutes). Did you do a test strip to determine the proper exposure time? Do you know how to do a test strip? \$\endgroup\$
    – Alaska Man
    Commented Oct 4, 2018 at 6:25
  • \$\begingroup\$ @Alaskaman seems to me op is using expose and develop interchangeably. As I took it, we don't know what the dev time is, but the exposure is ~8" at f/11. Maybe that's the confusion here? \$\endgroup\$
    – OnBreak.
    Commented Oct 4, 2018 at 13:56
  • \$\begingroup\$ Alan suggests looking at your paper developer concentration. Also the temperature should be 20°C (68°F) for all your solutions. \$\endgroup\$
    – Stan
    Commented Oct 4, 2018 at 15:34

1 Answer 1

2
\$\begingroup\$

The normal developing time for print paper is 60 thru 90 seconds. If your developing time is very short, your results will be flat prints (lacking contrast no true blacks). Fist, examine your negatives in good light. If you hold them over a newspaper, you should be just able to see newsprint. If not, they are too dark and thus over-exposed.

OK, let’s set the enlarger lens at f/22 (or dimmest setting. For now, don’t print will magenta or yellow filters. Make a test exposure using a scrap of photo paper, expose for 10 seconds. Plop the exposed scrap of paper in the developer face down. Swish it about for 90 seconds. Then stop (or water) then fixer. Now examine in room light. Too dark, cut the exposure to 5 seconds and re-test. If too light double the exposure to 20 seconds.

Also, check the instructions of the paper developer. Make sure your solution strength is spot on. Generally a paper developer is mixed with water to make a concentrated “stock” solution. The stock solution is then cut with water making a “working solution”. The usual dilution is two parts water, one part stock solution.

If all this fails and the exposure time is under 10 seconds, set the filters at 60 cyan – 60 magenta – 60 yellow and re-test as above.

\$\endgroup\$
3
  • \$\begingroup\$ I did the test with the coin. I put a coin on the RC paper and turned off the light even de safelight for 90 seconds. The paper i developed was complete white. So this proves there's no extra light coming into the darkroom. It is now completely dark. But i did a nomal test (60 sec exposure with test strips)and with paper and developed it. 20,40 and 60 seconds bands. Why are the whites , after certain time getting black as well?? You can see the image is still very dark. The exposure must have been too strong. Also used the magenta filter on my Enlarger .100/130 filter \$\endgroup\$
    – userlieven
    Commented Oct 4, 2018 at 20:46
  • \$\begingroup\$ @userlieven Your safelight MIGHT NOT BE SAFE. Do the coin test again. This time, take one piece of paper out in complete darkness. Put away the rest of the paper (important). Put the coin on the paper THEN turn ON the safelight. Wait for a few minutes or longer before you turn OFF the safelight, remove the coin, and process the paper. If there's a shadow, the safelight isn't safe and it's the source of the unwanted light. \$\endgroup\$
    – Stan
    Commented Oct 5, 2018 at 4:52
  • \$\begingroup\$ @userlieven The reason Alan ask you to use C, M, & Y together is that they are a neutral density filter equivalent. If you use only one filter, you have defeated the purpose of the suggestion. Use printing filters in "sets" of equal densities to approximate equivalent neutral density. A 0.3 neutral density is equal to one stop. .60 neutral density is a compensation of two stops. That should help you get into more manageable exposure times from your enlarger. \$\endgroup\$
    – Stan
    Commented Oct 6, 2018 at 2:30

Your Answer

By clicking “Post Your Answer”, you agree to our terms of service and acknowledge you have read our privacy policy.

Not the answer you're looking for? Browse other questions tagged or ask your own question.