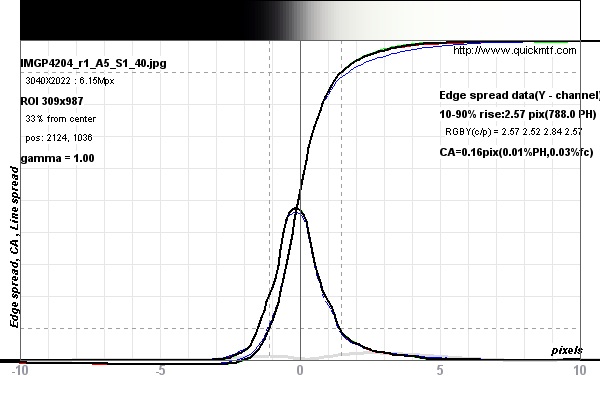
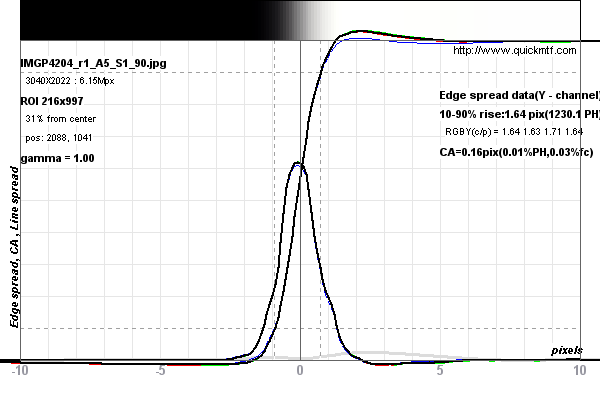
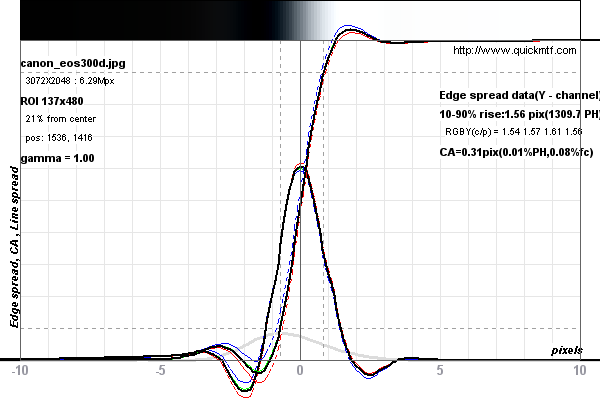
A lot of that depends on the camera, the exposure, the subject matter, and the size of the image.
Most modern digital cameras deliberately blur the image somewhat when you take a picture. There is an anti-aliasing filter over the sensor to prevent moiré when the subject contains small, regular details. While the AA filter does solve one problem, it introduces another. (Which is why the high-end medium format digital cameras/backs -- and Leica, in the M-series -- choose to forgo the AA filter.) Some AA filters are more aggressive than others, resulting in softer images -- sometimes to the point where the softness is visible when the image is sized to fit a monitor. That's not nearly as big a problem now as it was in the sub-10MP days.
The exposure can make a difference as well. If your image contains a lot of noise (relatively speaking) then the noise will be exaggerated by the sharpening -- it's just "detail" as far as the sharpening algorithm is concerned. In a very noisy image, you can run a noise-reduction filter/routine over the image to make it look pristine, then the sharpening filter just comes along and recovers all of that valuable noise detail for you.
Some subjects benefit a lot more from sharpening than others, and that can be true both across different images and within a single image. For instance, you probably want people's hair, eyes and so on to be pretty darned sharp-looking, but unless you are documenting dermatological conditions, you probably don't want their skin to be anywhere near as sharp. You can have the most perfect model with the smoothest porcelain skin and impeccable makeup in front of the camera, and the sharpening filter will give you a picture of someone who took a face full of birdshot (at a distance) in a tragic hunting accident. (Everybody's skin is textured and has hair in the most surprising places. If you do a lot of portraiture, you'll find yourself -- or your lab -- spending a lot of time fixing skin problems in the "keepers".) On the other hand, if you are trying to recreate Ansel Adams' Aspens, New Mexico, you'll want every twig, every detail in the bark, and every vein in the leaves to stand out. Clearly, these are two different classes of images with two different sharpening requirements.
Finally, there's the image size to consider. If you're looking at an image on-screen (and that's where it's going to live), then the kind of sharpening that would be appropriate for a large print (with a lot of local microcontrast) is going to scale down as noise, especially with the simplistic on-the-fly scaling that occurs when a large, multi-megapixel image is forced to be displayed at a much smaller size. On the other hand, if you sharpen according to what looks good on a 1920x1080 monitor at 100% and use that to make a 13x19" print, you'll probably be very disappointed in the result (even if the same file looked really nice when you printed a 4x6). The image will look like an enlargement of something smaller rather than something that was meant to be big all along, and you won't be able to quite put your finger on why.
While there are no real universals in sharpening, it's probably best to restrict the initial sharpening to be just enough to overcome what the AA filter did when you took the picture. Save the final sharpening for the end product, and make it appropriate to the output medium, whether that's a small JPEG on a web page or a huge gallery print. Take some time to learn what works for screen and for prints at various sizes, and try to understand that if you are working for print, you need to take what's on your monitor with a grain of salt -- at least until we get really nice 300 pixels-per-inch monitors to work with.


