2
\$\begingroup\$

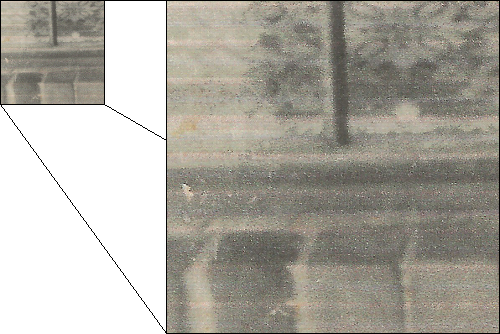
I have a photograph printed with an inkjet printer on a piece of paper. Unfortunately, I do not have access to the original file. Here's a small sample of what I'm stuck with:

enter image description here

Is there any way to make this image look less like a printed sheet of paper and more like an actual photograph? The horizontal bands from the printhead and the halftoning are quite obvious.

If possible, I'd prefer solutions that involve free software.

\$\endgroup\$
4
  • 1
    \$\begingroup\$ It is possible that some of the techniques described here may help; although I'm not sure. Take a look either way - What is the best way to remove texture from a scanned textured photo paper? \$\endgroup\$
    – dpollitt
    Commented Oct 10, 2015 at 1:27
  • 1
    \$\begingroup\$ If this is black and white image, you could try desaturating it. It would make the banding less apparent. \$\endgroup\$
    – MirekE
    Commented Oct 10, 2015 at 4:17
  • 1
    \$\begingroup\$ I tried this technique which made a very tiny difference, but wasn't very noticeable. Desaturation certainly helped. \$\endgroup\$ Commented Oct 10, 2015 at 4:35
  • 1
    \$\begingroup\$ Ouch... Try a noise removal software like this: neatimage.com \$\endgroup\$
    – Rafael
    Commented Oct 10, 2015 at 19:31

2 Answers 2

2
\$\begingroup\$

You have several problems:

  1. The image isn't really continuous tone. It's made up of lots of tiny areas that are either dark or light.

  2. The light parts aren't really all that light and the dark parts aren't really all that dark.

  3. There are large scale artifacts, like the streaks from the injet printer.

The last will be hard to fix, since there is no easy way to distinguish the artifacts from real image data.

However, there are ways to deal with the first two problems. What I've found works best when trying to capture halftone images is to start by scanning at very high resolution. You want each of the pixels to be either the ink color or the paper color, not some blend of in-between like your eyes perceive the image. Put another way, you want to resolve each of the halftone dots with a decent number of pixels.

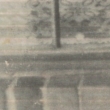
You then filter the very high res image down to a size where the halftone dots can't be resolved anymore. Now you have a true gray scale image. Start by making the darkest point black and the lightest white. Then you can apply a little non-linear mapping to make more detail in the dark areas visible, for example.

For example, here is the highest resolution scan you've given us:
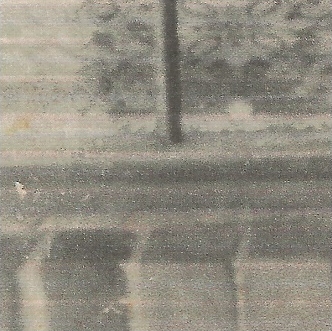
Here it is filtered down 3 to 1:
And here it is with the whites white and the blacks black:
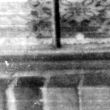
That is probably too extreme due to this snippet being taken in isolation. The black and white levels should be set from the whole picture globally.

Here is after some non-linear brightness curve adjustment:
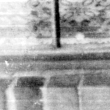
\$\endgroup\$
0
\$\begingroup\$

Try combining the image scanned horizontally and vertically. Align the images as close as possible and print the composite to minimize the scanning artifacts. Even if you have only one image as the original, there will be some improvement as no scanner and printer is perfectly aligned both in the scan and the cross-scan directions.

\$\endgroup\$

Your Answer

By clicking “Post Your Answer”, you agree to our terms of service and acknowledge you have read our privacy policy.

Not the answer you're looking for? Browse other questions tagged or ask your own question.