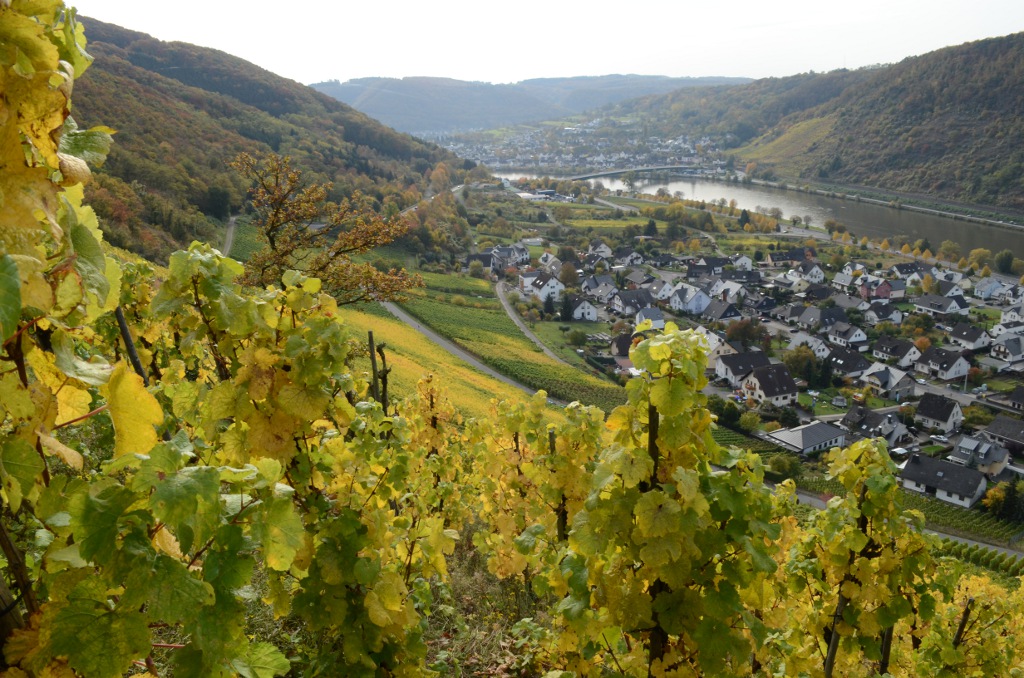
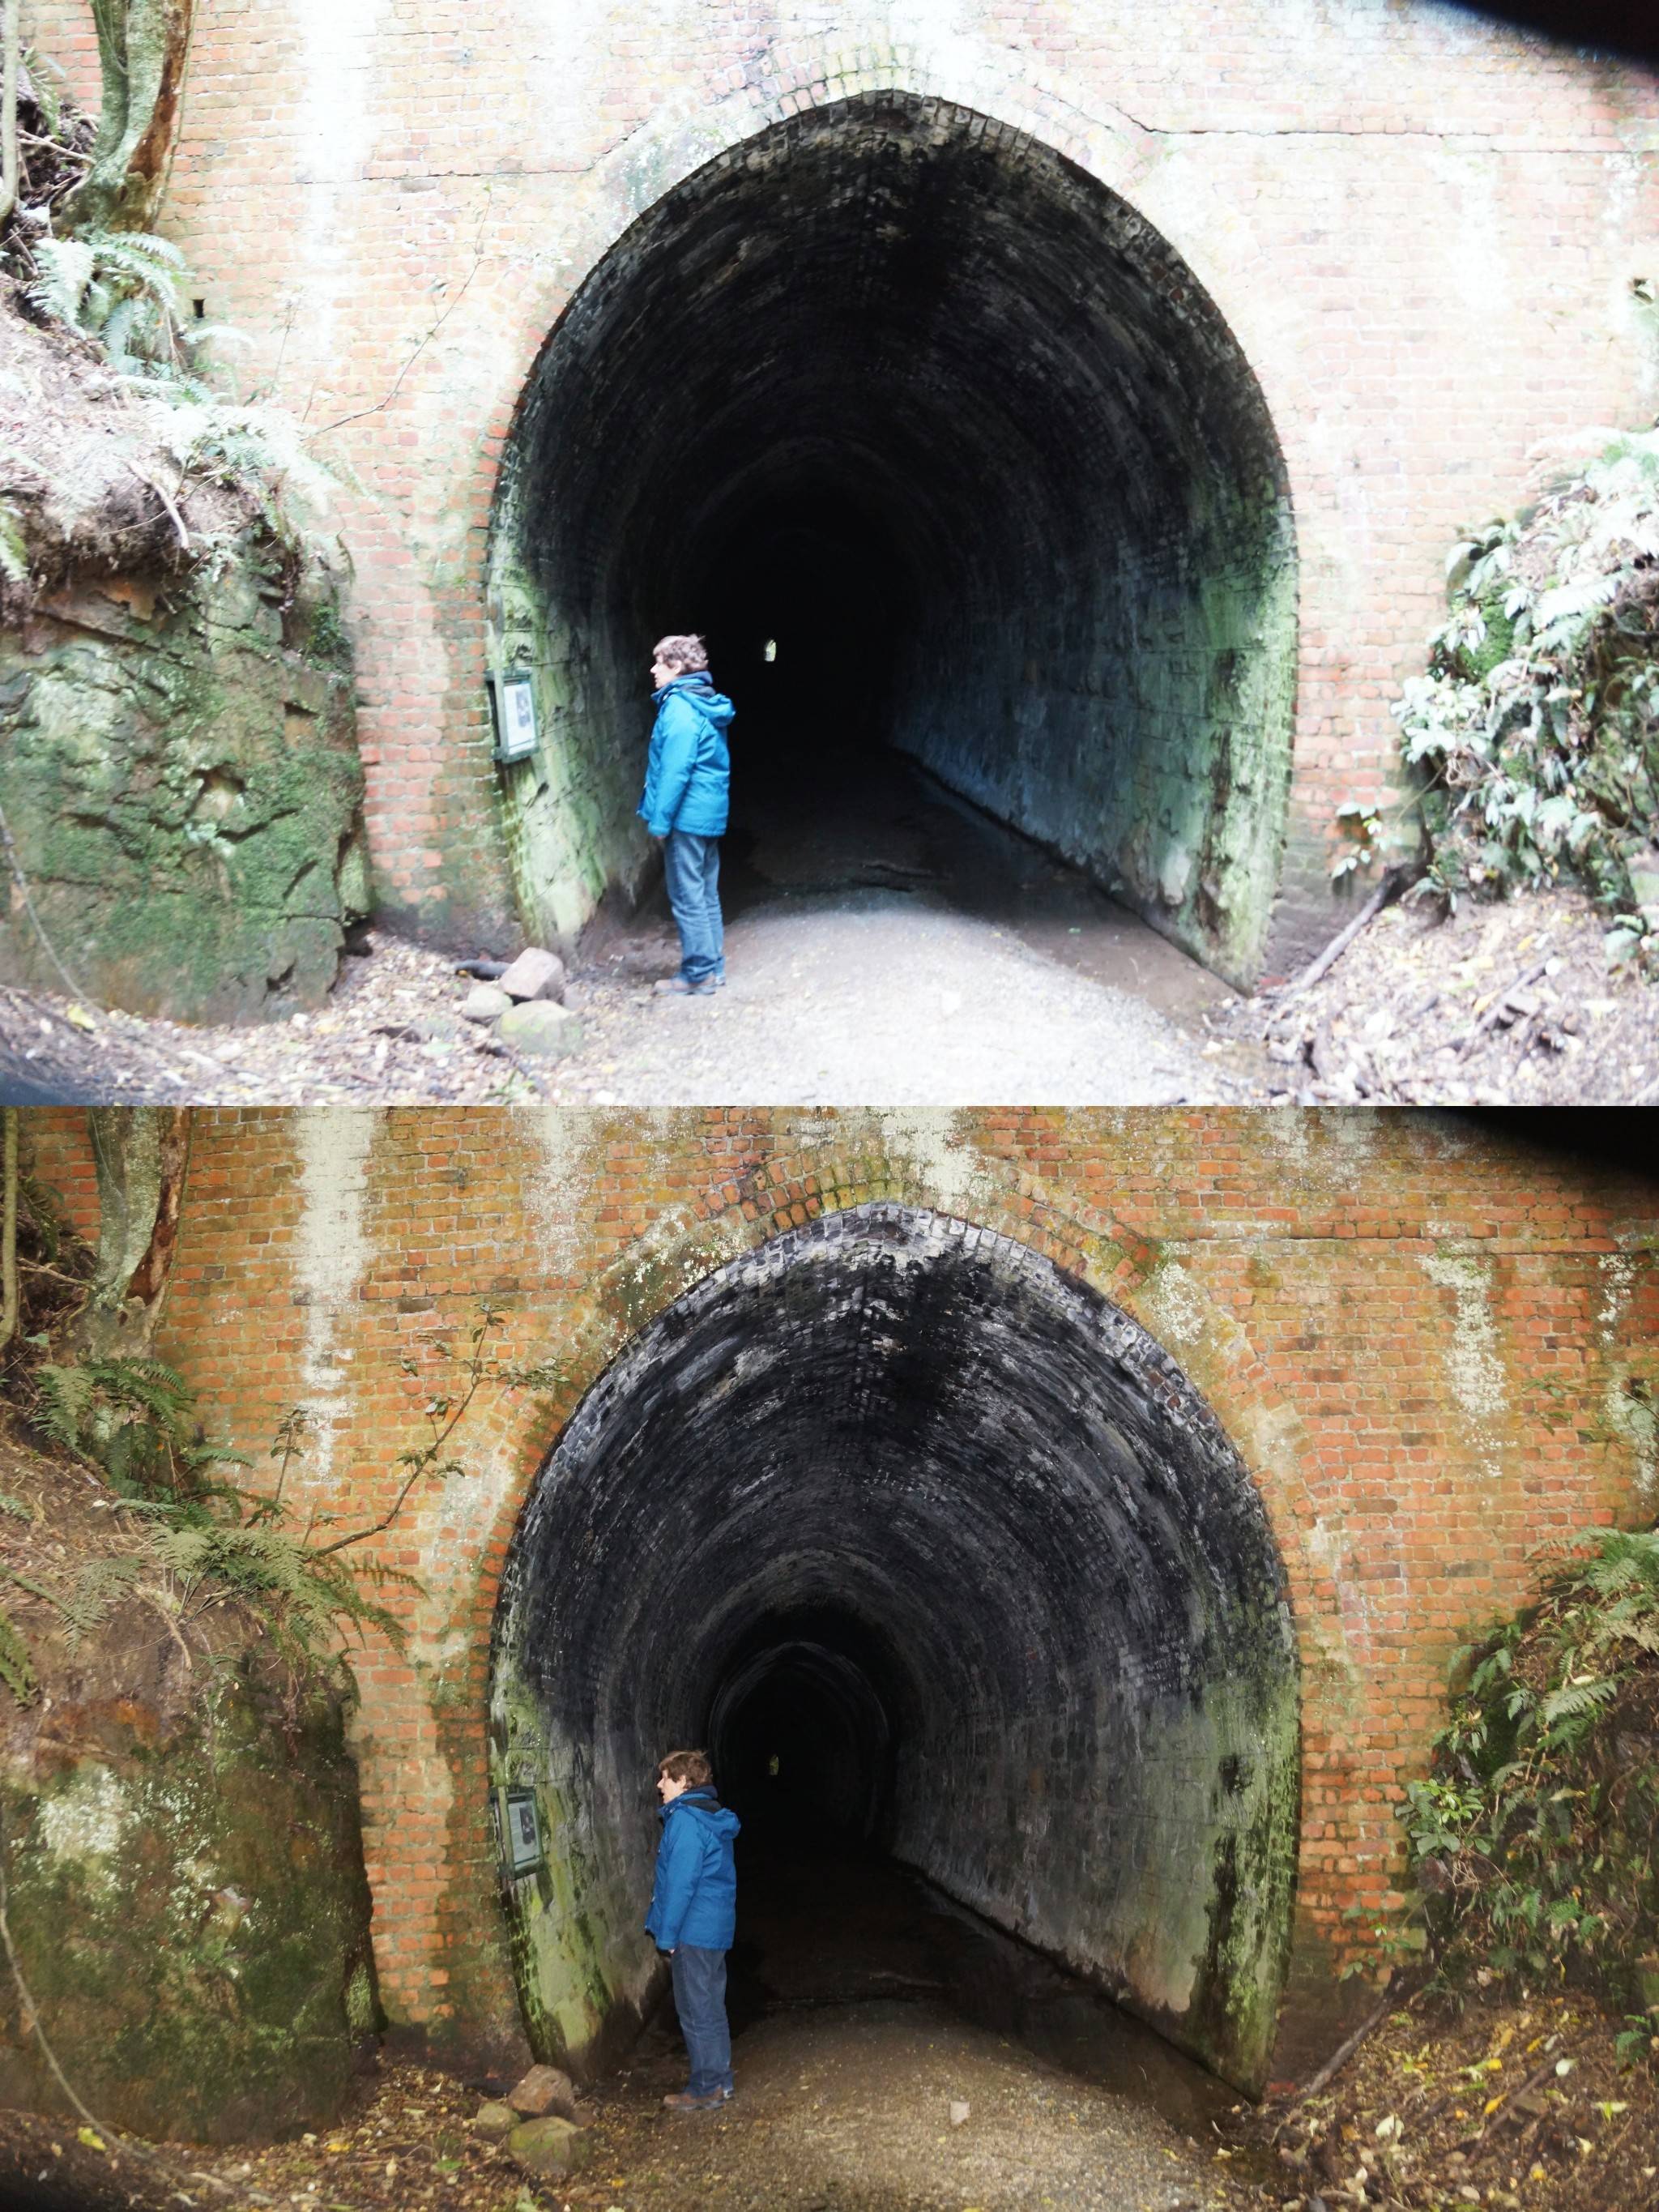
Here's a few methods I'm aware of:
Circular Polariser filter
A lot of the light from the sky is polarised during the day, so a simple CP filter can drastically cut down the amount of light you get, so that it doesn't blow out. You also get a lot of polarised reflections from vegetation and water, so this can cut glare and improve contrast throughout the image.
It doesn't always work, for example different areas of the sky will have different polarisations, so a really wide lens + CP filter will cause some dark/light patches across the sky (rather than consistent lighting) as the polarisation changes. My experience is that pointing closer to the sun, the CP filter does less, but if shooting away from the sun it can make a huge difference (some times too much, if you rotate it to get the darkest sky!).
Also this is pretty much useless if its overcast, as the reflections from clouds isn't polarised (though can make clouds really 'pop' if there's a mix of blue sky and clouds).
This works better on some lenses than others; if your front element rotates while zooming and/or focusing, it's going to be a bit of a pain to adjust the filter after any slight adjustments to either...
Graduated ND filter
Another filter is the Graduated ND (neutral density) filter. Basically its got a dark half and a light (transparent) half. You rotate it to get the dark half on the sky, and it can stop the sky saturating. I've not got a lot of experience with these, but they'll obviously work best if there's a clean horizon line somewhere towards the centre of your image. Even if it just stops the sky saturating to white, you can of course make some adjustments after if it makes parts of the sky a bit too dark/light.
Shooting Raw Images
The basic idea is that raw image files have more bits than the JPEG your camera makes (say 10-14 bits instead of 8). So it has more information in the highlights, and you can use your post-processing software to reduce those highlights down to a more realistic level, so it looks blue rather than white. This sometimes helps, especially if you underexpose a bit (so you have to lighten up the shadows too).
On really bright days its not going to be enough, as the dynamic range of your camera's sensor just doesn't cut it.
HDR / Tone Mapping
This is usually my last resort (since it requires a fair bit of time/effort in post processing), but basically you take a few shots at different exposures (it helps to have exposure bracketing, with varied ISO or shutter-speed between each) so that you have each part of the frame correctly exposed in one of your images (at least 2, but often 3 or 5, sometimes more if shooting at the sun, which can be bad for your eye/sensor!).
There's a lot of HDR software around, and new ones appearing all the time, so I won't recommend anything too specific, but the basic process is to combine the exposures into a single image with more than the basic 8-bits (or 10-14-bits depending on your DSLR's raw photos) of information per colour/pixel, which lets you bring down the highlights and bring up the shadows to compress the dynamic range into something more aesthetically pleasing.
There's a lot of HDR out there that looks really weird and surrealistic, but you can also create fairly natural looking HDR images too (though some of the cheap/free software is really geared towards the surrealism!).


