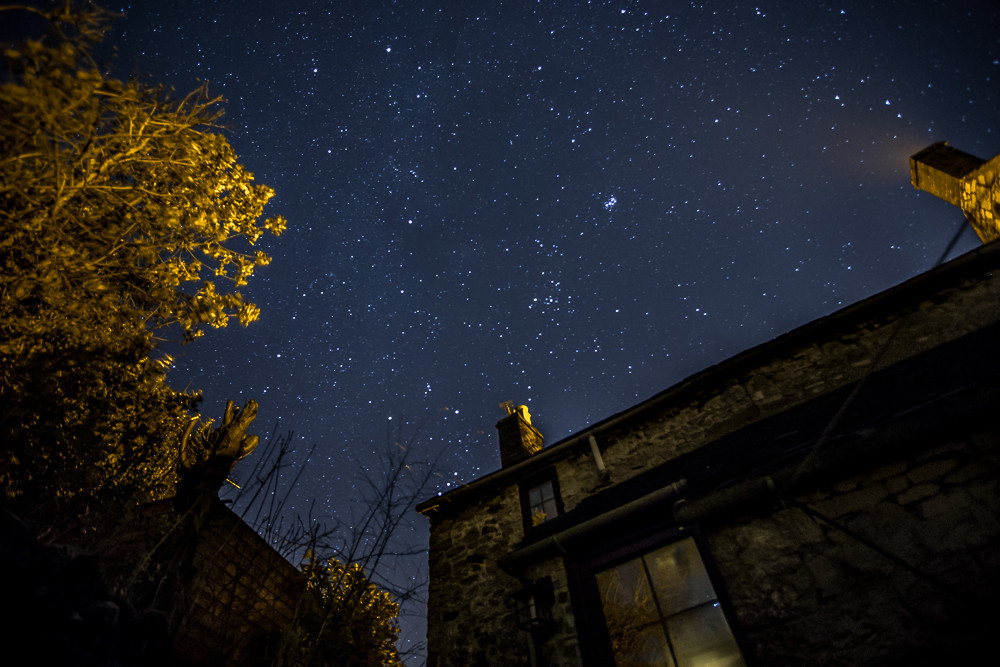
First and foremost, when it comes to astrophotography, to improve SNR (and, thus, improve signal) - stack! Stack, stack, stack. Total integration time, the total exposure time across all the sub frames you gather, is of paramount importance to improving image quality in astrophotography. Most beginners shirk on getting the necessary minimum amount of integration time to reduce noise to an acceptable level, and it is the first thing I recommend improving.
At the very least, when imaging from a very dark site (say 21.5mag/sq", about the darkest of dark sites accessible to most people within an hour or two drive), a minimum of about five hours of integration time is required to produce a minimally acceptable "quality" image without the need to apply extensive (and detail-damaging) noise reduction. About two and a half hours is the bare minimum, IMHO, to get a minimally acceptable result WITH extensive noise reduction. More serious astrophotographers will go for no less than 10 hours, and CCD imagers will often gather 20, 40, 60 hours of total integration.
Integrate! You want to get as many subs a you can to reduce noise levels to a minimum. Why is this important? When you begin to "stretch" your images, noise is going to be enhanced right along with the rest of the image. Furthermore, certain kinds of processing, sometimes things as simple as increasing saturation, will also increase noise (i.e. saturating can greatly enhance color noise). You need to think about how much noise your final image is going to have after stretching, and use that to guide your imaging.
Now, imaging under very dark skies has lots of advantages. Under dark skies, if you can get five hours of integration, then you can produce fairly amazing images with a moderate amount of noise. The closer you get to sources of light pollution, the more total integration time you will need to get the same amount of object photons. I use the term object photons explicitly here, as photons gathered under light polluted skies will include light pollution photons as well as deep sky object photons. Since camera dynamic range is limited, you will be forced to expose for shorter lengths of time in a city than out on a rural ranch. The bulk of the photons you gather in those shorter exposures will also be light pollution or "skyfog" as we astrophotographers call it, rather than object photons. To get the same amount of object photons in the city as at a rural ranch, you could need 10x to 1000x as much "total integration time". If you are in the heart of a city, instead of 5 hours you might need 500 hours. If you are in the outer suburbs, you might need 50 hours instead of the 5 you needed at a dark site. Filtration, such as an IDAS LPS or Astronomik CLS filter, can reduce the amount of integration time you need, however that is only a partial solution.
To really make your stars stand out, if you have the option, you want to visit a dark site. Rural skies can be 6-10 times darker than city skies, and that darkness is going to be your best friend. It will allow you to expose longer for each sub frame, which itself is going to improve the brightness of your stars relative to the noisy background sky. There will be far fewer wasted skyfog photons, meaning that more of your exposures are useful, usable data. Then, integrate. Integrate as much as you can, for as long as you can, so that after stacking with an averaging algorithm, your final image will have lower noise and a higher SNR. Use a tool like DeepSkyStacker to do your calibration and stacking for you.
If you cannot visit a dark site when you do your astrophotography, then you might look into a light pollution filter. IDAS makes some well color balanced filters (the LPS-P2 and LPS-D1) that pass a lot of light and block only the main light pollution bands (the emission lines from sodium and mercury vapor lighting). The IDAS P2 and D1 filters will not block all light pollution, but they will block a lot. If you are in the city, rather than just in the suburbs, you probably want to look into a stronger broadband filter, like the IDAS LPS-V4 or the Astronomik CLS. The latter has a clip-in version that can be popped right into an Canon APS-C DSLR, making it very easy to use and compatible with any Canon lens you may want to use. A warning about broadband light pollution filters...they block most of the yellows and greens. For wider field milky way shots, this will result in improper color balance. Broadband filters are best for enhancing nebula. The IDAS P2 and D1 filters have a lot of passbands and only narrow bands that are filtered out. They will still not result in perfect color balance, but for milky way imaging from the city or suburbs, they could be sufficient.


