4
\$\begingroup\$

I would like to know how to achieve those pictures in which texture shows up well. I am specifically thinking of portraits of the elderly in which the skin looks very wrinkled and in B&W looks like paper.

I am interested in both the manipulations that you can/should do in post-processing and in possible lighting techniques.

\$\endgroup\$
0

5 Answers 5

5
\$\begingroup\$

Light matters, a lot, especially in how it's used. Harsh, direct on, light such as that from a camera mounted flash can flatten an image and lose texture. Softer, indirect light, can help bring out the texture. Learning to light well is as much an art as photography is as a whole and it's beyond me to describe it to you, especially here. Fortunately, there is an awesome resource: The Strobist Blog to help get you started. The lighting tutorials are on the right side of the page.

Now, in post processing, there are some options...

Dramatic Gritty Effect article describes a technique. You can tweak the guidance they give you to control the strength of the effect.

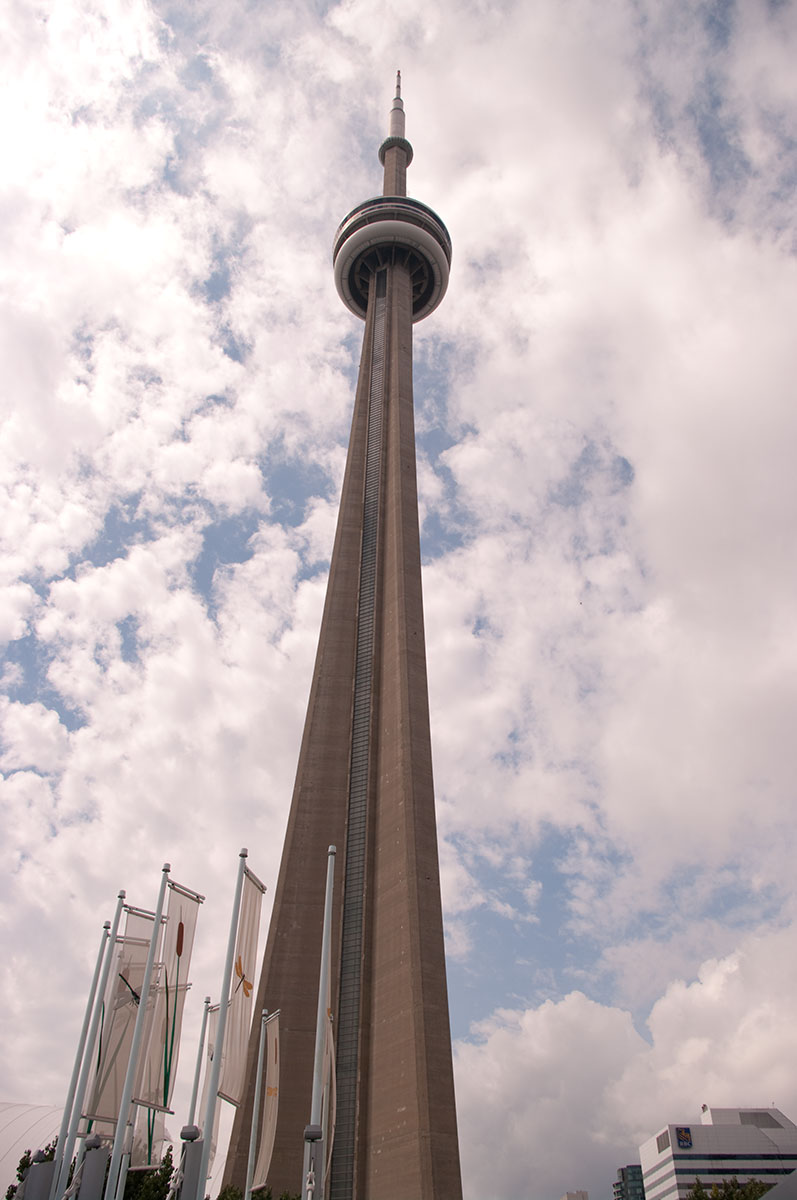
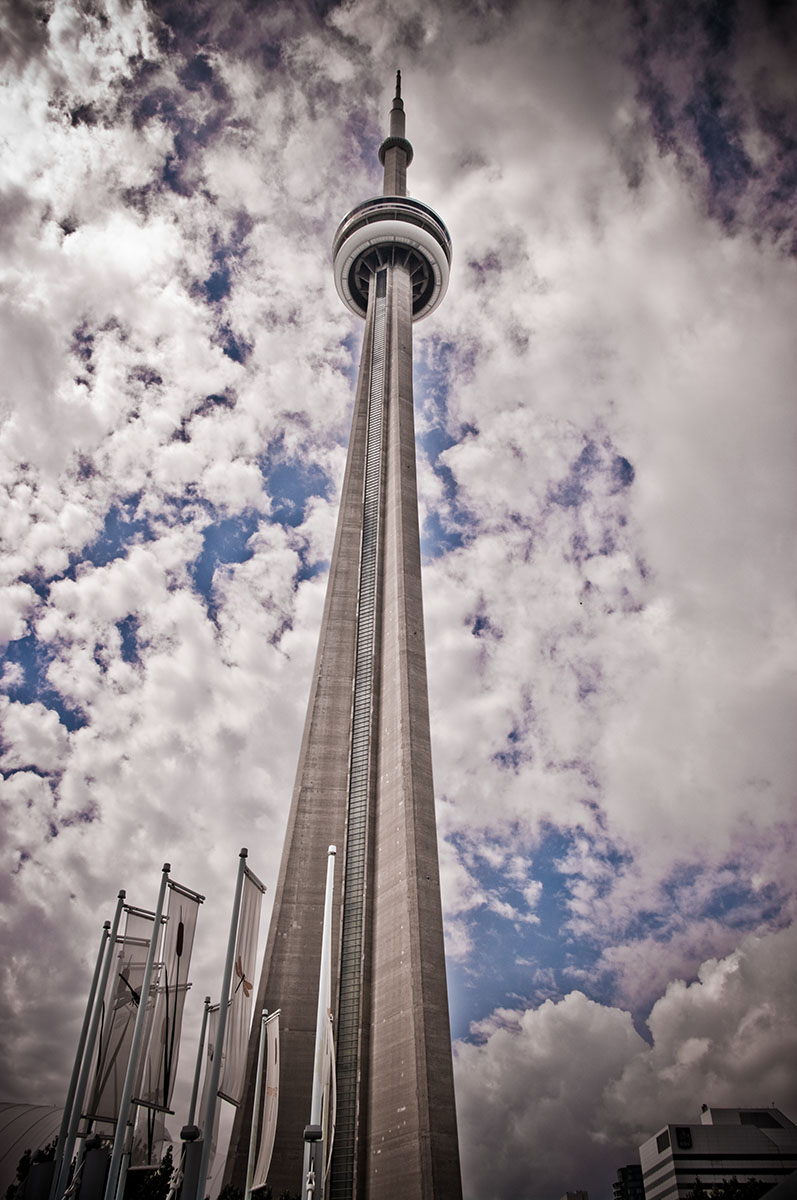
Getting that Cool Gritty Look article describes how to replicate the technique created by Dave Hill that a lot of people like. In my experience, it can have some pretty wild effects on clouds. For example, this picture of the CN Tower:
alt text

Here's the original:

alt text

Anyways, those are some places to start, but the key to them all is really about contrast. Have fun!

\$\endgroup\$
1
9
\$\begingroup\$

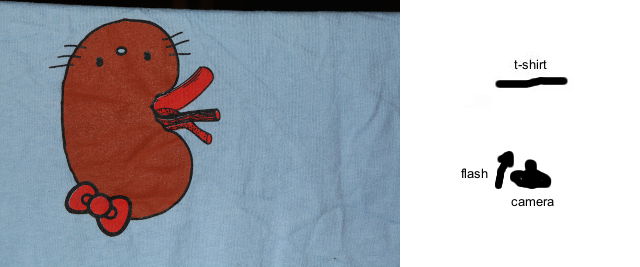
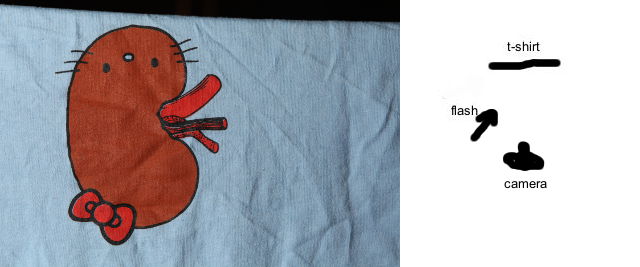
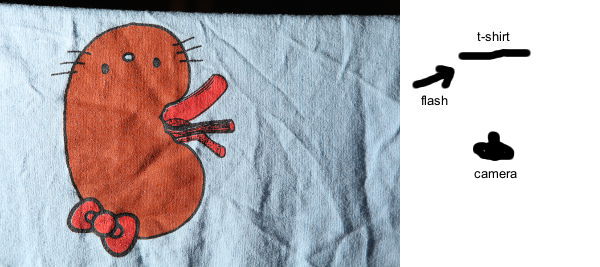
To put it plainly, lighting matters, because it brings up shadows that show the texture. I don't really know how to explain this in geometrical terms, so I'm going to present my T-shirt as an example.

next to camera45 degsfrom side

\$\endgroup\$
0
3
\$\begingroup\$

Especially for skin, the main thing is the position of the light. Specifically, you want the light positioned so the direction of the light is almost directly along the surface of the skin. This creates very bright highlights on every protrusion and harsh, deep shadows in every "valley", bringing the texture into dominance.

\$\endgroup\$
1
\$\begingroup\$

Basically it's high contrast.

You can increase the contrast with a harder light setting, i.e. a bright light source and low ambient light.

In post processing you can increase the contrast setting. Adobe Camera Raw (and probably others) also has a setting called Clarity that can be used to increase the contrast locally to enhance details.

Using sharpening with a large radius is another way of increasing the constrast locally.

It's hard to do with color photos what you do to B&W photos. When processing a B&W you can use very high contrast (corresponding to a hard paper when copying), but if you use as high contrast in a color photo the colors end up totally unnatural. You can however lower the saturation somewhat to allow for a higher contrast without blowing out the colors.

\$\endgroup\$
1
  • \$\begingroup\$ +1 Good point about local contrast. Thats not noted enough, but its a very powerful technique. \$\endgroup\$
    – jrista
    Commented Nov 5, 2010 at 23:34
0
\$\begingroup\$

Along with contrast adjustment, edge sharpening can also help emphasise texture. Give this one a try, even though it's rather old and is targeted at Photoshop CS2.

http://www.the-aperture.com/EdgeMaskSharpen.htm

\$\endgroup\$

Your Answer

By clicking “Post Your Answer”, you agree to our terms of service and acknowledge you have read our privacy policy.

Not the answer you're looking for? Browse other questions tagged or ask your own question.