3
\$\begingroup\$

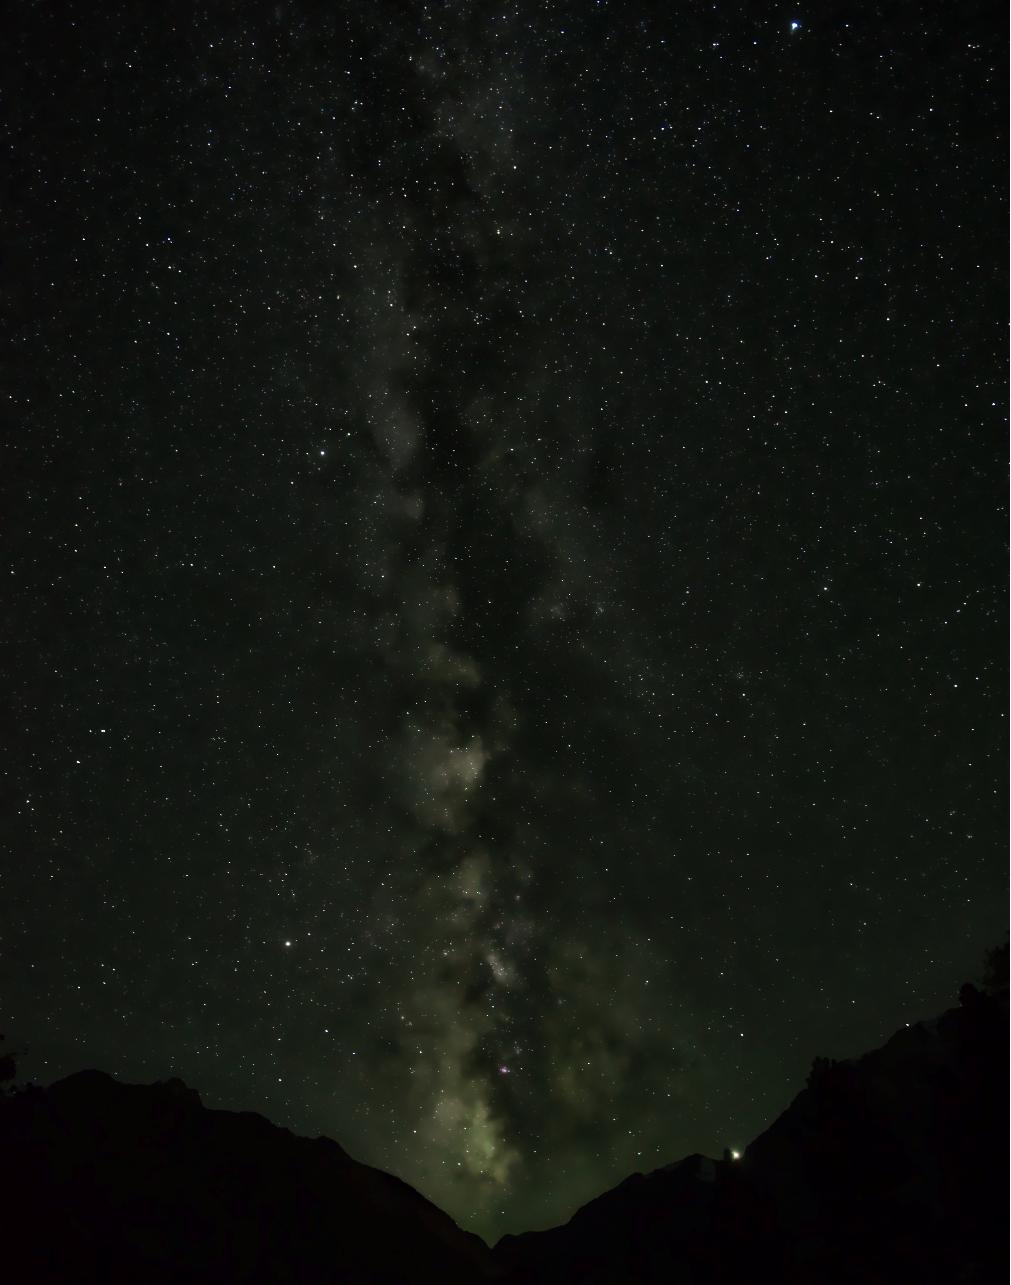
I took some night sky photos and messed around a bit in Darktable (Windows) to make the stars pop. The problem is that the exported JPEG dulls out the stars, even though I am exporting at 100% quality.

Taking a screenshot (windows+print screen) of the raw image in Darktable looks like the following: enter image description here
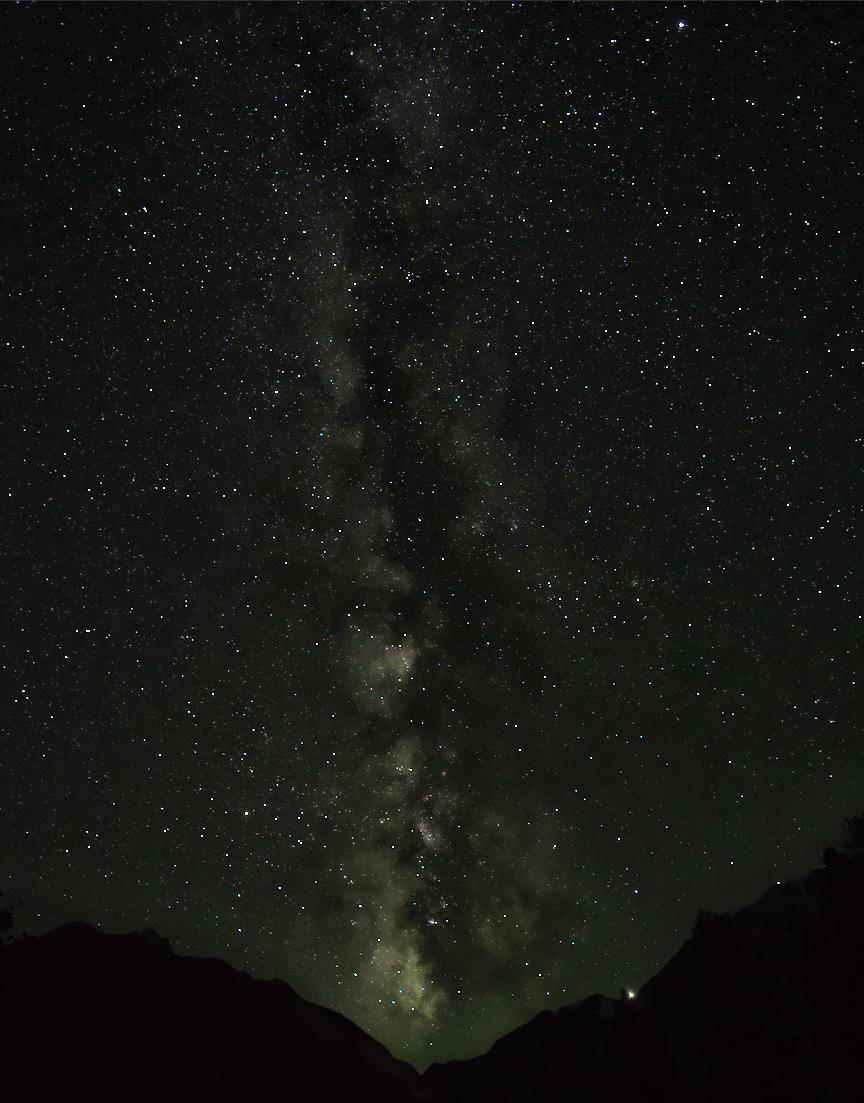
However, the exported a JPEG from Darktable looks like this:

darktable

Any advice on how I can preserve the bright dots when exporting?

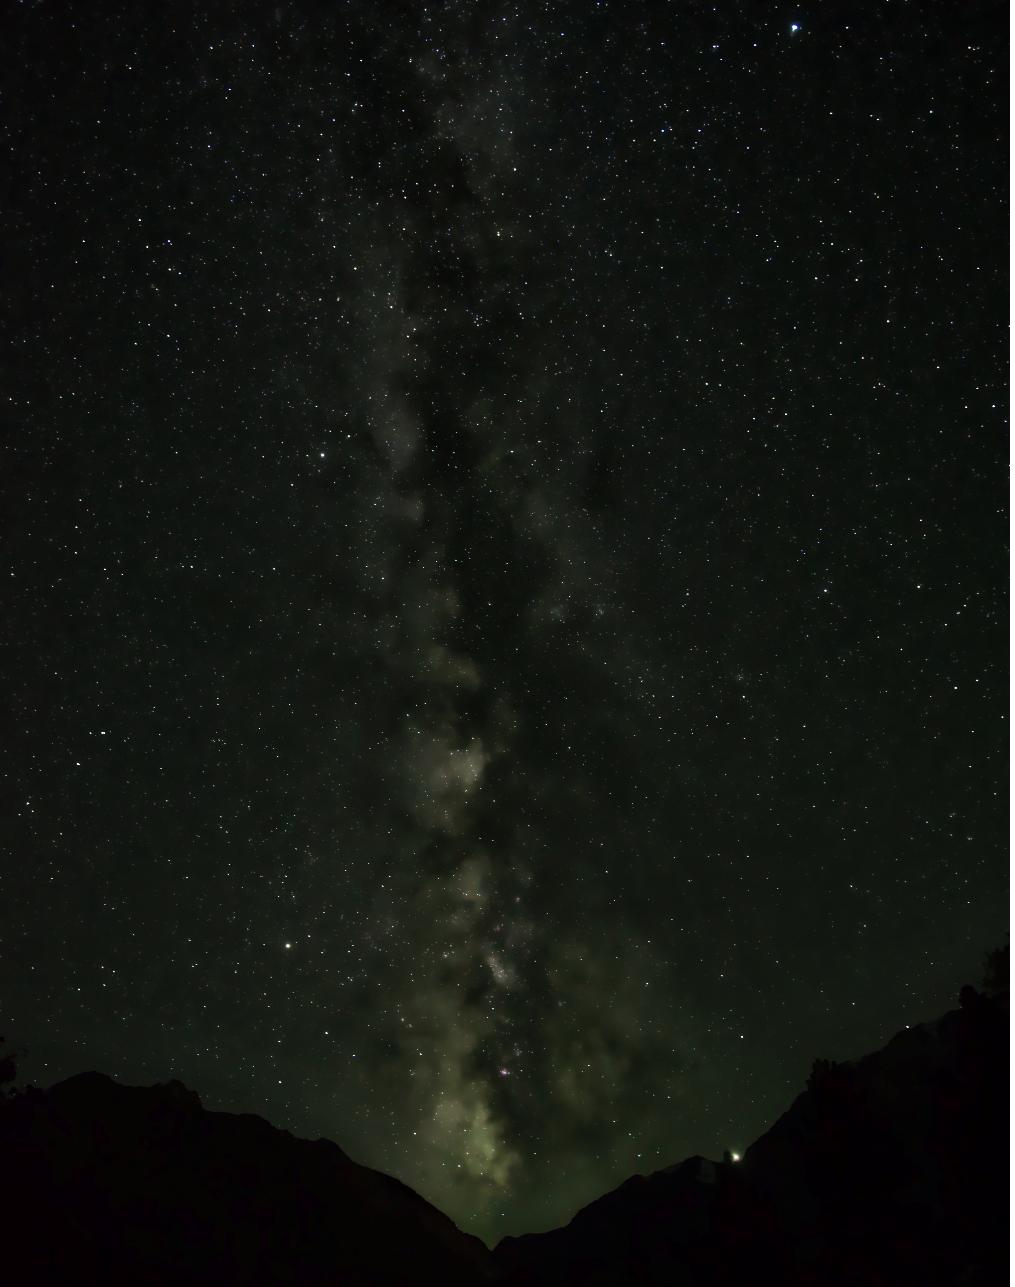
Edit: Asked by user to save an PNG. I saved to PNG with 8bit and compression set to 0: enter image description here
\$\endgroup\$
8
  • \$\begingroup\$ Just for comparison — what if you export to PNG? \$\endgroup\$
    – mattdm
    Commented Jul 8, 2019 at 2:48
  • \$\begingroup\$ I added PNG image to the question. It looks the same as JPEG. \$\endgroup\$
    – Mr. Fegur
    Commented Jul 8, 2019 at 3:09
  • \$\begingroup\$ Thanks — I suspected as much (that it isn't JPEG compression to blame) but wanted confirmation. \$\endgroup\$
    – mattdm
    Commented Jul 8, 2019 at 3:10
  • \$\begingroup\$ You can up the PNG compression, by the way — that compression is lossless and the only reason to use 0 is to save processing power (generally not an issue for today's computers). \$\endgroup\$
    – mattdm
    Commented Jul 8, 2019 at 3:16
  • \$\begingroup\$ JPEG is 8-bits per color. Darktable supports other formats. What does it look like exported as: JPEG2000 (12-bits per color), PNG (selecting 16 vice default 8 bits), TIFF (supports 8/16/32 bits per color), OpenEXR (floating point). Of coarse some of these formats aren't web supported. \$\endgroup\$ Commented Jul 8, 2019 at 20:38

2 Answers 2

2
\$\begingroup\$

Preview and exported images look different because the demosaicking and interpolation algorithms used are different. Even when viewing the exported image at reduced magnification, the down-sampling algorithms are likely different (nearest neighbor vs bicubic vs cubic vs lanczos). Bicubic and cubic will tend to look softer.

Consider adding a final sharpening step after any additional post processing you plan to do. If you intend no further processing, you can add additional sharpening from within darktable.

\$\endgroup\$
2
  • \$\begingroup\$ Ok, this does the trick. However it is a bit strange to do this. I basically don't know how the image will turn out until I export it. \$\endgroup\$
    – Mr. Fegur
    Commented Jul 8, 2019 at 4:36
  • 2
    \$\begingroup\$ There may be settings to control what algorithms darktable uses for the preview (it's been a while since I've used it). The disadvantage would be slower processing. Also, if you zoom in to 100%, the preview might better match the final export. \$\endgroup\$
    – xiota
    Commented Jul 8, 2019 at 4:38
1
\$\begingroup\$

Per this thread, this effect could be because of the way the Profiled Denoise module:

The “profiled denoise” module and the way how the image preview is generated. To make it fast the preview only takes “part” of the image. IRC in the full image view, the image is not even demosaic? Once you zoom in a bit you will notice, that it gets unsharp like the export.

To tweak the denoising I always use the 100% view. The default settings of profiled denoise are too “strong” most of the time. So you need to change the values. I use the approach described in the manual with the two different modes and blending. And for demosaicing I switch to “VNG”
-- Christian Kanzian

This may or may not be your problem, (the OP of that thread had a different problem that might or might not have gotten fixed), but it's worth a try.

\$\endgroup\$

Your Answer

By clicking “Post Your Answer”, you agree to our terms of service and acknowledge you have read our privacy policy.

Not the answer you're looking for? Browse other questions tagged or ask your own question.