3
\$\begingroup\$

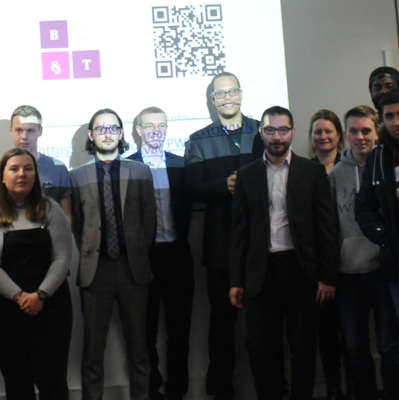
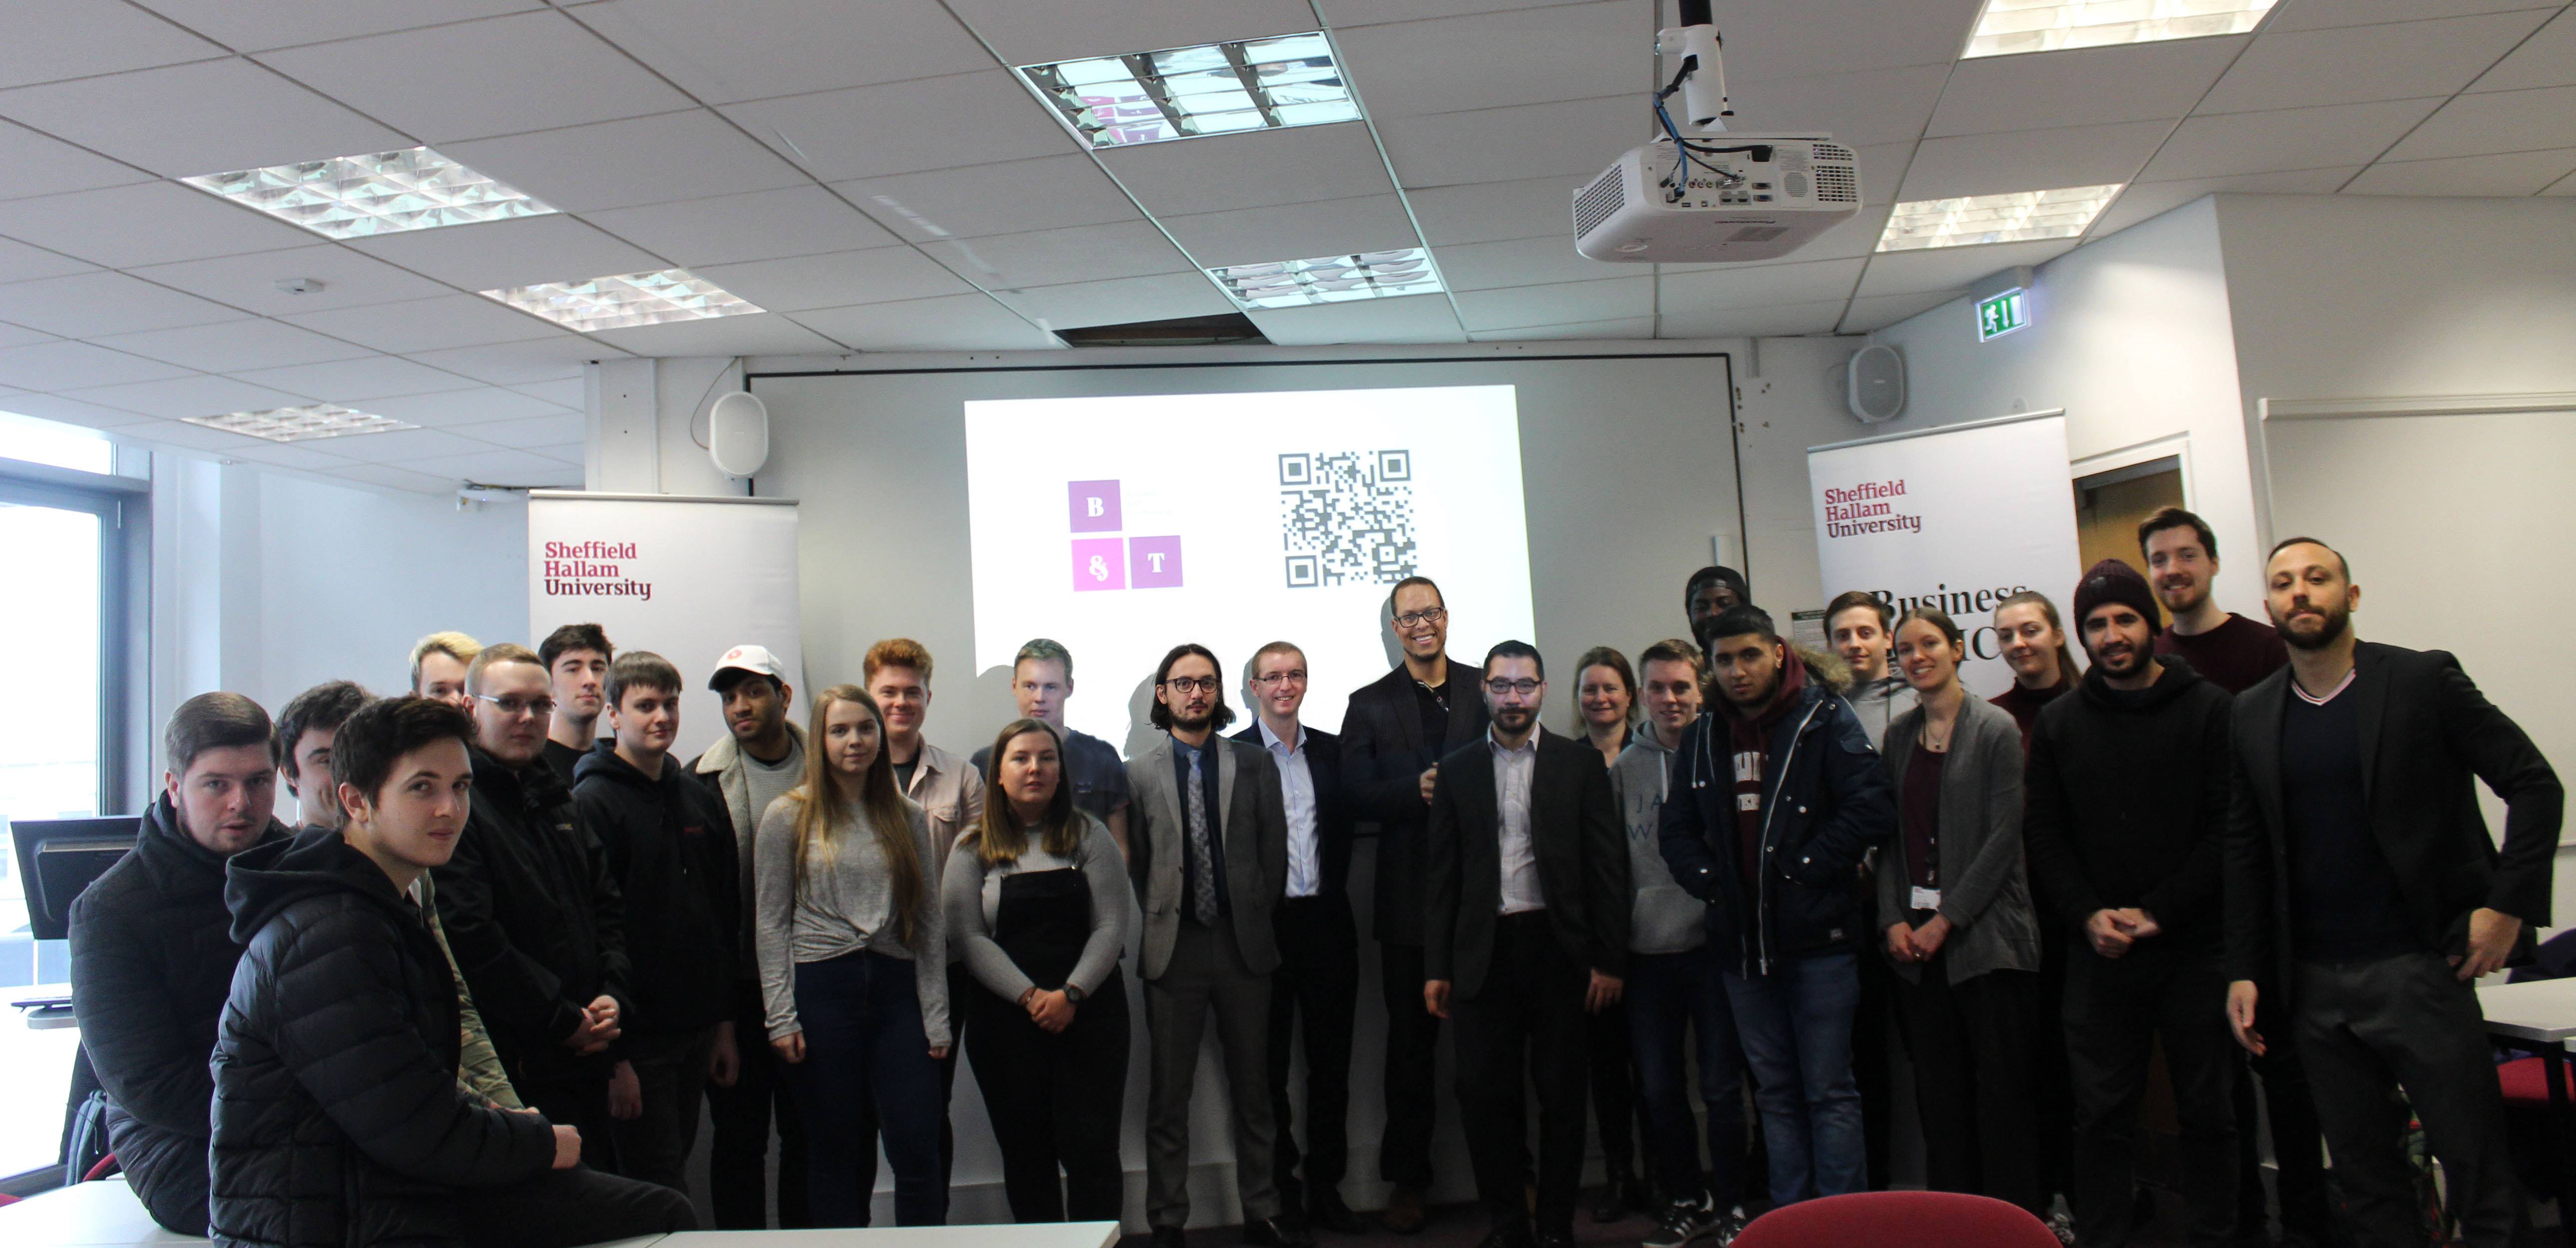
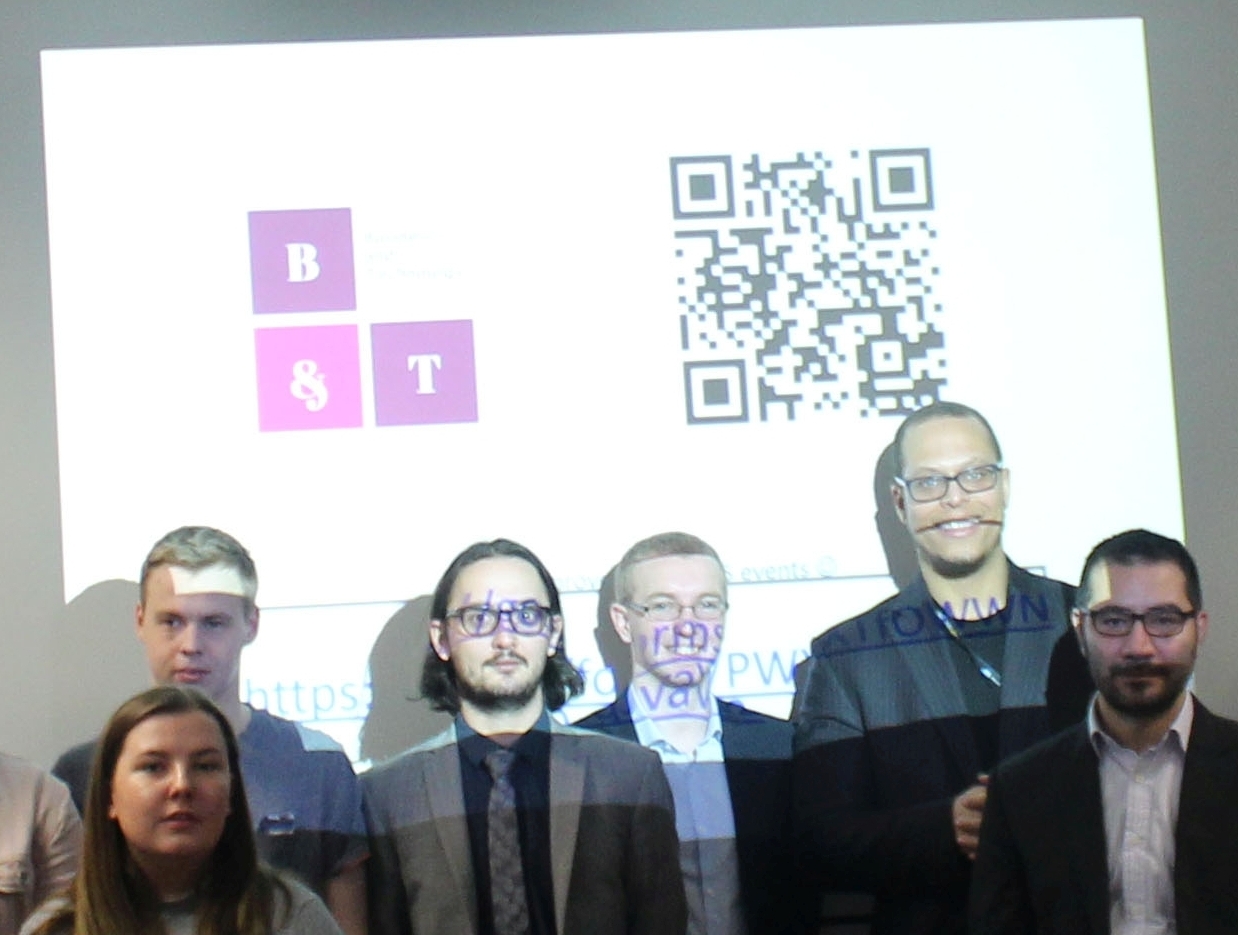
As you can see display screen is imprinted on the faces of around 5 members. I was wondering whether it is possible to remove the lighting. Either through clone stamp, feathering or any other way. I am not quite sure.

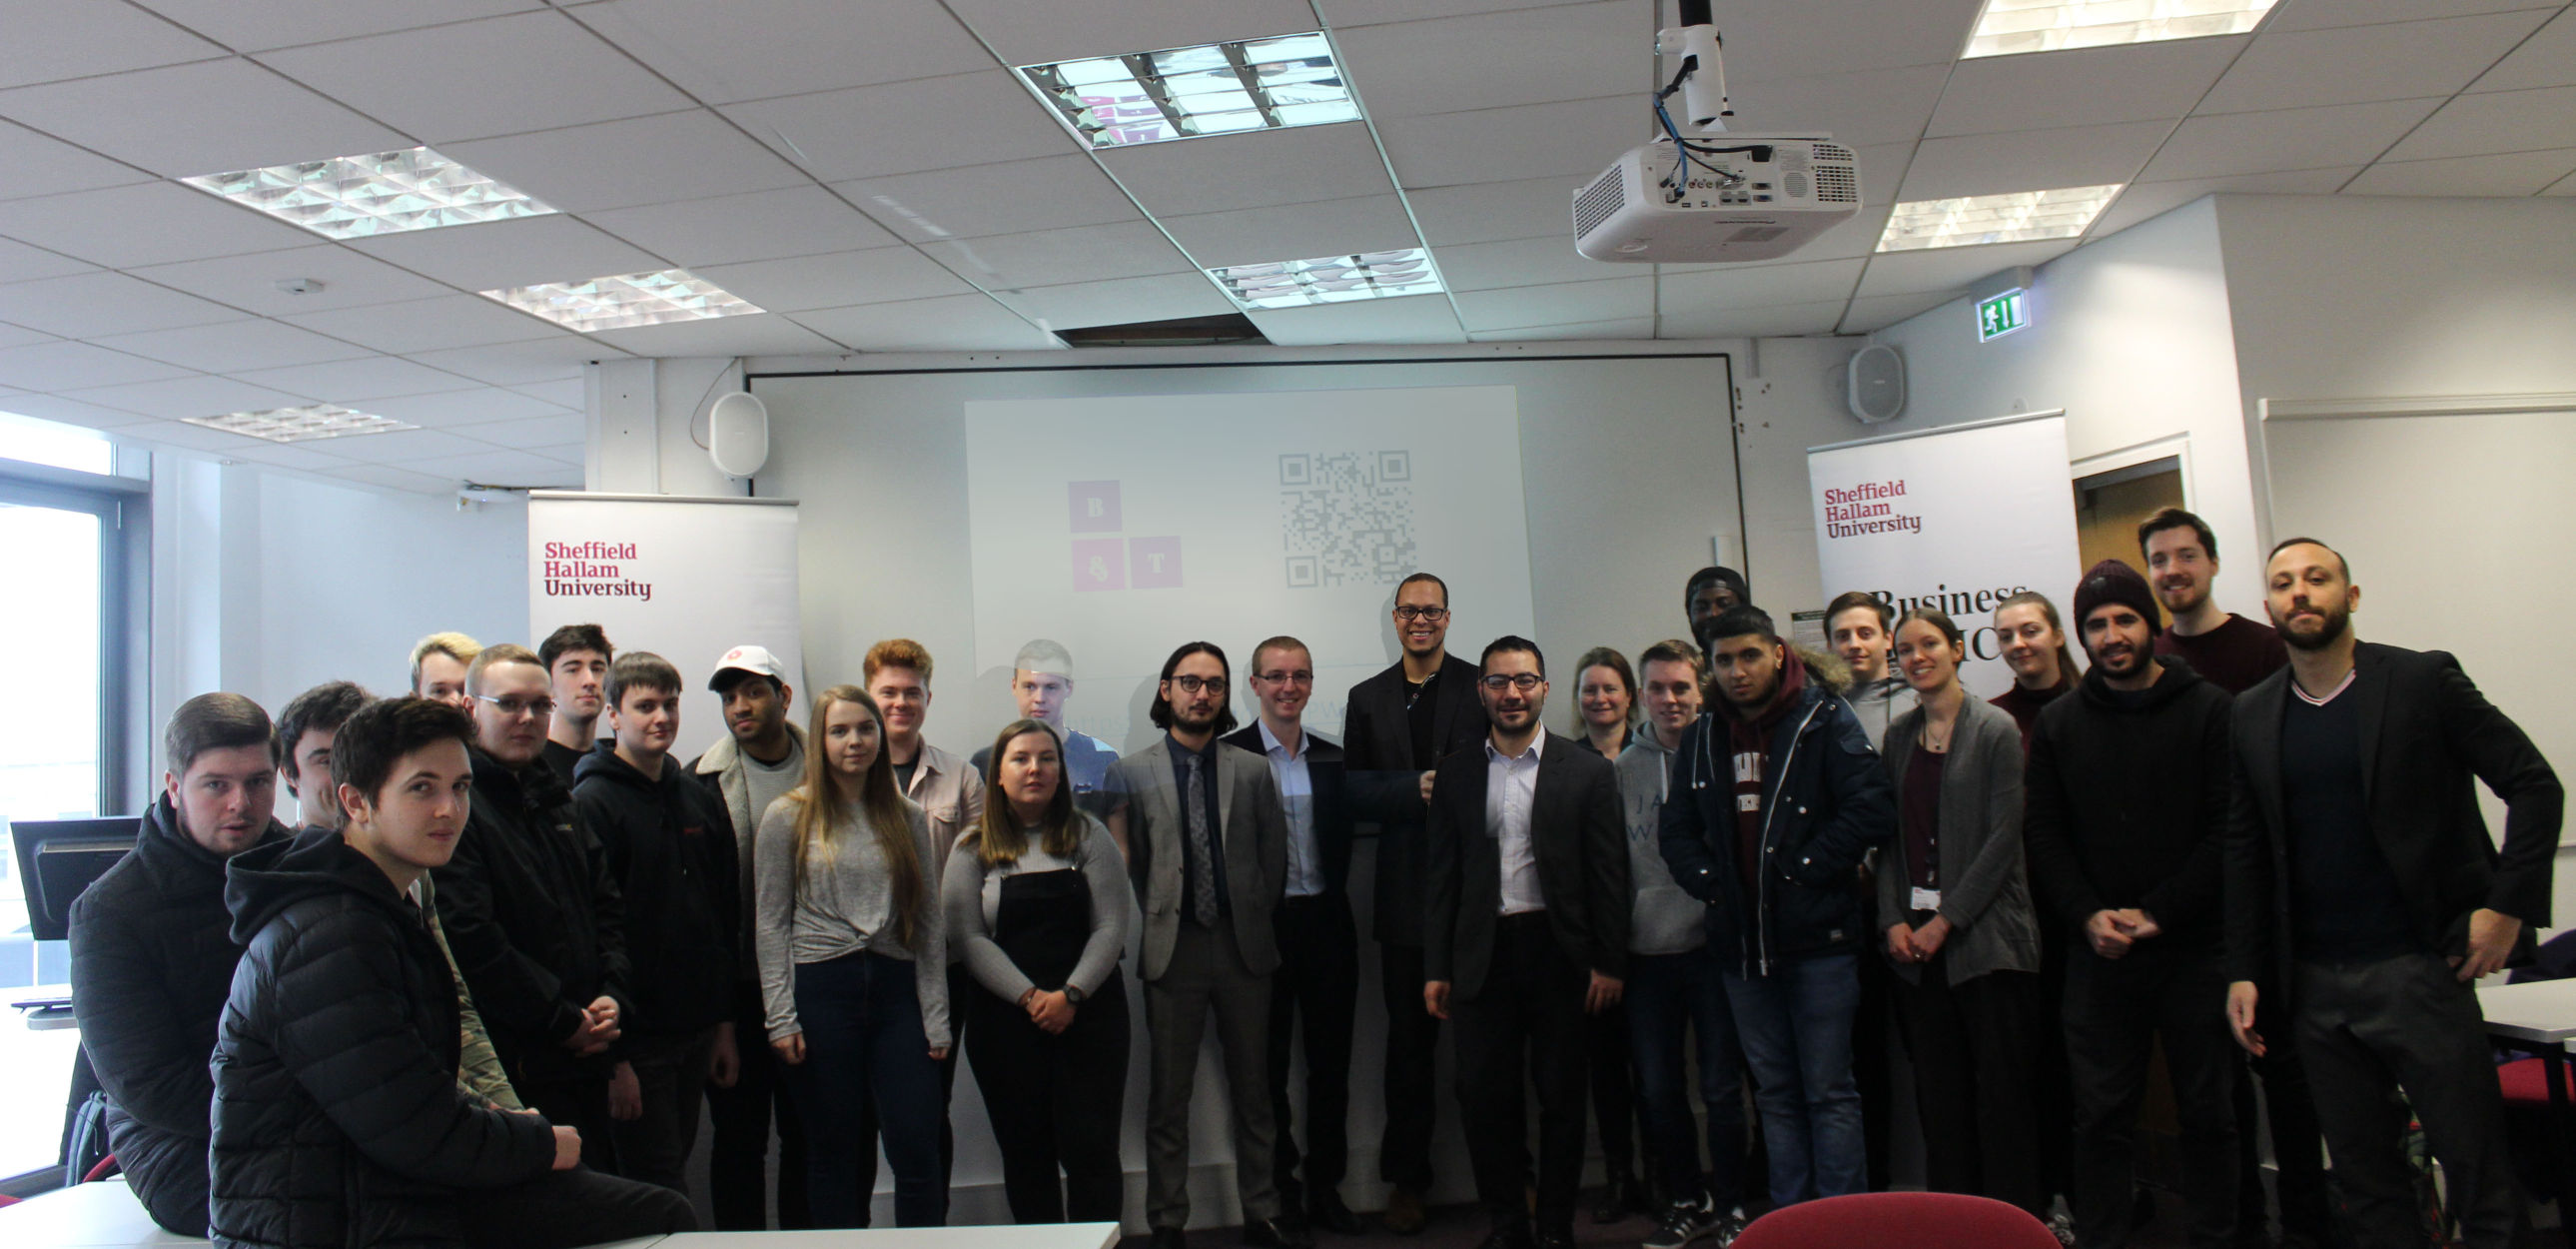
I have taken another photo were the display was off. But the student's were not around. As a student, I have offered to help the staff members in media production, however I now feel bad about this issue. I am still learning Photoshop and want to remove the lighting on the faces of the 5 members on the picture.

Thank you so much guys. I finally got it working. This might be a rude request, but I don't expect it to happen. Would it be possible to delete the question, or at least the images. Since I was not given permission to post them here. I don't want to get in trouble for posting something were it does not belong. If not then let's pray they don't find them. :)

Thanks again.

\$\endgroup\$
5
  • \$\begingroup\$ @SaliWarrior. Take this as an experience, when you are taking a group shoot you are the commander. So look around, look the environment, the people, the best spot stand, and turn off the projector. \$\endgroup\$
    – Rafael
    Commented Jan 30, 2019 at 0:55
  • \$\begingroup\$ I think if you were to flag and it goot enough flags then the moderator will look at it. However Instead of deleting the question which is a bit unfair. What about the pictures. If you guys can go on edit and remove the link will the photo's disappear. \$\endgroup\$ Commented Feb 3, 2019 at 12:51
  • \$\begingroup\$ Given the effort in all the answers, which largely depend on use of the images, I'd be reluctant to remove the images, much less the entire answer, as the answers could be very useful to other people. \$\endgroup\$
    – MikeW
    Commented Feb 3, 2019 at 18:09
  • \$\begingroup\$ If you click on the contact link at the bottom of the page and describe the problem, it's possible you could have your profile disassociated from the question (the question would attributed to "Anonymous") \$\endgroup\$
    – MikeW
    Commented Feb 3, 2019 at 18:12
  • \$\begingroup\$ If you want to create a post on meta (photo.meta.stackexchange.com) I and others could comment further. \$\endgroup\$
    – MikeW
    Commented Feb 3, 2019 at 18:14

4 Answers 4

4
\$\begingroup\$

The best option for you is to clone from the other image.

And if done correctly, no one will know that you edited the image.

Open the image in photoshop

enter image description here

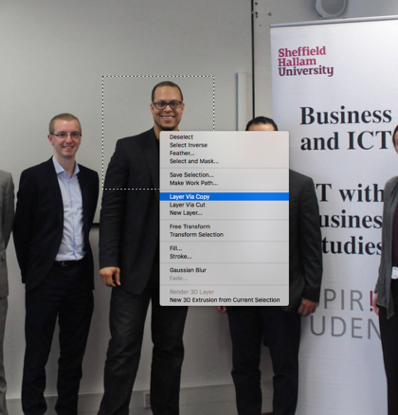
Next, open the other image in photoshop as a separate file

Select just the portion of the image that needs to be cloned

enter image description here

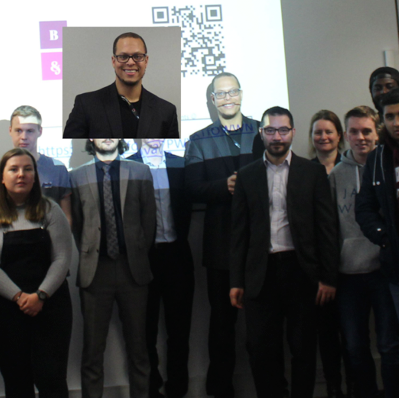
Drag that selection into the main image

enter image description here

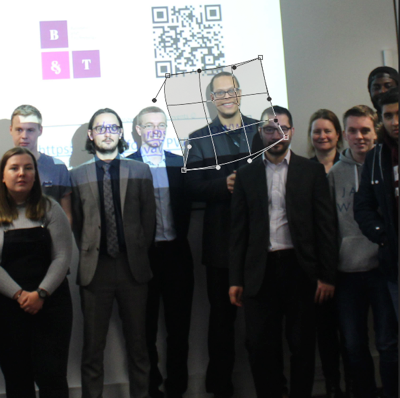
Cmd or Ctrl T to bring up the transform options

Now, use the warp tool to align the images

enter image description here

Next, create a mask and invert it and paint in white

enter image description here

Repeat this process for all the others – Should only take about 5 minutes per person.

Fortunately for you, they are all available in the good picture.

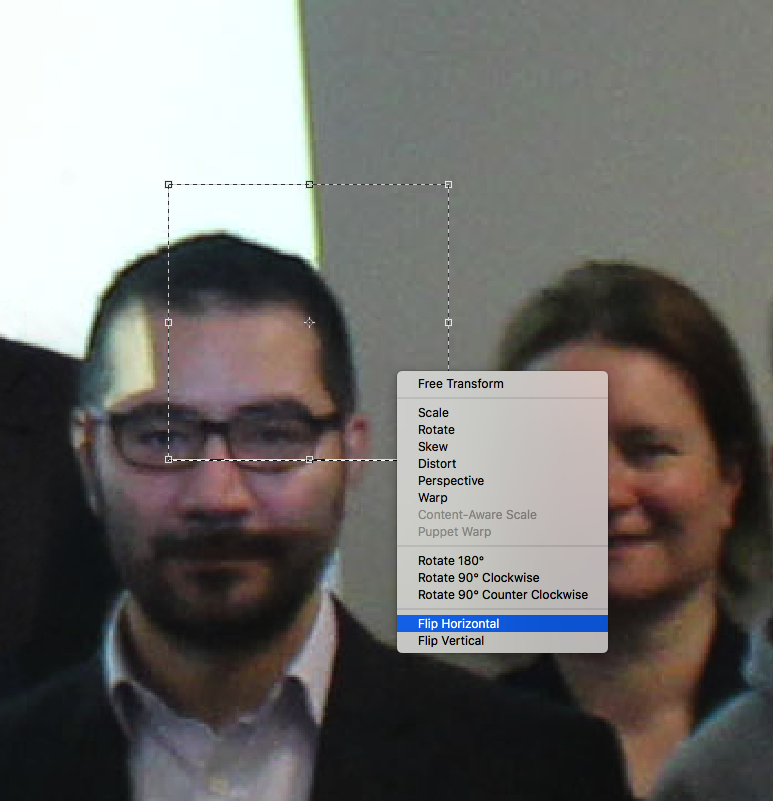
As for the people with the highlights on the forehead

Make a selection on the NON- Highlighted area,

Then using the Transform Option, flip horizontal

enter image description here

Align it to the side with the highlight

Create a mask and invert it.

Now brush the area with white

enter image description here

I have left the projector light on, but if you want that removed, you will need to make bigger selections and then use Blend-if to get an even tone

Hope this helps

Edit

Had a play and it was little more challenging than at first anticipated.

The guy with the long hair had to be cloned in completely without warp.

enter image description here

\$\endgroup\$
3
  • \$\begingroup\$ Thank you so much. So I have reached the point where I managed to blend the first person but I don't understand the mask and invert part. I added the mask layer and it was automatically white. I didn't have to paint it. Also where do I find the invert? It's been two years since I last used photoshop. Sorry. \$\endgroup\$ Commented Jan 30, 2019 at 17:49
  • \$\begingroup\$ Whilst the mask is selected, CMD or Ctrl "I" will invert the mask. It will go from white to black. Now select the brush tool and ensure that white is selected as your foreground color. Remember, white reveals what's under the mask and black hides. Good luck \$\endgroup\$ Commented Jan 30, 2019 at 19:41
  • \$\begingroup\$ @SaliWarrior - I have added a complete edit so you have something as a reference \$\endgroup\$ Commented Jan 30, 2019 at 22:18
1
\$\begingroup\$

Probably a good approach would be to clone the teachers over the other photo. But one student will still remain affected.

Mask the faces on the second photo, copy > and paste on the first image.

Here is a rough test.

enter image description here

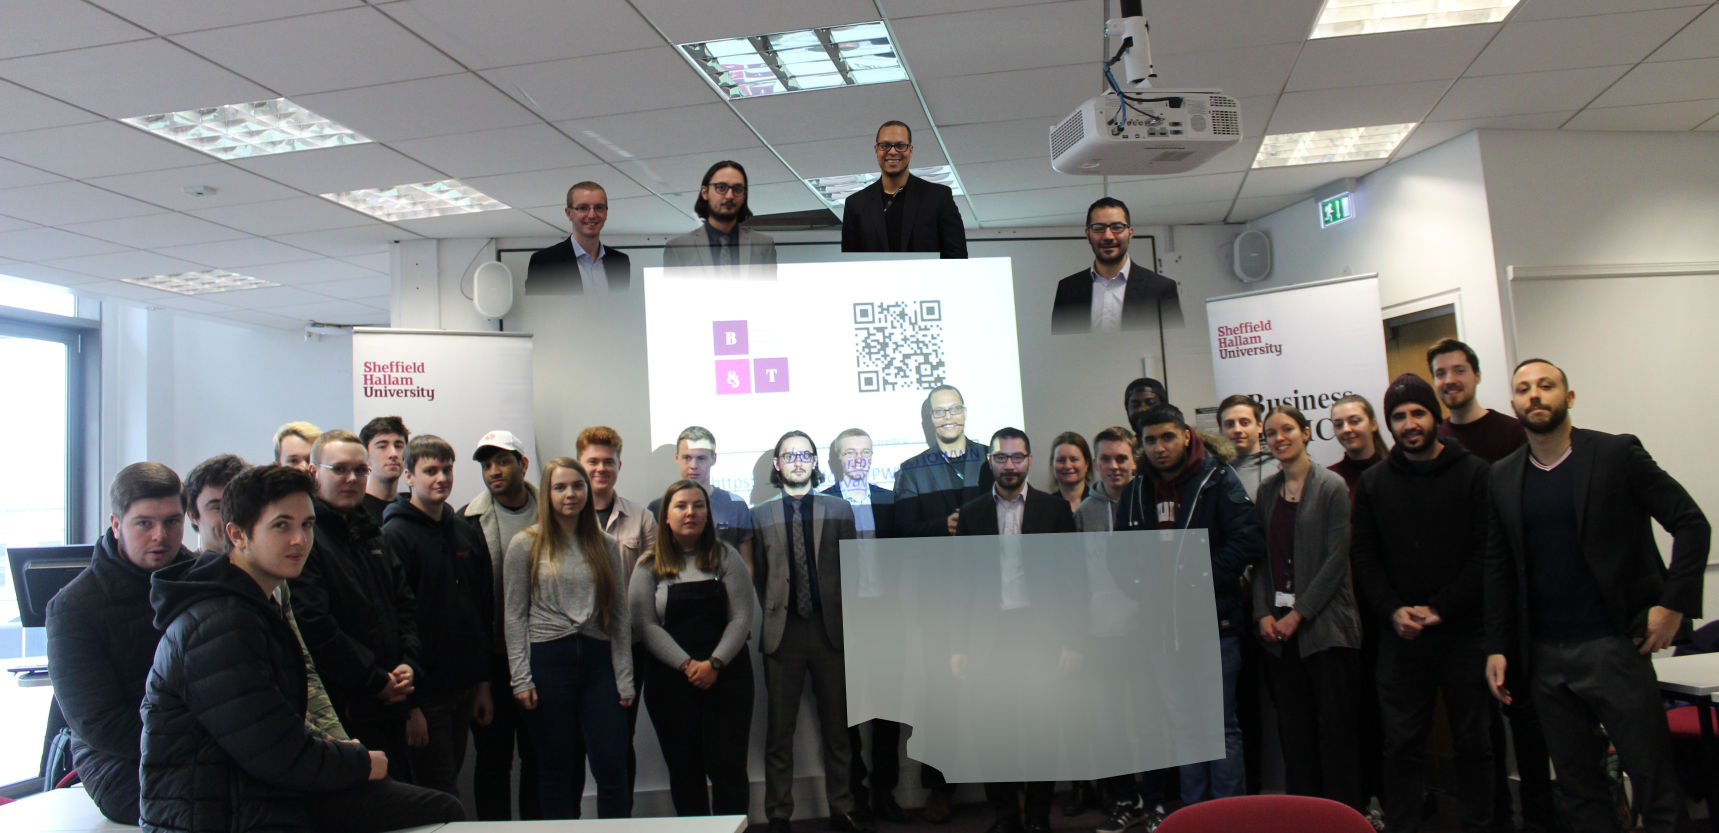
And here is a surreal image of the objects. It is a simple matter of masking coping pasting and adjusting the curves to match the luminosity.

enter image description here

The poor kid on the left needs an additional makeup.


If you had not the other photo it would be almost impossible to heal the image.

Take this as an experience, when you are taking a group shoot you are the commander. So look around, look at the environment, the people, the best spot stand, and turn off the projector!

\$\endgroup\$
2
  • \$\begingroup\$ Thank you so much. How long did it take you? \$\endgroup\$ Commented Jan 30, 2019 at 18:40
  • \$\begingroup\$ Like 20 mins (5 mins per head) The most boring part is the masking of the heads. Use @Abdul Quraishi method. I posted my answer at the "same time". \$\endgroup\$
    – Rafael
    Commented Jan 30, 2019 at 18:59
0
\$\begingroup\$

That's a difficult one...

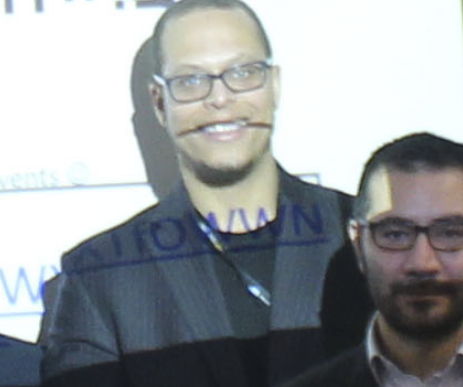
I've had a quick, very rough & ready go at just one of the guys in the light.
First I duplicated the layer, so we can have a mainly untouched layer underneath.
Then I made a selection round him [so scrappy I missed an ear & caught a bit too much suit... I did say this was very quick]
I added a mask & left only that part visible.
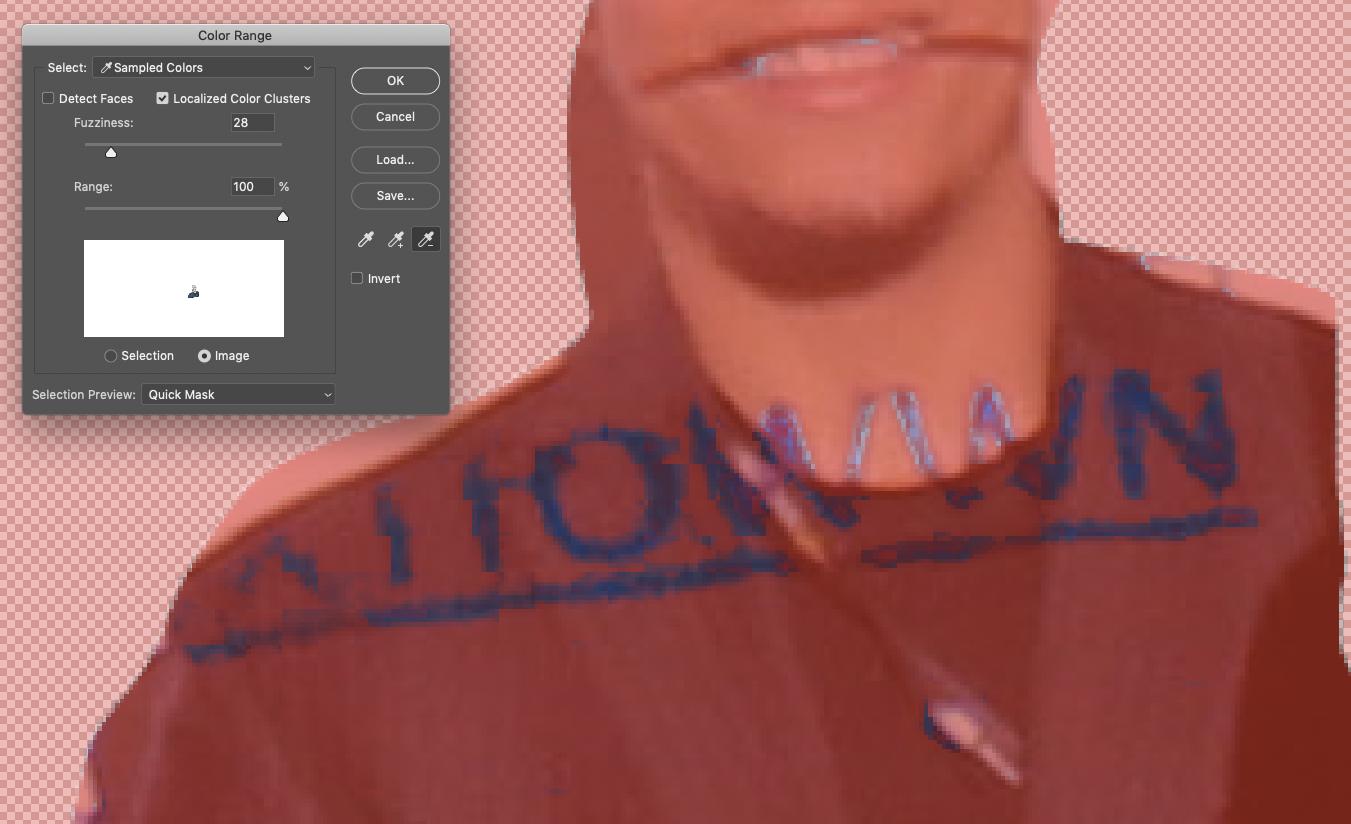
A little brightness/contrast to match his suit to the unlit portion & some Colour Range selection to try grab the purple writing [this would need two separate attempts, one for over his suit & another for over his skin, which I didn't do] & rebalance the purple to be less obvious.

Range select -

enter image description here

Rough lasso & before/after comparison -

enter image description here enter image description here

To improve on this abysmal attempt, you can refine your lasso edges & feather your mask in. Spend longer getting the colour range & the detail of how you adapt the colours.

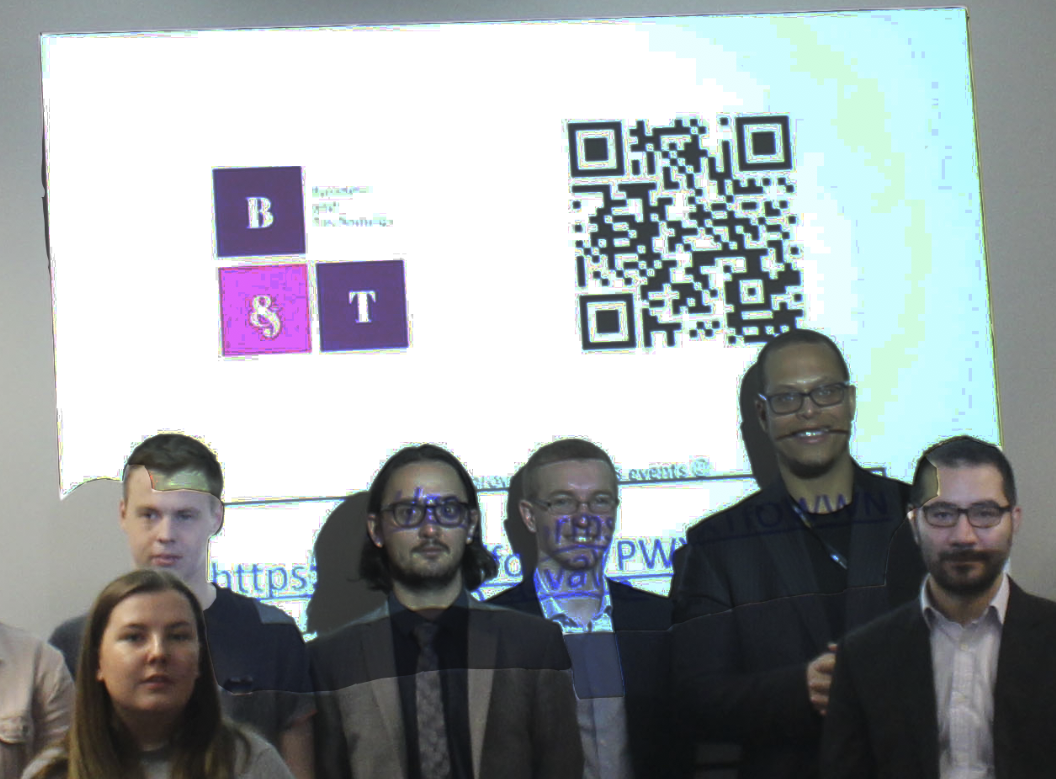
From comments - trying to do the entire projector area doesn't really work so well, it rapidly collapses to something like this...

enter image description here]4

\$\endgroup\$
6
  • 1
    \$\begingroup\$ It might be easier, and look more natural, to select the entire area affected by the projected light to reduce its intensity, rather than attempt to completely remove it. \$\endgroup\$
    – xiota
    Commented Jan 29, 2019 at 19:42
  • \$\begingroup\$ It doesn't really work - that was my first guess too, but I'll add what very quickly happens if you try to do it as a 'one-shot' \$\endgroup\$
    – Tetsujin
    Commented Jan 29, 2019 at 19:49
  • \$\begingroup\$ Would it look significantly better if I do that? Thanks for the tips. \$\endgroup\$ Commented Jan 29, 2019 at 19:50
  • \$\begingroup\$ I added a 'one-pass' version - it really doesn't work so well. You're going to have to do it in separate passes for each significant area. \$\endgroup\$
    – Tetsujin
    Commented Jan 29, 2019 at 19:51
  • \$\begingroup\$ Having the screen itself pretty much washed out doesn't hurt the overall image. Trying to compensate it at the same time as everything else hurts more than leaving it alone. My rough attempt at the entire area is based on getting the same guy to look about OK after the tweaks. \$\endgroup\$
    – Tetsujin
    Commented Jan 29, 2019 at 19:57
0
\$\begingroup\$

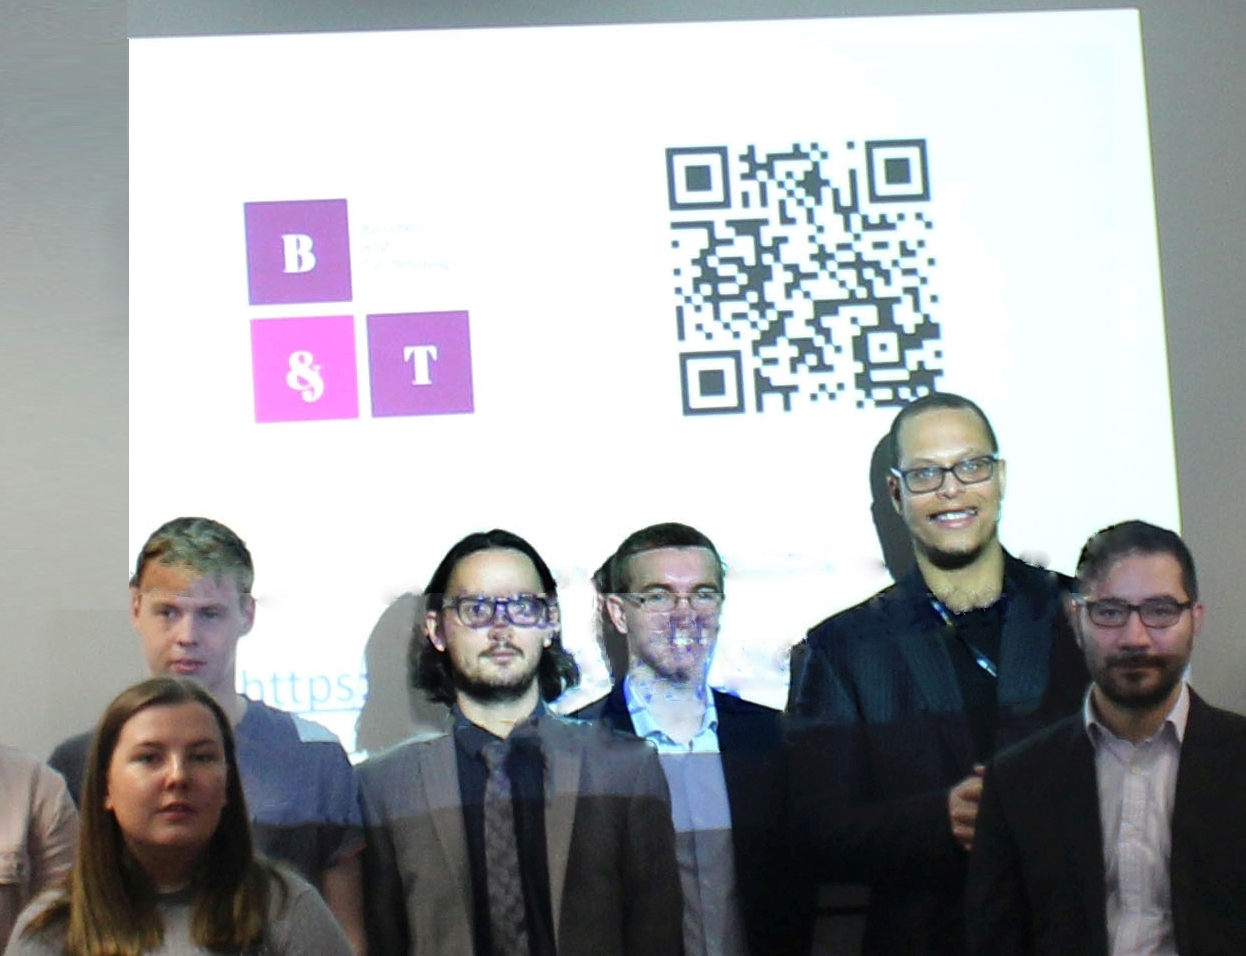
If you have a lot of time on your hands, and have lots of skill, (I have neither), you could make some progress in improving the photo just by darkening selected areas, and using a "healing brush" to hide some of the defects.

Here is my results after about 10 mins playing around. enter image description here enter image description here

\$\endgroup\$

Your Answer

By clicking “Post Your Answer”, you agree to our terms of service and acknowledge you have read our privacy policy.

Not the answer you're looking for? Browse other questions tagged or ask your own question.