7
\$\begingroup\$

Since I bought my first camera, I want to do a double exposure photo.

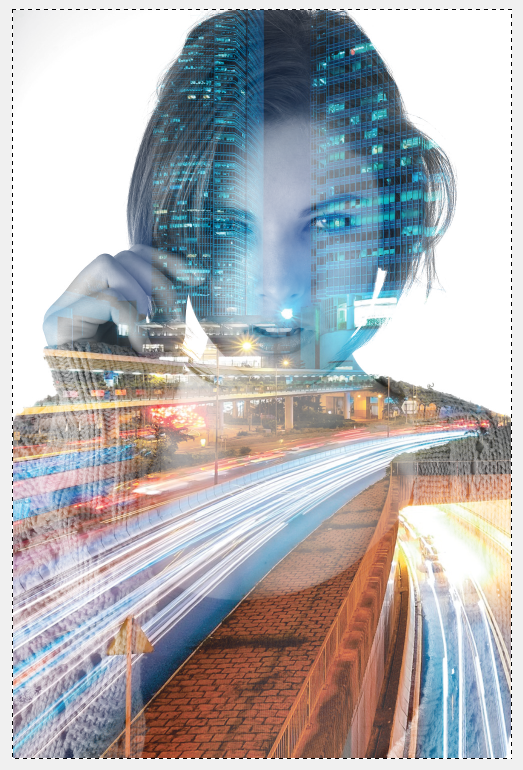
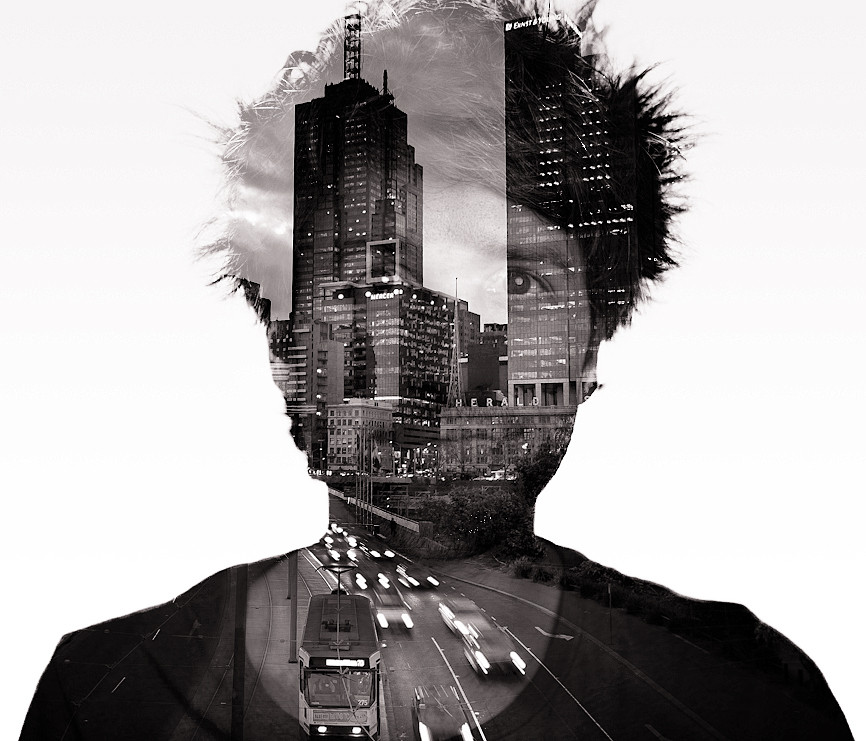
I know double exposure photos are two combined photos, like the following one:

Source: google photos
(source: alexwisephotography.net)

My goal is make one of these combining my face and fire.

Somebody knows how to do it in Gimp? I searched tutorials for this, but no tutorial about double exposure in Gimp was found.

Thanks!

\$\endgroup\$
2
  • \$\begingroup\$ We have another question with a similar example. I can't find it right now, though. \$\endgroup\$
    – mattdm
    Commented Jan 6, 2016 at 0:11
  • 1
    \$\begingroup\$ Might want to credit Alex Wise with the image and Photoshop tutorial video--or possibly just link to it, since you probably don't have permission. \$\endgroup\$
    – inkista
    Commented Jan 6, 2016 at 0:36

3 Answers 3

9
\$\begingroup\$

Open both photos individually (ie in different windows/tabs).

Select all and copy one photo, then on the other photo "Paste as -> New layer"

This pastes one photo over the other. If the sizes don't match up, you can resize one layer at a time with Layer -> Scale layer. Resize the larger layer down. You can move a layer around with the move tool in the toolbar.

Now, in the layers window, select the top layer and choose a blend mode and opacity for the upper layer. The simplest blend mode is just to use "Normal" and adjust the opacity, but it may create a more interesting result to try the other blend modes, particularly modes such as "Multiply" or "Soft light". For each blend mode, try adjusting the opacity of the top layer too to see how that mode reacts to changes in opacity.

\$\endgroup\$
0
10
\$\begingroup\$

This is not about blending modes. It is about masks.

These are my source files.
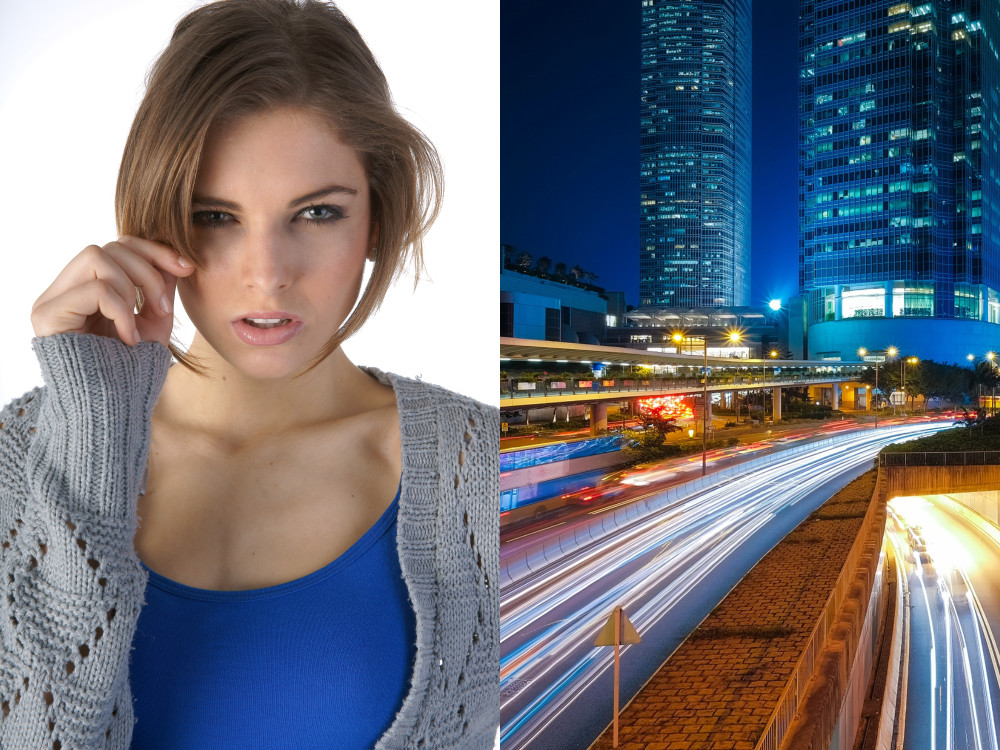
enter image description here

Convert the girl into a grayscale image. The Photo can stay as RGB color image.

Open the Photo and duplicate the layer. Let's call this Photo.
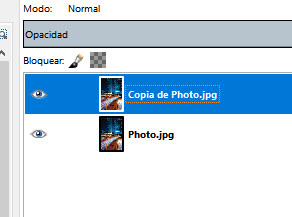
enter image description here

Using curves, convert the background layer to flat white. (Not the new layer)
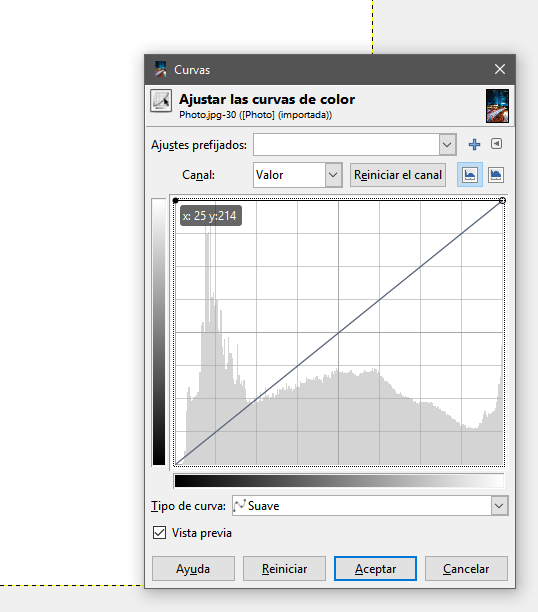
enter image description here

Open the Girl's photo and invert it using curves. Copy it to the Clipboard.
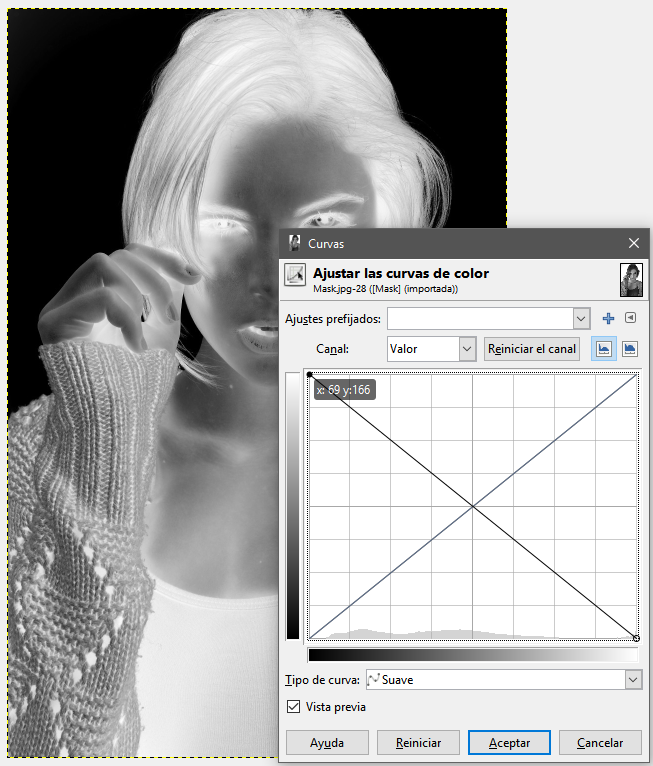
enter image description here

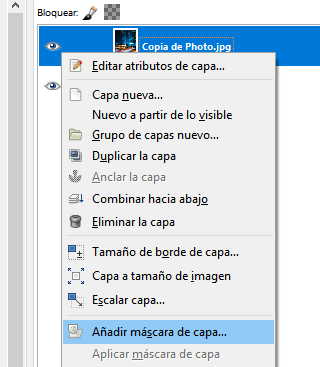
On the Layer, Photo Right click and make a layer mask.
enter image description here

Paste the image of the girl.

enter image description here

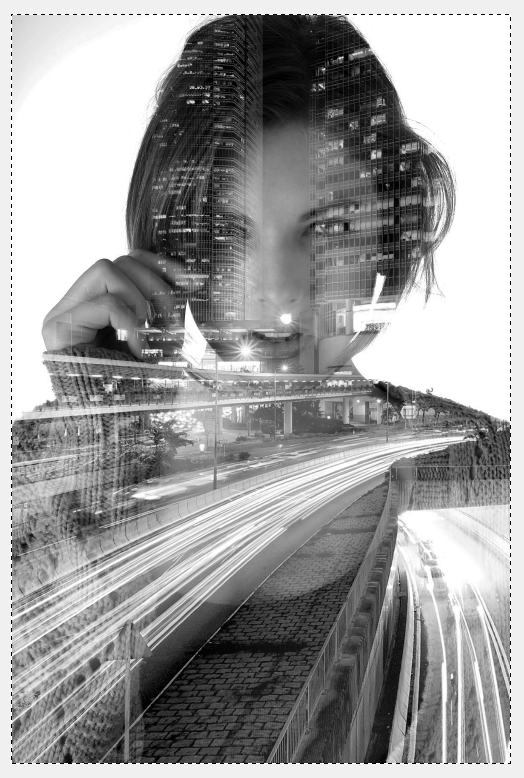
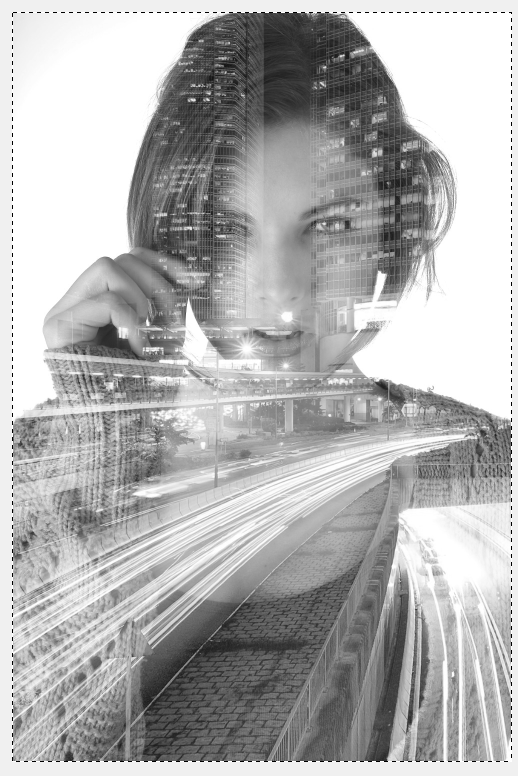
This is the basic idea. The image is a mask. But you probably want to tweak the contrast of the images and convert the Photo to black and white. I would desaturate it and leave it as RGB, not to grayscale because the blacks are dull.
enter image description here

More contrasted images.

enter image description here

Source files: https://pixabay.com/es/mujer-ni%C3%B1a-retrato-2359551/ https://pixabay.com/es/hong-kong-ciudad-urbana-rascacielos-1990268/


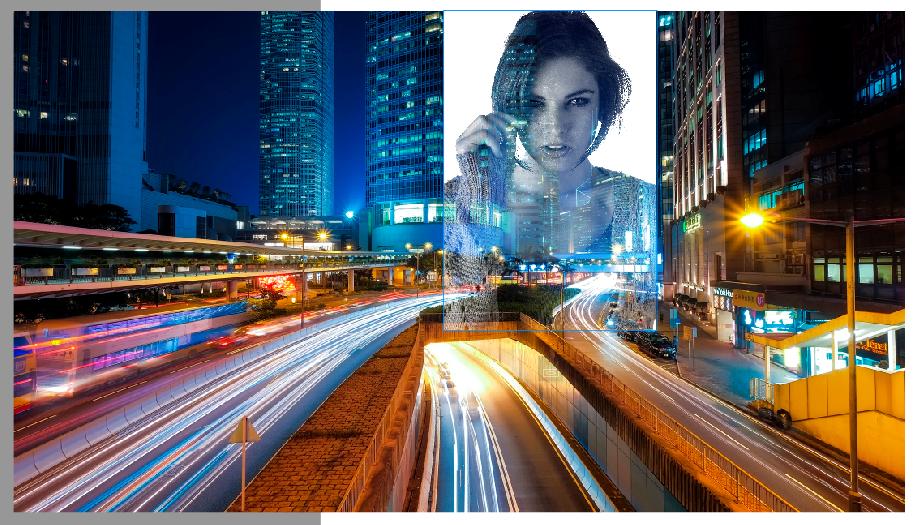
But I do not normally use Gimp. I finish the edit of this kind of stuff in Corel Draw, In this case, I simply masked a white rectangle and paste into my document, to have the freedom to choose the position of the background into the face. You can on Gimp but will force you to have a really big canvas.
enter image description here

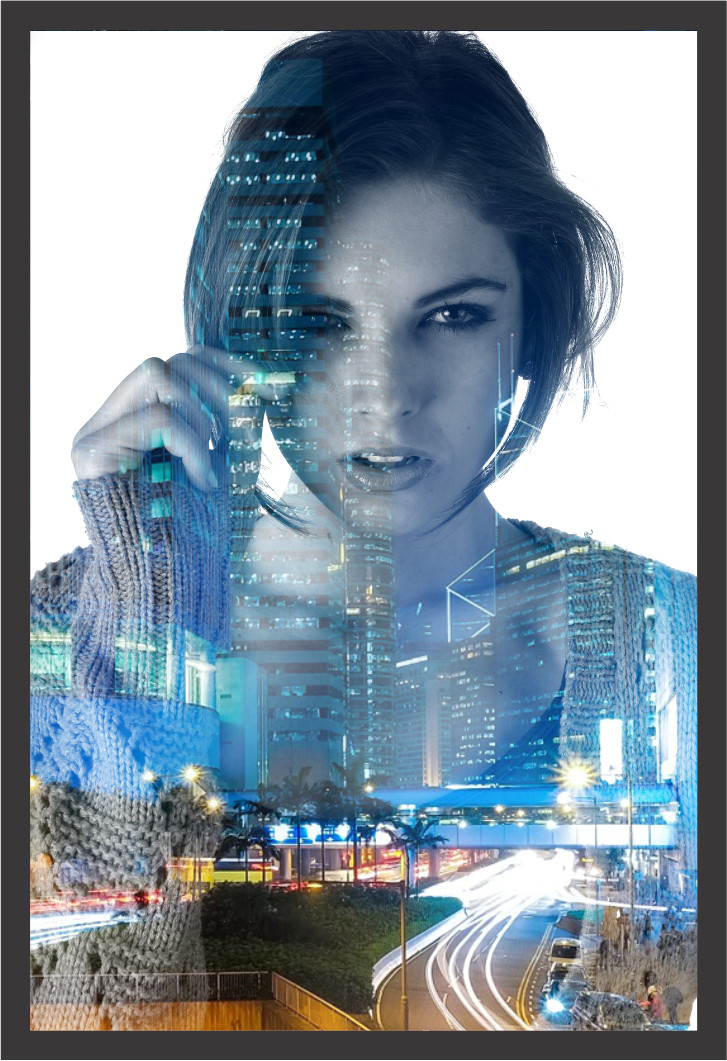
But choosing a correct background for the white masked part is important:
enter image description here

\$\endgroup\$
2
\$\begingroup\$

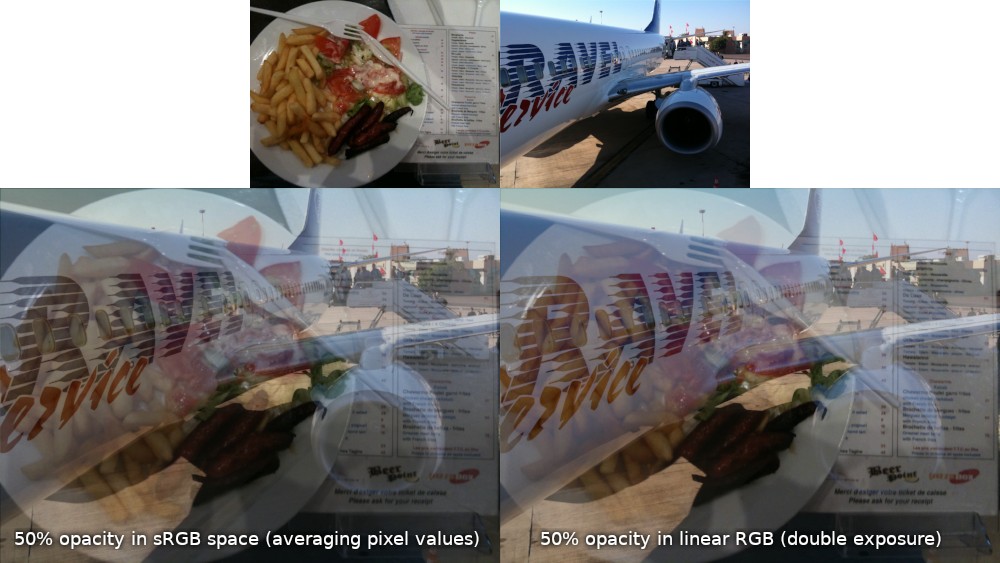
Interestingly, while the other obvious answer is good enough for most practical purposes, averaging layers with 50% opacity does not always give the true double exposure effect. It is all because of the nonlinearity of sRGB and the fact, that often our photo processing apps do not care about gamma, working as if pixel values were brightnes.

So, for those interested:

On the left: overlaying images with 50% opacity in sRGB space, ignoring gamma (this was the only option in Gimp before 2.9). The result does not reflect the real double exposure effect

On the right: the same, but using the linear light mode (only possible in Gimp 2.9 and later and is not the default mode. professional apps like PS can do this since always, of course). The result is similar but slightly different, especially in places where bright pixels from one image meet the dark pixels of the other one. This simulates the real double exposure where we add light and not pixel values.

comparing sRGB vs linear with 50% opacity

\$\endgroup\$

Not the answer you're looking for? Browse other questions tagged or ask your own question.