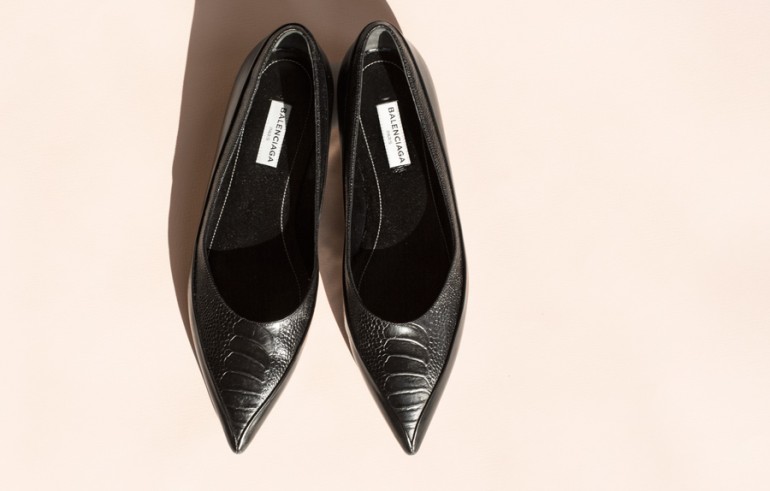
Since none of the objects is in movement, It is not necessary to have a strong light source. A regular one, a tripod and a long exposure can render the results.
Using a continuous light source
I would use a transparent incandescent bulb, since they produce a very harsh light. The camera is to be set for a long exposure and in "tungsten" or "incandescent" white balance. The advantage of using a simple, continuous light source, is that you control exposure in camera only, particularly with exposure time. You just need a tripod.
If the studio has black walls, ceiling and floor, no modifiers are needed. If this is not the case, please read the last paragraphs.
The objects can be lay on the floor and the camera would be directly on top and pointing down.
If my tripod where not able to support the camera in that position, I'd simply strap it horizontally (the tripod) to a table, a bench or similar object that is stable and tall enough.
I feel that in the example given, some fill light is used. This can be done using white reflectors or with extra light sources with soft boxes.
Using a flash (pulse light source)
It can be done with a speedlight. I'd put it relatively far from the objects and use it's "zoom" capability to concentrate the beam of light but using no further modification, specially not the built-in diffuser.
In the case of a studio flash I would use it with no modifier at all, but I'd put the source very far to increase the harshness.
The flash is to be fired with a radio transmitter or a sync-cord. But If this is not an option, you can use the slave function to trigger it. In slave mode, a speedlight or studio flash will trigger itself when it senses the pulse another flash. It can be the the camera's built in flash, the 5D has no integrated flash, so, you are left with the previous options, or, use a speedlight in the camera's hotshoe but pointing away from the objects (towards the main light source, preferably).
Notes on soft and hard light
Quality of light described shortly, is related to the transition from the illuminated part of the subject to the shaded part. If this transition is gradual, then it is said that a soft light is used. When the transition is abrupt, the lighting is said to be hard.
What defines whether a light is either hard or soft, is the size of the source relative to the subject. This is why the sun, the biggest light source available, gives us a hard light: it is so far that we see it like a tiny disc in the sky.
That is why there are many light modifiers available in different sizes, to match the subject's size and creative needs of the photographer.
As with the sun's example, distance from the source affects its relative size, so the further the source, the harsher the light.
In the given example, the objects are very small, that is why the main light should not have any diffuser and be located ralatively far.
Regarding fill light and studio walls.
If the studio has black walls and ceiling, they will absorb most of the light, avoiding "stray" light. This will create more contrast in the image, but also allow you to finely control the intensity and direction of the fill light.
If the walls are white, all the light bouncing around will create softer illumination. In this case the fill light can be more difficult to control. If the walls are of any other color, then a color cast will be also in the image. Objects in the room can also cause funky color casts and unwanted reflections.
For this reason, a barn-door type modifier would be handy, since it will shade the walls and ceiling/floor without softening the light.
If a barn door is not available, a simple tube made of matte black cardboard will do just fine in the case of a studio flash. However, in the case of a light bulb, heat can be an issue. In a hurry, I'd just paint matte black a big cardboard box, place the bulb in the center of it and use the flaps as barn doors. (Proper barn doors are metallic and wont have problems with bulb's heat).
Another option is to surround the objects with black reflector or black curtains. This can be very effective controlling reflections and keeping stray light out of the image, but the work space can get too messy and clunky.


