17
\$\begingroup\$

If I am photographing a scene with a lot of dark background, how can I use the histogram to tell if the exposure is correct? For instance, at an outdoor concert in which the performers are moderately illuminated but their surroundings are dark. Or a view of a cityscape viewed across a dark body of water and with a dark sky above it? In other words a scene in which much of it is expected to be almost or totally black. When shooting RAW in such a situation, what should the histogram look like to make the final processed image dark without being noisy? And without the black areas becoming posterized?
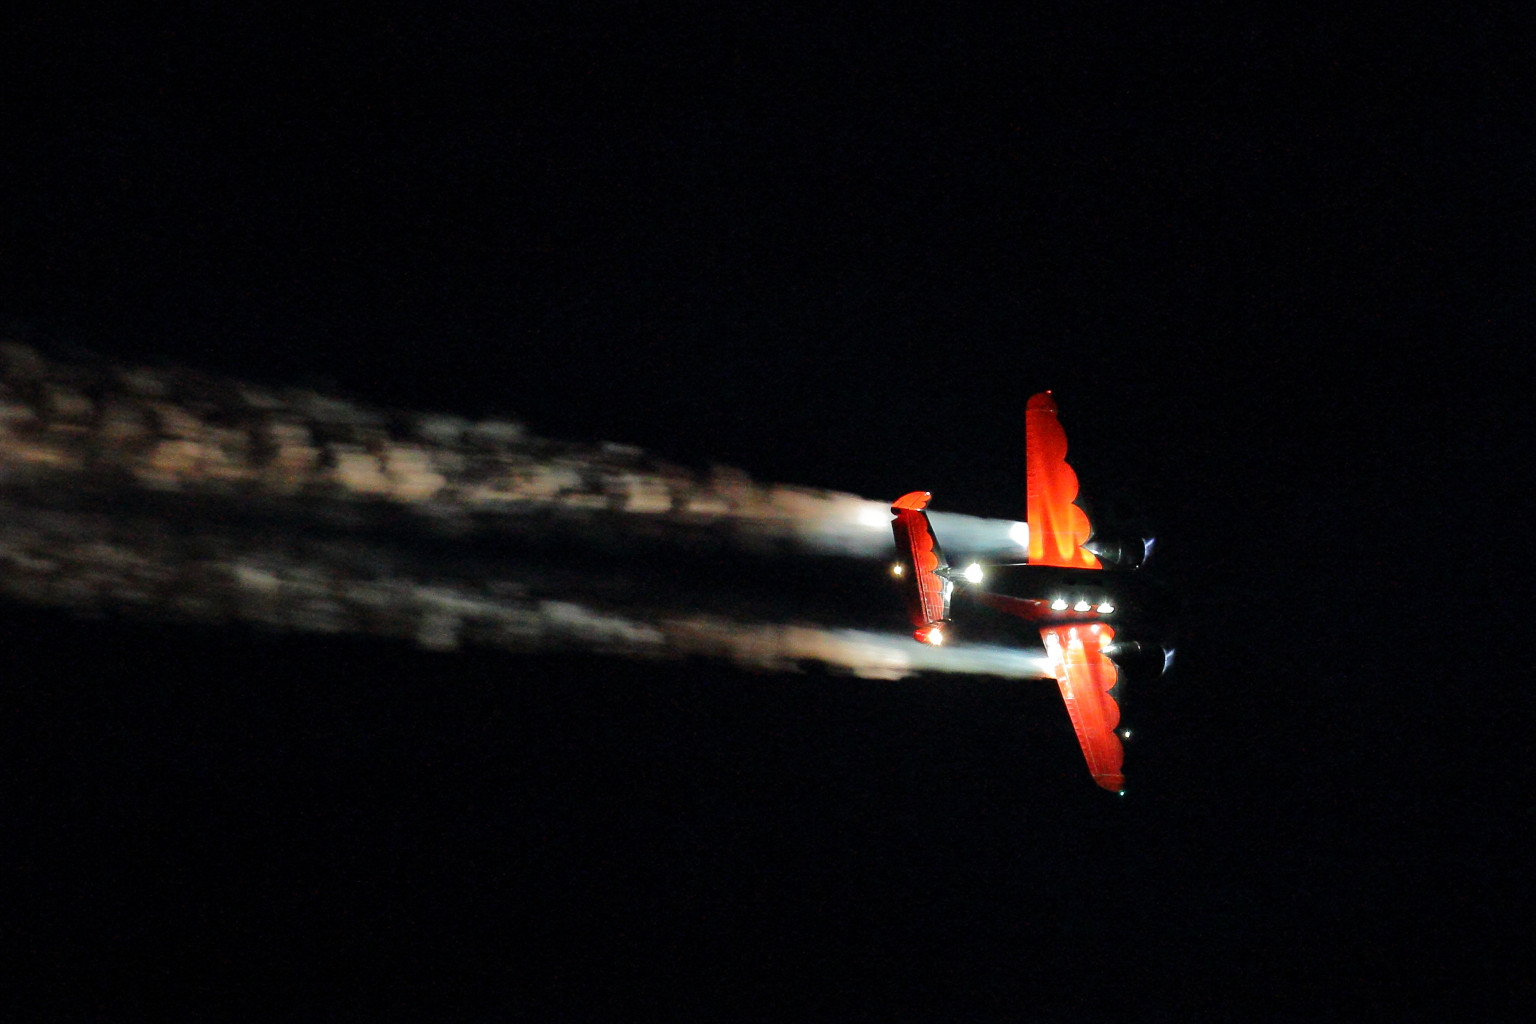
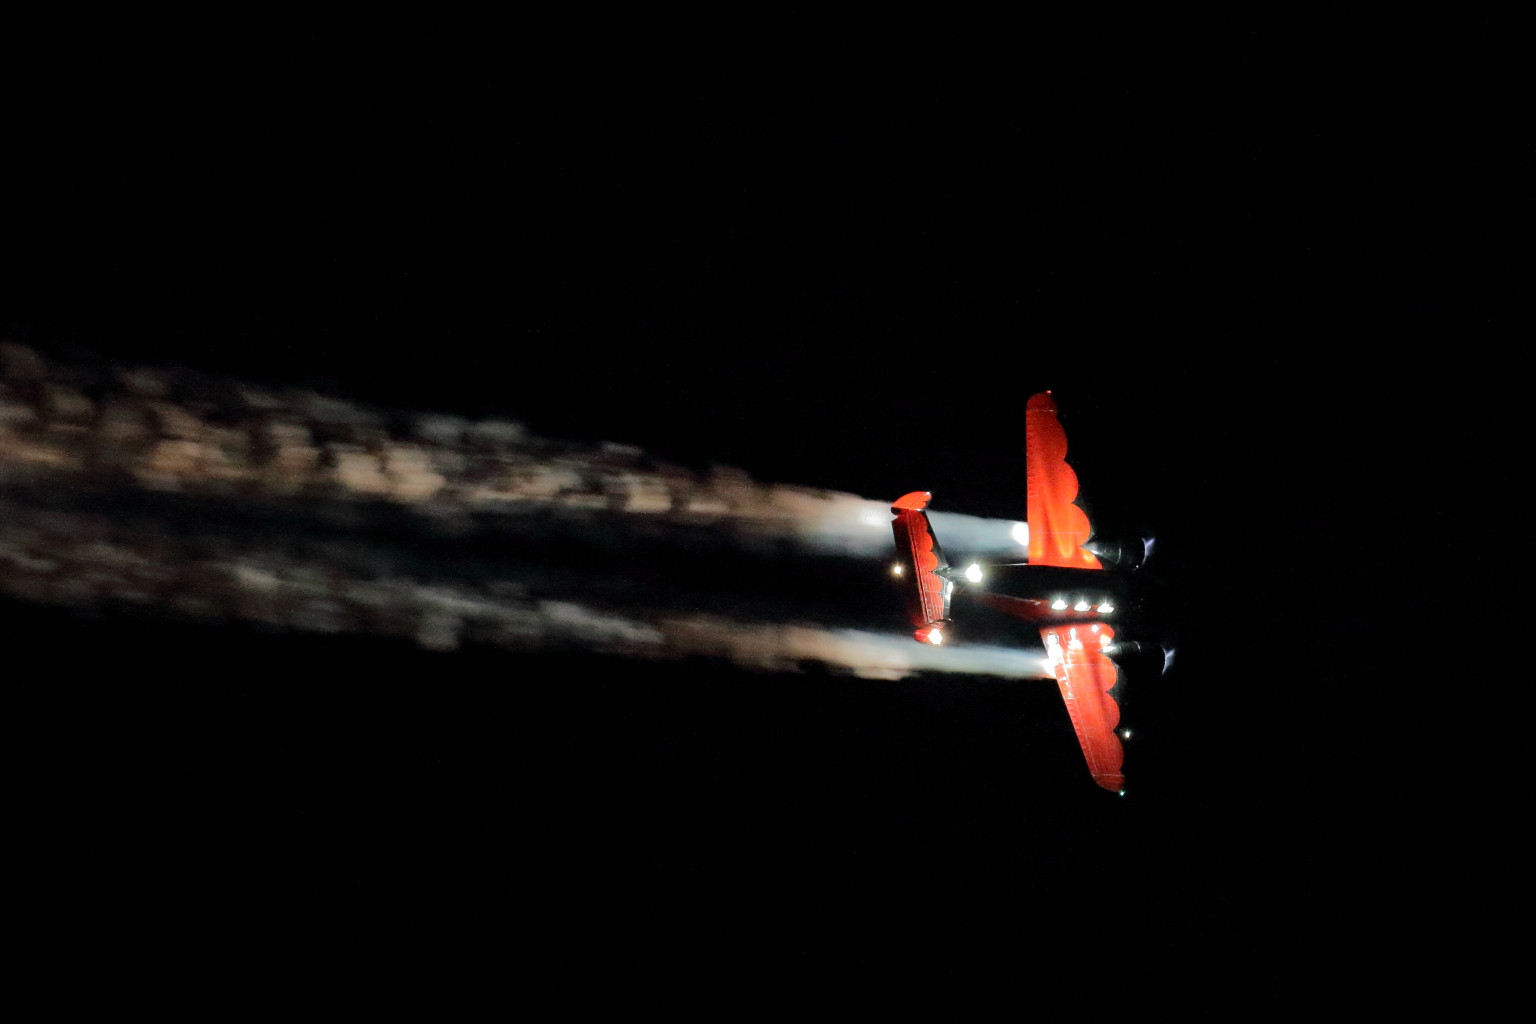
Night Flight

Image information: Canon EOS 7D + 70-200mm f/2.8 L IS II, ISO 6400, f/2.8, 1/60 second. Cropped from 5184x3456 to 3872x2581 before downsizing to 1536x1024 for web viewing.

Developed at 3900K, exposure adjusted -0.17 stops, Canon 'Standard' Picture Style, Contrast -4, Highlights -2, SHadows -1, Color Saturation +1, Unsharp Mask: Strength 6, Fineness 7, Threshold 3, NR: Lum. 9, Chrom. 10 using Canon's DPP 3.

\$\endgroup\$
2
  • \$\begingroup\$ The histogram should be the same no matter if you shoot RAW or JPEG. It is calculated from the preview JPEG, right? \$\endgroup\$ Commented Jul 31, 2013 at 7:56
  • \$\begingroup\$ Yes, but you certainly don't want a peak in the middle of the histogram if most of the image should be pure black... \$\endgroup\$
    – Michael C
    Commented Aug 1, 2013 at 1:59

5 Answers 5

1
\$\begingroup\$

A histogram is meaningless in this situation. Only a spot meter could give you a correct exposure. And even then it would be difficult because your subject is moving.

\$\endgroup\$
1
  • 3
    \$\begingroup\$ Spot metering and looking at a histogram afterwards are not mutually exclusive. The histogram thomasrutter posted would be useful as it shows clipping of highlights. Apart from the fact that much of the histogram may be to the right, I don't think it's any less useful in a scene like this as with a more balanced scene. \$\endgroup\$
    – MikeW
    Commented Mar 28, 2013 at 5:08
13
\$\begingroup\$

The general rules for histograms still apply, it's just that most of the "weight" of your histogram will be leaning to the left:

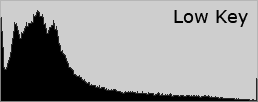
Your aim will be the same: keep as much of the data in the histogram from clipping at the right hand edge, without leaving too much way down the left hand side. You should be able to see some data reaching all the way across the histogram to the right, even if it's low compared to the higher peaks over the left.

If it goes flat on the right like this, it's underexposed:

If you have very bright highlights, such as the lights in that picture, it will be unrealistic to avoid all clipping without underexposing quite a lot, hence the small uptick on the right of the first histogram above.

I've shown mono histograms here just for illustration (and because it's what I found with a quick Google search) but the same goes for RGB histograms.

\$\endgroup\$
6
  • 1
    \$\begingroup\$ That is the conventional wisdom, but as you can see from the example posted, it results in posterization of the blacks. Which way does the exposure need to move so the blacks don't get so blotchy? \$\endgroup\$
    – Michael C
    Commented Mar 28, 2013 at 1:32
  • 5
    \$\begingroup\$ Is your monitor calibrated correctly (particularly for black point)? I don't see posterisation of the blacks there, and there's no reason that it should have any more than any other 24 bit image, unless you're trying to boost the shadows after RAW conversion or something. You will get noise, and minimising that is just about using the fastest lens and lowest ISO you possibly can. \$\endgroup\$ Commented Mar 28, 2013 at 1:41
  • 3
    \$\begingroup\$ I'm not seeing posterization either and my monitors are calibrated regularly. \$\endgroup\$
    – Joanne C
    Commented Mar 28, 2013 at 1:50
  • \$\begingroup\$ I use the X-rite system for monitor calibration. The original photo was cropped from 5184X3456 to 3872X2581, then reduced to 1536X1024 for web sized viewing. After uploading to SE, it is being displayed in the page on my monitor at 630X420. At that size the posterization is minimized quite a bit. If you view it at 1536X1024 the posterization is more evident. \$\endgroup\$
    – Michael C
    Commented Mar 28, 2013 at 13:34
  • 1
    \$\begingroup\$ There is no posterization in that image, which I confirmed by checking in an image editor. Maybe you are referring to noise - there is a fair (but not unexpectedly high) amount of noise, worsened in this case by the JPEG compression. \$\endgroup\$ Commented Mar 30, 2013 at 7:18
1
\$\begingroup\$

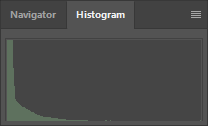
The histogram for your posted image is:

histo1

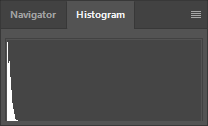
However, I assumed that there'd be nothing but black sky and expanded the canvas out to your original resolution:

histo2

As can be seen, in the cropped image, the histo-rule-of-thumb posted by thomasrutter applies. But, the general rule completely falls apart at the native resolution.

In these situations - if it's possible to fill the frame for an exposure test shot, one would go that route. If that is not possible (and I imagine it'd be pretty hard if you were focal-length maxed out shooting airplanes at night), then I think the histogram becomes decreasingly useful.

\$\endgroup\$
0
1
\$\begingroup\$

Everyone who said the histogram was pretty much irrelevant for this type of image is pretty much spot on. The exposure of the original frame was about as close to what I was looking for as can be expected. Reducing exposure as a way of eliminating minor banding in the very dark areas also has the consequence of reducing overall detail of the non-black parts of the image.

Shooting an airplane doing aerobatics while going about 300 mph from a position a half mile or more away - in the dark - is a challenge. I was using a Canon EOS 7D with the EF 70-200mm f/2.8 L IS II lens. Exposure settings were ISO 6400, f/2.8, 1/60 second. I was panning with the plane using IS mode 2 to get anything resembling sharp. Some of the pans I shot matched the speed of the smoke more than the speed of the plane (the smoke slows ever so slightly as it is buffeted in the plane's turbulent wake before eventually slowing until it 'hangs' in the air several hundred feet behind the plane).

Since the question has garnered some recent attention, I decided to revisit this image, originally shot back in October, 2012. This time I'm using Canon's latest version of Digital Photo Professional 4 as compared to version 3 (or possibly 2) that I used back then. Hopefully I've learned a little along the way as well.

Night FLight remix

The differences are subtle, but they are there. About a year after I asked the question above I learned how to raise black levels to "crush" the blacks and get rid of much of the 'blotchiness' and noise in areas that should be totally dark with no detail. Unfortunately, to fully crush the blacks in this image also would have meant losing any detail in the black painted leading edges of the plane's wings. I might eventually try a multi layered mask to give most of the dark areas a uniformly black appearance.

\$\endgroup\$
1
\$\begingroup\$

What constitutes proper exposure depends on the photographer's visualization of the final image.

As usual when thinking about exposure in a DSLR, a good place to start is to expose to the right to produce the range of unclipped (and perhaps clipped) highlights consistent with your vision. Noise in the very dark portions -- i.e. Zone 0 of the Archer-Adams Zone system -- of the scene can be eliminated by raising the black point when developing the RAW file in the computer.

Example

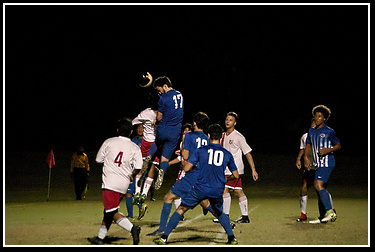
The image was shot at ISO 12,800. Raising the black point eliminated most of the noise in the background so that only moderate denoising was required and the image could remain sharp.

enter image description here

The black point was similarly raised in this image to reduce stochastic noise in the shadows and move more of the pixels into Zone 0.

enter image description here

Alternatives

  • Standard HDR techniques are an option.
  • Many cameras will highlight underexposed and overexposed areas of an image after capture. This can be used to indicate clipped highlights in cases where that is a concern.
\$\endgroup\$
3
  • \$\begingroup\$ Re: "increasing exposure". The image was shot at ISO 6400, f/2.8, 1/60 second while panning a plane over half a mile away with the pilot flying like his hair is on fire - at night. Not really a whole lot of options to increase exposure with an original Canon 7D that was as noisy as sin. \$\endgroup\$
    – Michael C
    Commented Dec 5, 2017 at 4:52
  • \$\begingroup\$ @MichaelClark I don't recall suggesting an increase of exposure. \$\endgroup\$
    – user50888
    Commented Dec 5, 2017 at 19:01
  • \$\begingroup\$ Exposing to the right necessitates an increase in exposure compared to not exposing to the right... \$\endgroup\$
    – Michael C
    Commented Dec 6, 2017 at 3:08

Your Answer

By clicking “Post Your Answer”, you agree to our terms of service and acknowledge you have read our privacy policy.

Not the answer you're looking for? Browse other questions tagged or ask your own question.