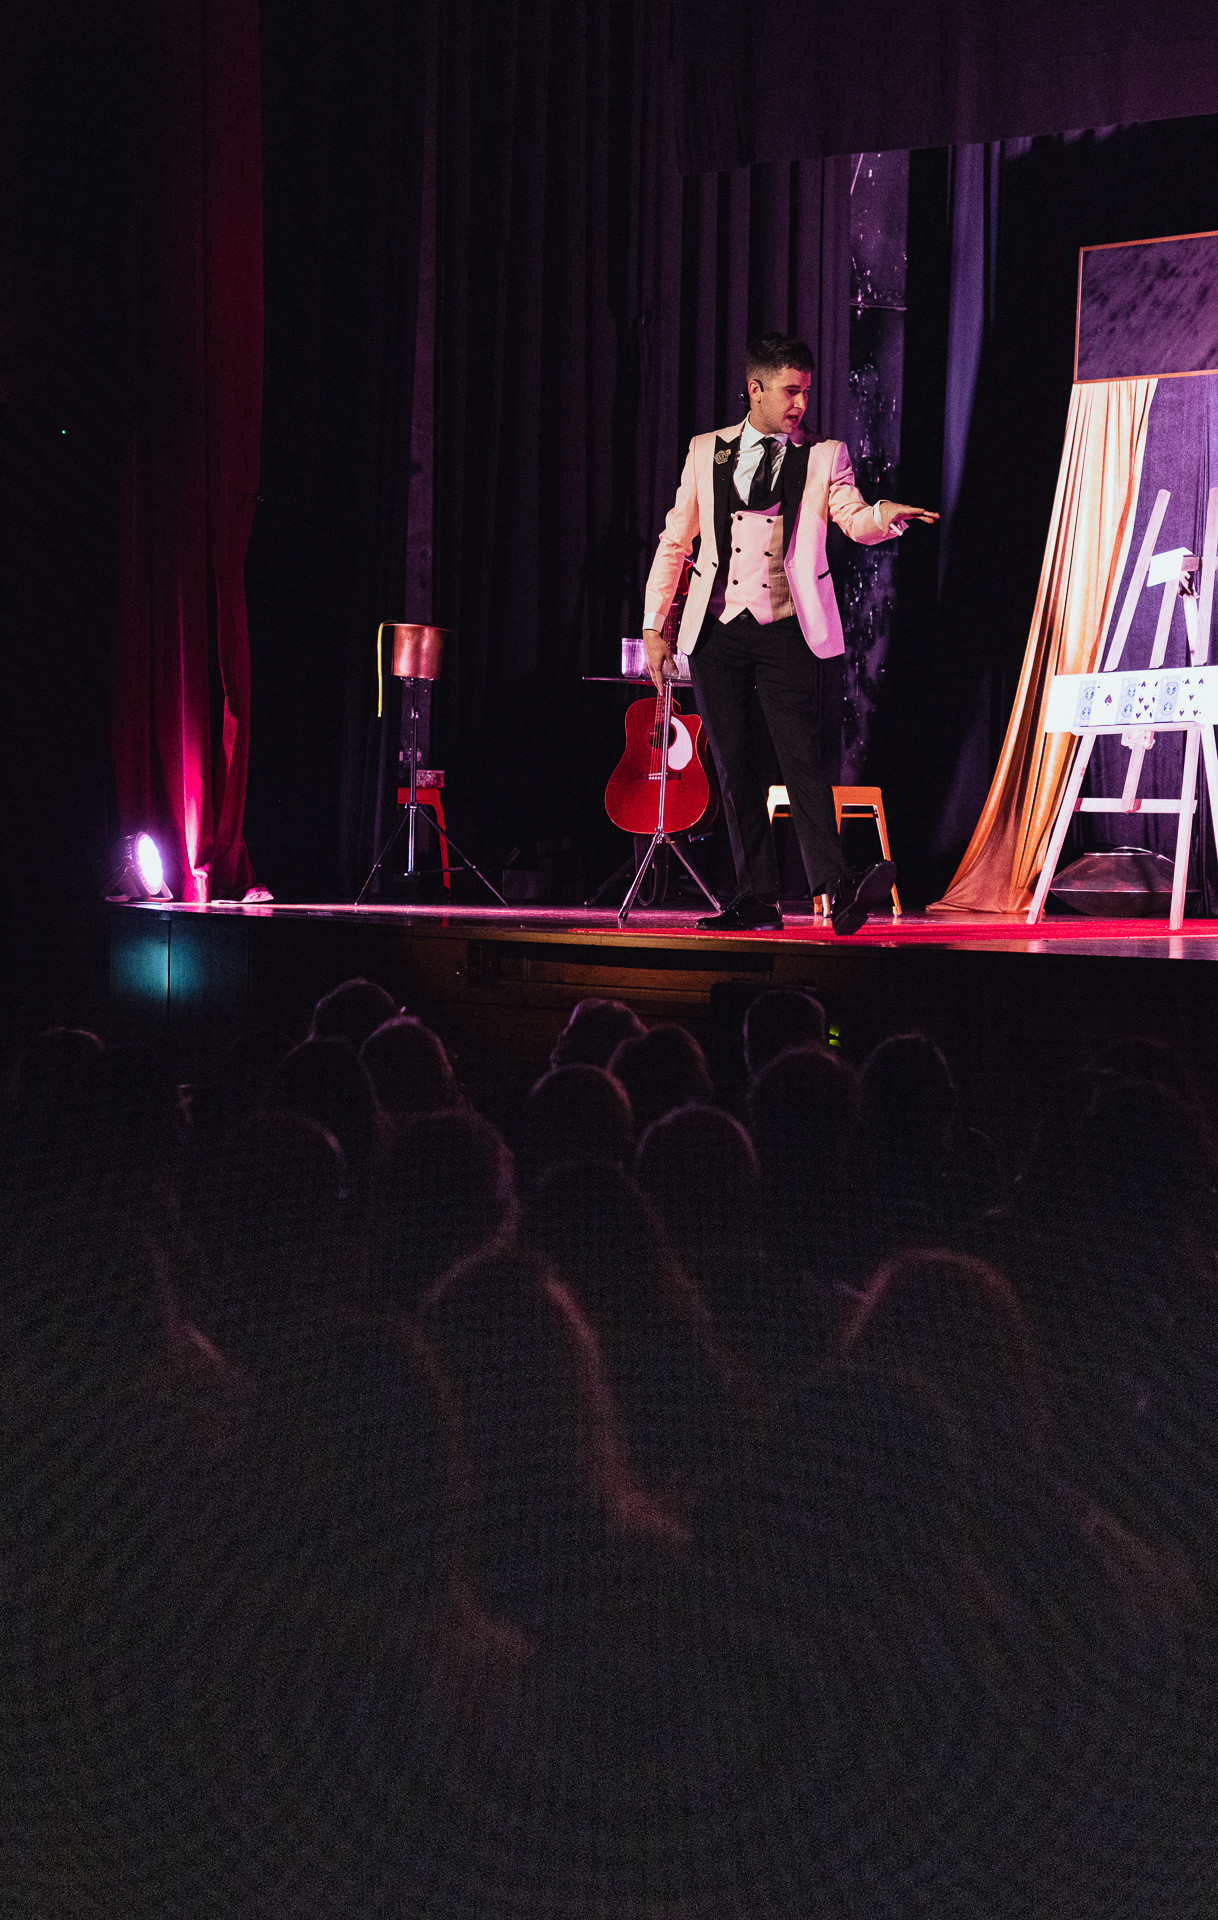
It looks like two of the different things lens profile corrections do are interacting to create the pattern.
Peripheral Illumination Correction
Part of what lens correction does is boost the brightness of edges and corners to offset the drop off in brightness away from the center of the lens. The further away from the center of the field, the dimmer the lens will get. This is more severe in lenses with wider angles of view than in lenses with narrower angles of view. Peripheral Illumination Correction proportionally boosts areas based on how far they are from the center of the frame.
In the case of your sample photo, there is virtually no information from the actual scene in the dark areas at the bottom of the frame to be boosted. Pretty much everything is uniformly dark right around the noise floor.
I'm going to go out on a limb here and guess that you might be using a "protective" filter to prevent scratching that expensive RF 24-70mm f/2.8 L? Or maybe it's just due to the lens having 21 elements in 15 groups?
Shooting in a dark environment with a few bright lights and a lot of dark areas in the frame is the last place you'll get away with using a flat filter in front of your lens (or maybe an unfiltered lens with 21 elements in 15 groups - that's a lot of surfaces for potential reflections). Digital sensors are too perfectly flat and will reflect bright light sources back towards the lens. A flat filter at the front, or even a relatively flat element inside the lens, will then bounce the reflection right back at the sensor. Even multi-coated lens elements are not perfectly non-reflective. Shine enough light on them and you'll see the reflection in dark areas of a photo. This type of lens flare is known as ghosting.

One of the unintended consequences of today's insanely sharp lenses is that they are too sharp for some shooting situations when camera and/or subject movement will blur the image a bit anyway, but the razor sharp internal reflections inside the camera will not be affected at all by camera or subject movement, nor even by missed focus.
Lens flare is always present in images. Usually the entire field is bright enough to mask most relatively weak flare. But when you boost brightness enough, either by shooting brighter or raising it in post, flare in the darker areas of the image will come bubbling up out of the shadows.
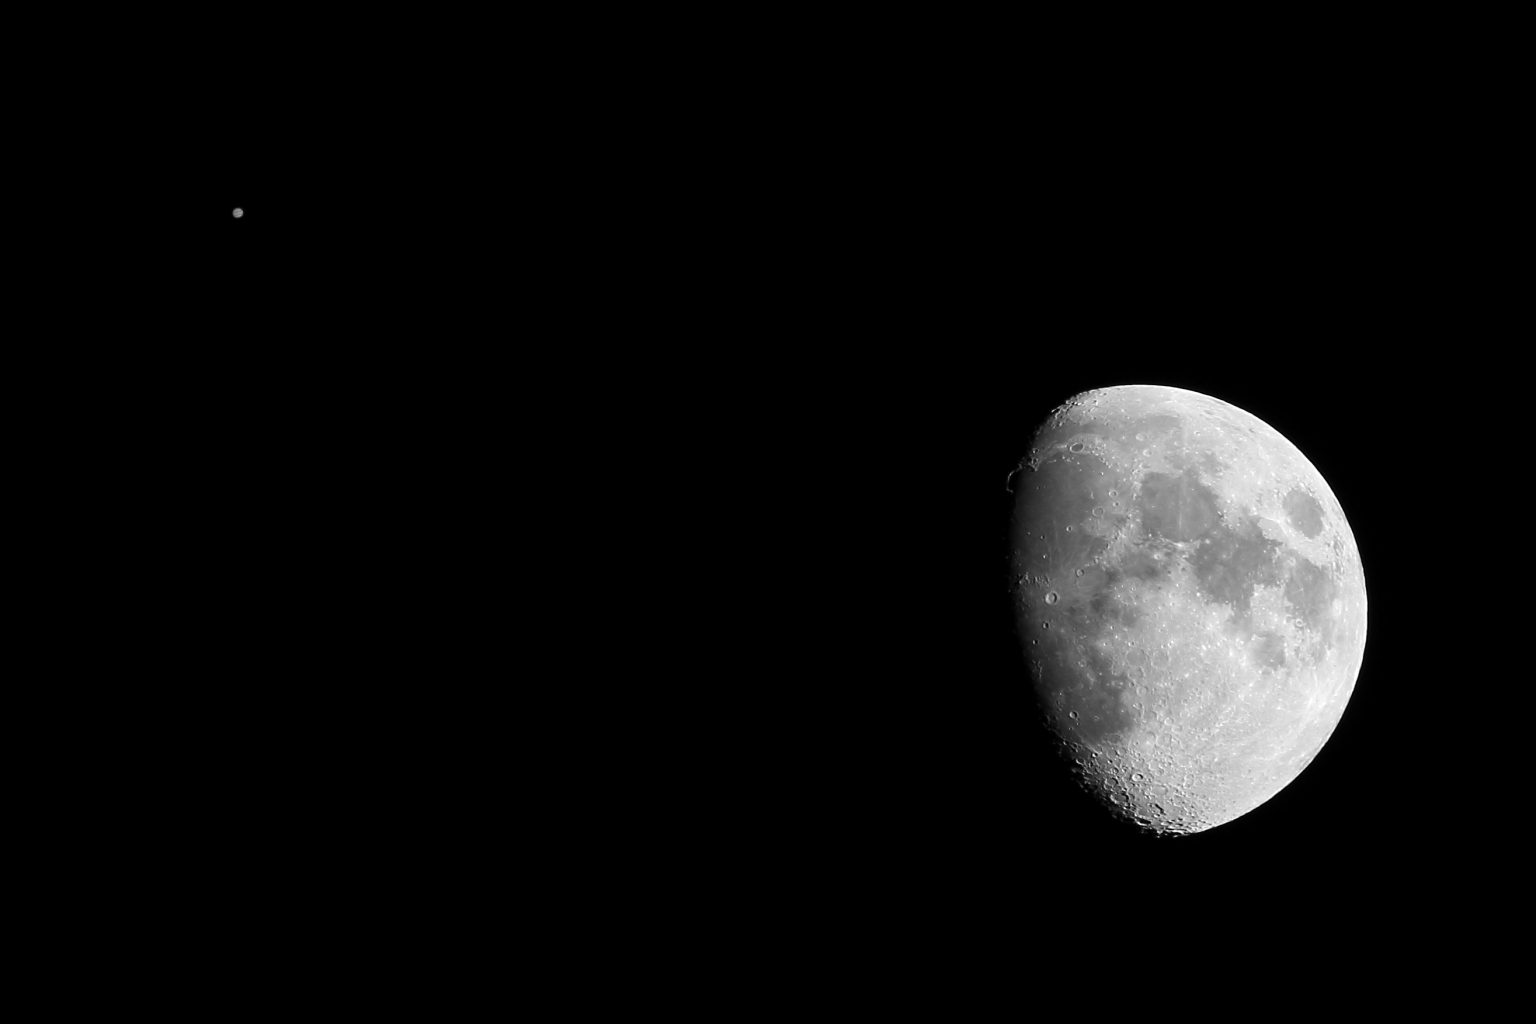
The following two images were shot in the same night with the same camera and lens (no filters but the 70-200mm lens has 23 elements in 19 groups and the 2X TC had another 7 elements in 5 groups) pointed at the same spot in the sky occupied by the Moon and Jupiter. The second was exposed approximately 12 stops brighter than the other. The first is also cropped tighter than the second, which is also oriented 90 to the right. (More details here)


Peripheral illumination correction is amplifying any flare and reflections, the amplification is greatest in the corners and on the long edges of the frame, and they are most noticeable in the darkest parts of the frame. When the long edges of the frame are also the darkest areas of the scene, that's when you'll notice it the most.
Distortion correction
Another thing profile correction does is adjust for the lens' geometric distortion. This requires the results from each line in the sensor to be warped into a curve. But the output file can't contain curved lines of pixels, it must describe values for each pixel in an output image in straight lines and columns of pixels. This requires every pixel from at least midframe to the edges and corners to be completely interpolated, as the position of each individual pixel may need to be shifted by dozens of rows/columns. But no two adjoining pixels need the exact same amount of movement.

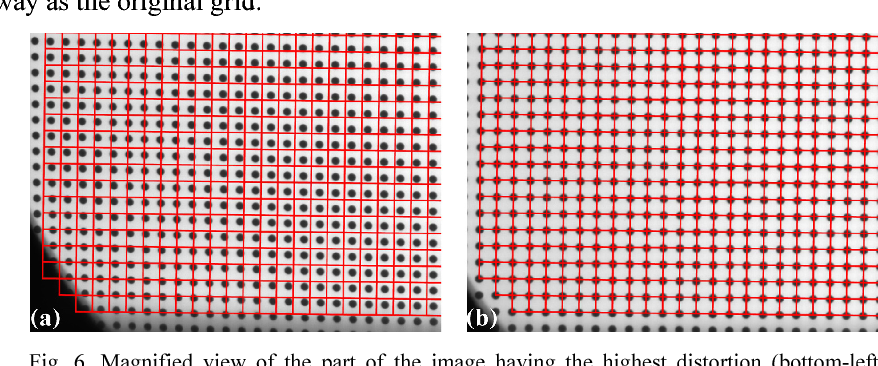
Imaged sourced from this article and presented as fair use
Notice how each dot is moved by slightly different amounts in slightly different directions? Notice how black dots that were not in a regular grid pattern now are? That also means that the regular grid pattern in the pre-corrected image are no longer in a regular straight-line grid pattern.
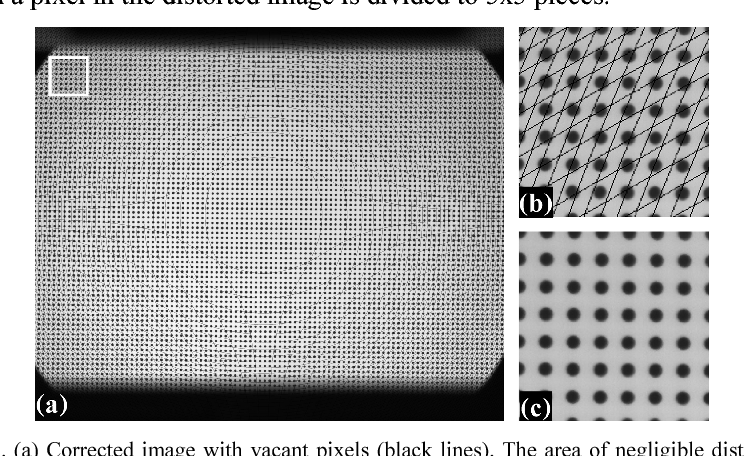
Here is a typical interference pattern that can be caused by lens distortion correction:

Imaged sourced from this article and presented as fair use
Look at the right and left edges that would be top and bottom in portrait orientation. Have you seen that type of pattern before?
So now you're putting a screen door with straight wires in front of a screen with curved wires. The pattern you see is the interaction between the distorted shape of one grid (input grid warped to correct for distortion) over the square shape of the second grid (output grid).
Possible solutions
The pattern you're seeing looks to me to be based on a reflection of the sensor's filter stack bouncing off the back of a flat filter, or maybe a flatter lens element, and interacting with the actual grid of the sensor and the CFA on top of it. This reflection is being amplified by peripheral illumination correction. Distortion correction is then creating an interference pattern due to the way the straight grid of pixels that collected the image is stretched and then remapped to another straight grid for output.
If you have the ability use lens correction settings to enable or disable each individual element, try turning off distortion correction while still allowing CA, color blur, etc. corrections to be applied. Or try turning off only peripheral illumination correction and see if that allows the pattern to become so dim as to not be noticeable.
Correction profiles are written under assumptions about how most images will look, with typical scenes being more uniformly bright across the entire frame.


