1
\$\begingroup\$

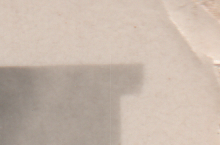
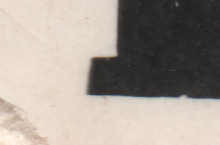
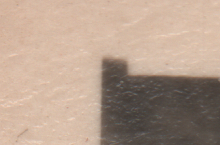
I am digitizing some old photos via a flatbed scanner and couldn't help but notice a very common artifact that appears in the corner of many of them.

The photo is extended by a small rectangle which is a few millimeters long. It happens in both color photos and B&W, but more commonly in B&W, I assume because the artifact is specific to the way the film was developed. It most commonly happens in only one corner, but in very rare cases it can be in two or more corners on the same photo. The rectangle contains the actual image and is not just a colored blob, which is not visible in these examples.

What causes this artifact?

example 1

example 2

example 3

\$\endgroup\$
4
  • 1
    \$\begingroup\$ "It is not visible in the examples" And how we can help you if it's not in examples? \$\endgroup\$ Commented Feb 17, 2023 at 13:18
  • \$\begingroup\$ @RomeoNinov That part of the sentence is referring to the fact that the rectangle extends the image and is not just a solid color, which may not be obvious from the examples. I've rephrased that part to remove any confusion. Furthermore, I don't think additional examples are needed and feel like the question describes the artifact precisely as it stands. \$\endgroup\$
    – jan
    Commented Feb 17, 2023 at 14:10
  • \$\begingroup\$ If you provide much bigger part of image and mark with colour circle/rectangle the area/object in question will be easier to help you. And add please bigger image, not 200x140 pixels. \$\endgroup\$ Commented Feb 17, 2023 at 14:16
  • \$\begingroup\$ It seems to be a part of the scanner whose shadow can be seen when the light of the lamp shines, preferably check the corner part under the glass of the scanner, you may see a small part of the same shape in the shadow there. \$\endgroup\$
    – Merlin
    Commented Feb 18, 2023 at 11:40

3 Answers 3

4
\$\begingroup\$

I think what you are referring to might be an artefact of the exact shape of part of the inside of the camera. Hasselblad V-series cameras produce this effect, with characteristic "cut outs" along the sides of the frame and at the corners. Every frame has the same effect, regardless of lens used. I've never been curious enough to investigate exactly where it comes from - I guess the film back opening corresponds to what is seen on the film.

Take a look at this contact sheet on Flickr (not my images), and examine the edges closely for angular irregularities:
https://www.flickr.com/photos/drdelvecchio/13772516324/sizes/k/

\$\endgroup\$
2
\$\begingroup\$

Note: As described, I think osullic's answer is correct in this instance, but I'm adding this as an addendum because it can cause similar looking artifacts and may be helpful to others.

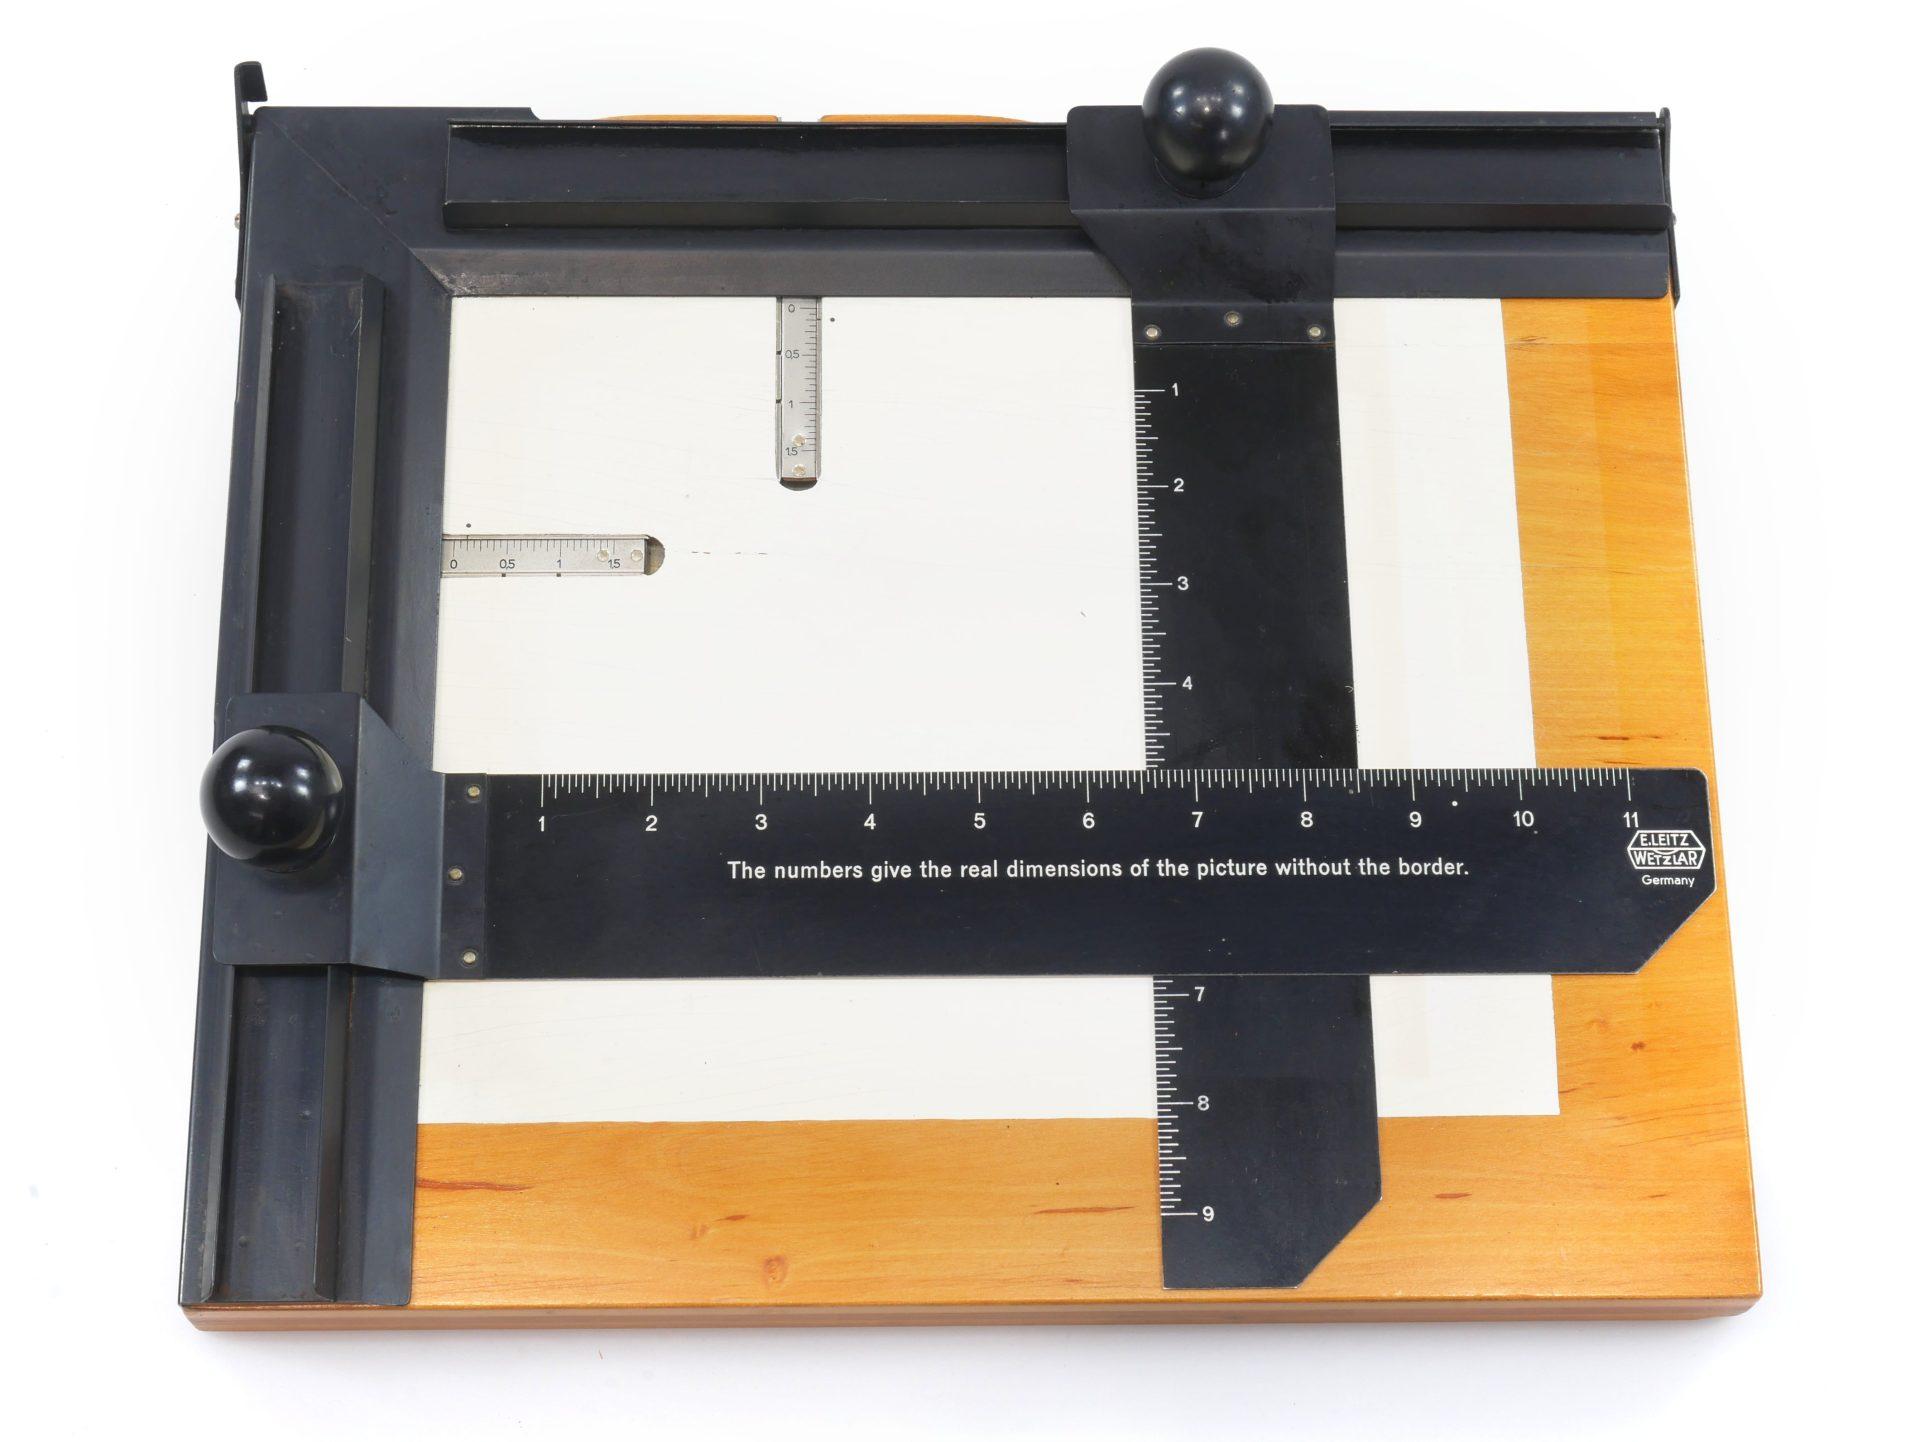
When printing photos with a border, it's common to use a masking frame.

enter image description here

Depending on the type and construction, it's very common to have a small gap at fixed corners of the frame which will cause a little point, or a small misalignment between the clamp that holds the blade and the blade itself, resulting in a small rectangular area like what you're seeing in your example.

This is specific to models with a fixed corner and two blades, four-blade models do not have the same tendency for corner artifacts.

\$\endgroup\$
2
\$\begingroup\$

I don’t think I have ever seen this artifact, what follows is a guess. You should know that I am 85 years old and more than 60 of those years was in the photofinishing profession. At the apex of my photofinishing career, I designed and presided over 7 high speed labs. Each sized to process and print 20,000 rolls of film a day.

As the photofinishing business evolved, starting at the turn of the last century, many schemes were used to automate the various procedures. A major problem was cutting the film into packageable strips and cutting the roll paper prints apart with accuracy.

The films, both black & white & color, were machine developed and then sent to a printing station. These printers were loaded with a giant roll of photo paper. Each negative was individually custom printed. After a time, the entire roll of paper was sent to be developed in an automated paper processing machine.

The developed paper roll, containing hundreds of orders, likely 8 or 12 or 20 prints per order was then inspected and each print substandard print was marked with wax pencil whether to be trashed or reprinted with corrections. This roll of paper went to an assembly station. The negatives and prints were matched up and the negatives were cut in strips and the print cut apart for packaging.

As the procedures became more and more automated, many schemes were employed to automate this assembly process. Not easy because often the film images overlapped or were missing plus irregular distances between frames.

At first the negative and print cutting was a manual operation. After a time, the negatives were notched to locate the appropriate place to cut them into strips. The printers used ink or pencil and placed marks on the back of the roll paper.

This mark is probably made by a lamp inside the printer. At the time for print exposure, this lamp exposed and an index maker at the margin of the print. Later an automatic cutter will use this mark to accurately position a guillotine knife so that it cuts the roll of paper prints precisely at the junctions between the prints.

\$\endgroup\$

Your Answer

By clicking “Post Your Answer”, you agree to our terms of service and acknowledge you have read our privacy policy.

Not the answer you're looking for? Browse other questions tagged or ask your own question.