Matt specifically asked:
whether the Adobe feature does anything special with skin tones
I've always thought it did, and Adobe come right out and say it does. But I wanted to test it before saying so. Here's the test I did: I took our standard calibration print, which was specifically built to cover a wide range of skin tones:

And I gave it first a +100 saturation boost in LR3.3, just to see how bad it would look:

Then I undid that and gave it a +100 vibrance boost instead:

(you can (AND SHOULD) go see them all big.)
Based on that experiment, I do think vibrance gives skin tones a little bit of special dispensation. Now, Matt then followed up with:
and how to recreate that generically.
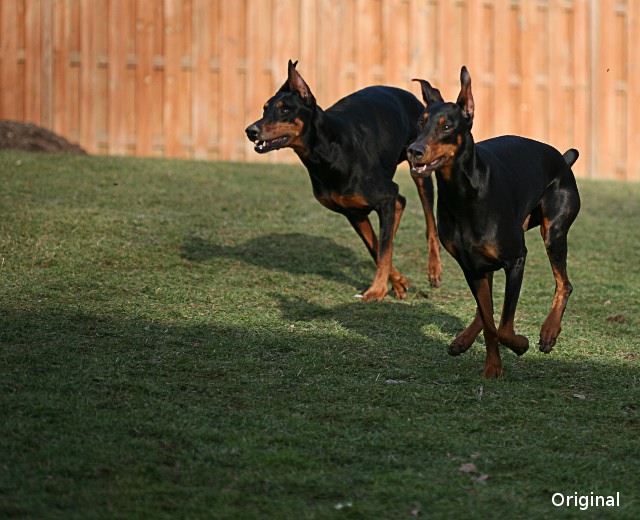
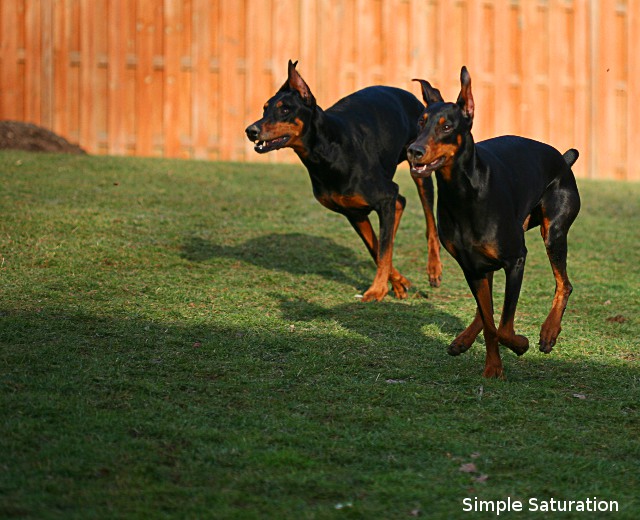
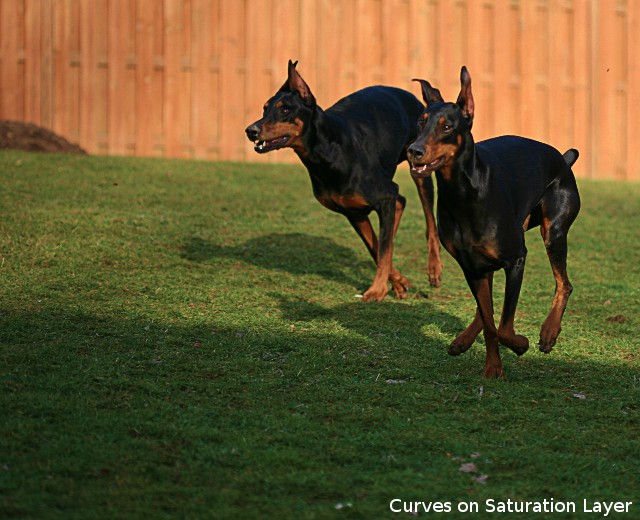
I gotta tell ya, I'm an software engineer, and was a hard core Gimp user for a very very long time... and this had me stumped for hours. But here's a best guess at how you could accomplish it:
- decompose the image into HSV layers in a new document.
- In your main document, create a new layer, I called it "faux vibrance", set it's type to Saturation.
- on that new layer, create a mask
- go back to the hsv layers document you created, select the saturation layer and copy/paste that layer into the faux vibrance layer you created in step 2.
- go back to the hsv layers document you created, select the hue layer and copy/paste that layer into the MASK on the faux vibrance layer you created in step 3.
- go into the "faux vibrance" layer and apply a curve to it, the other two answers talk about how to curve it. Personally I think this is a space for lots of trial and error, and there will be different curves for different images.
- on that layer, you now have what LOOKS like a saturation layer, but it's not usable with the Gimp's saturation layer control as is. Why? because every pixel on there has (roughly) the same saturation value. (5-8 in my experience.) Gradient map to the rescue. Set your foreground color to 0 saturation (black works well) and your background color to 100 saturation (I did red, but you can pick any hue, as long as sat is 100). Now select the "FG to BG" gradient and apply the gradient color map to the layer.
- go into the "faux vibrance" layer's mask and tone down the hues you don't want to be adjusted. Caucasian skin tones for example all appear to cluster around 340-40. So those areas of the mask you're going to want to drop down "pretty low", everything else, you're going to want to push up to 100%. (I wouldn't go as far as a one bit "on or off" mask, I would feather it around the transitions, but not very much.) Again I suspect every image is going to benefit from a unique mask here, but I would probably create a custom gradient, then apply it with a gradient map. (to test this, I just did a simple, ugly, hand painted mask with two colors: white and 40% grey (V=15).) It was really surprising when I looked at the Hue layer just how OBVIOUS the skin tones were. The areas of the image that are skin were amazingly obvious on that layer.
That will give you the basic setup, once you have this working, the opacity slider on that layer is your "vibrance" control. To demonstrate what you'll end up with, here's a short screencast I made playing with the faux vibrance layer with an image of my son.


